Automated backup uploads
Many users consider setting up regular backups of their data, and that’s great! But how can you automate the process of uploading these backups?
In this article, we will be working with the "External FTP storage" service.
Activating FTP storage
This service is available in the corresponding section of the Billing panel. Select "Dynamic plan".

Specify the required storage size (up to 3.5 TB), for example 50 GB, then add the plan to the cart and complete the payment.

A few seconds after payment the service will be activated and displayed in the dedicated section.

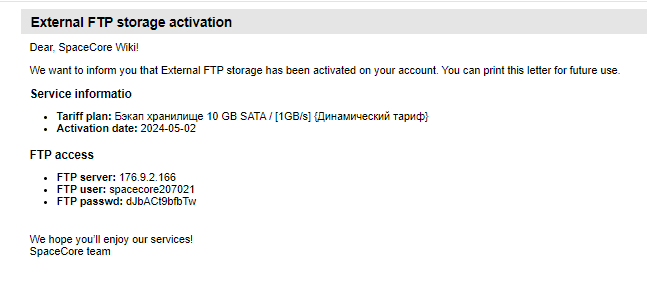
To obtain the credentials for working with it, select the service and click the "Instruction" button.
A new tab will open with all the data required to use the service.
Test upload with lftp
Now let’s move on to our main server, from which files will be uploaded to the FTP storage. We will use the guide "Working with FTP storage".
We will need lftp. To install the utility on Debian/Ubuntu, use the following command:
sudo apt-get -y install lftp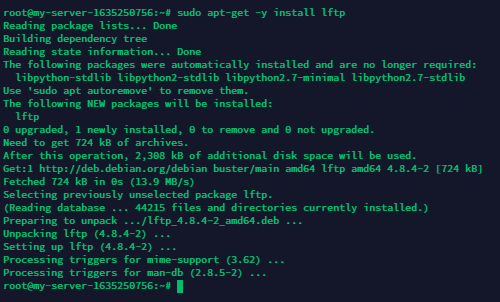
Great! Let’s try uploading a test file, but first we will create it using the touch command.

Done. Now enter the command to upload the file:
lftp ftp://login:pass@backup.s1.fsn.spacecore.pro:21 -e "set ftp:ssl-allow no; put -O / file; quit"For our service this is the relevant command, so let’s run it.
lftp ftp://spacecore35176:KDAcfR4p1tyz@backup.s1.fsn.spacecore.pro:21 -e "set ftp:ssl-allow no; put -O / spacecore; quit"
After running the command, a connection to the remote server is established and the file is uploaded (upload time will vary depending on the file size and network speed). Once the process is complete, we can see our file by connecting to the storage via FTP.

However, the question "How can we automate this process?" is still relevant.
First, let’s create a script that will perform all the required actions when launched. Create a file and open the editor using the command:
nano backup.shLet’s create a short script with our upload command.
#!/bin/bash
lftp ftp://spacecore35176:KDAcfR4p1tyz@backup.s1.fsn.spacecore.pro:21 -e "set ftp:ssl-allow no; put -O /backups backup.tar.gz; quit"Save the script file using the key combination Ctrl + X -> y.
Now let’s try uploading the file using the shell script (in our case, the backup.tar.gz archive is specified for upload, so we first create it). Then we run our script.
sh backup.sh
The upload has started. Wait for the process to complete.

The script works! Our data archive has been successfully uploaded to the remote FTP server.


Automation with CRONTAB
You can find more detailed information on working with CRON in public articles on various websites.
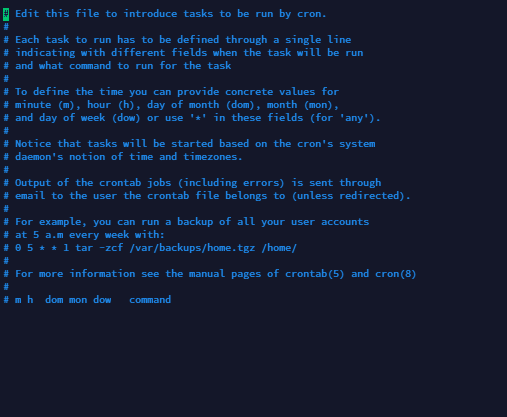
We will use the following command to open the CRON configuration:
crontab -e
Done. At the moment it is empty. The comments provide information from the developers on how to configure automation.
Let’s add the following line to schedule our upload script to run every day at 00:00 server time:
0 0 * * * /root/backup.shGreat job! We have created our own script for uploading a backup file and also learned how to automate this task using CRON.