Installing a Minecraft Bedrock/PE Server on Ubuntu 20.04
Previously, we published an article on creating a Minecraft Java server. This time, we will look at the process of installing a Minecraft Bedrock/Pocket Edition server.
Initial information
The installation will be performed on Ubuntu 20.04 LTS OS, so this guide is suitable for both VDS and a Dedicated server.
When working with the server, the Screen utility will also be useful, we recommend reading the article: Installing Screen
In turn, Minecraft Bedrock does not require Java to be installed either on the server or on the client side. This is because this version of the game is written entirely in C++.
Downloading server files
Update the system package and repository lists:
We will show two methods for downloading the server files: entirely through the Linux system console, and manually via the FileZilla software.
Linux console
First, we need to create a folder for the future server. Go to any directory you like (by default — root) and use the command:
minecraftbedrock — the name of the directory being created, you can specify any name here.
We can use a special command to list all files in the directory to make sure the folder has been created.
We see the created directory. Go into it using the command
Next, use the wget utility to download the server files.
Done, the archive with the files has been downloaded.
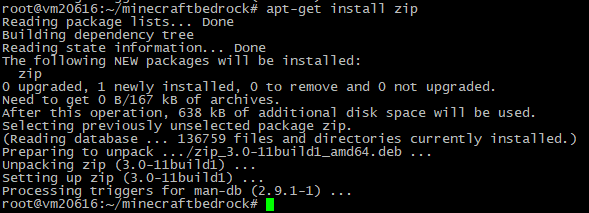
Now we need to unpack it. Install the zip utility:
Use the command to unpack the archive:
Where bedrock-server-1.16.221.01.zip is the name of our archive.
FileZilla
Connect to the server and create a directory in any folder (Right-click — Create directory).
You can use any name.
Go to the created directory. Download the archive from the Mojang website to your computer: