Configuring BILLmanager 6 for Reselling with SpaceCore
Detailed information about the SpaceCore reseller program
A VPS server running or is suitable for installing the BILLmanager 6 control panel. We recommend using a clean system installation without additional services or repositories. This helps avoid potential conflicts.
System requirements
| Parameter | Minimum | Recommended |
|---|---|---|
| CPU | 1 vCore | 2 vCore |
| RAM | 2 GB RAM | 4 GB RAM |
| Disk | 10 GB SSD | 50 GB SSD |
You can choose a suitable plan from our VPS range. In this guide, we will use .
Installing BILLmanager 6
Connect to the server via SSH and run the command to install the latest version of Billmanager 6:
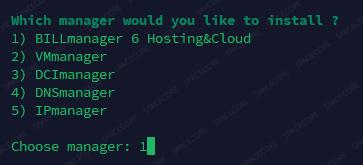
Enter to install the of the Billmanager 6 panel.
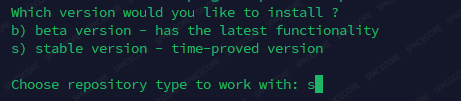
Next, enter to install the required product.
Once the installation is complete, you will see the message . Open the displayed link in the format
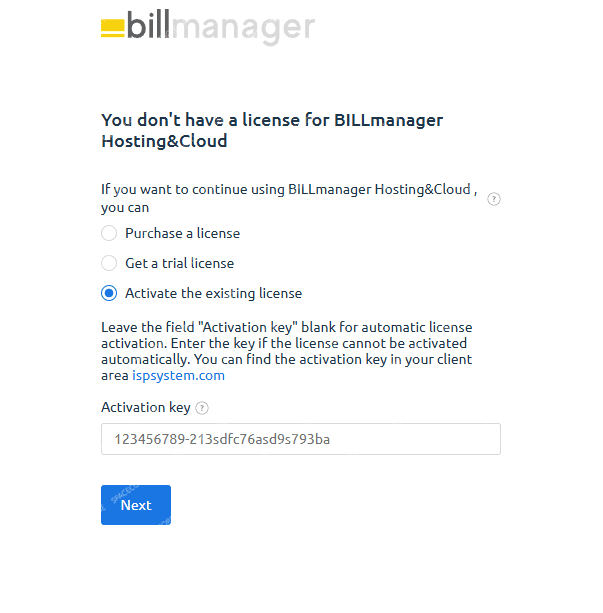
Purchase a panel license or enter an existing activation key. You can get a 30-day trial version on the official website.
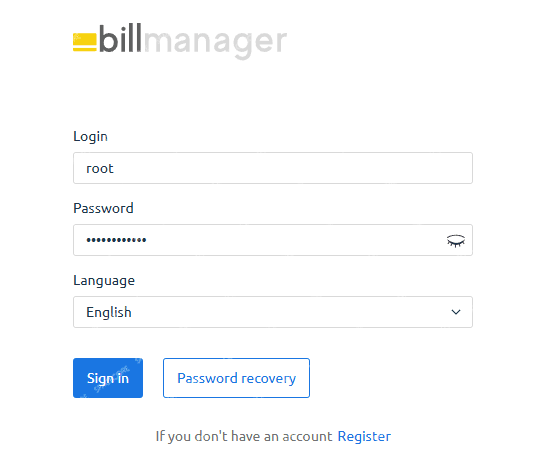
After activating the license, log in using as the username and the password for the user on your server.
The system will ask you to review and accept the agreement. Complete the basic setup by following the steps.
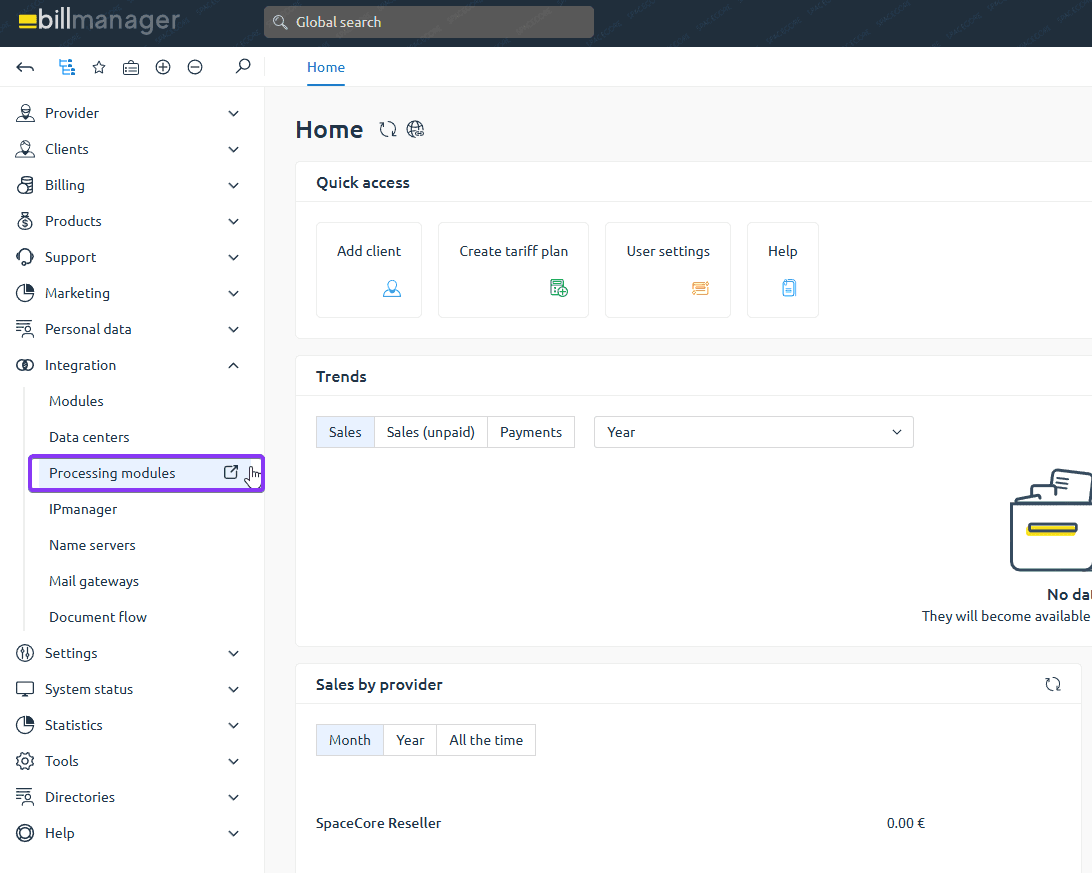
Go to .
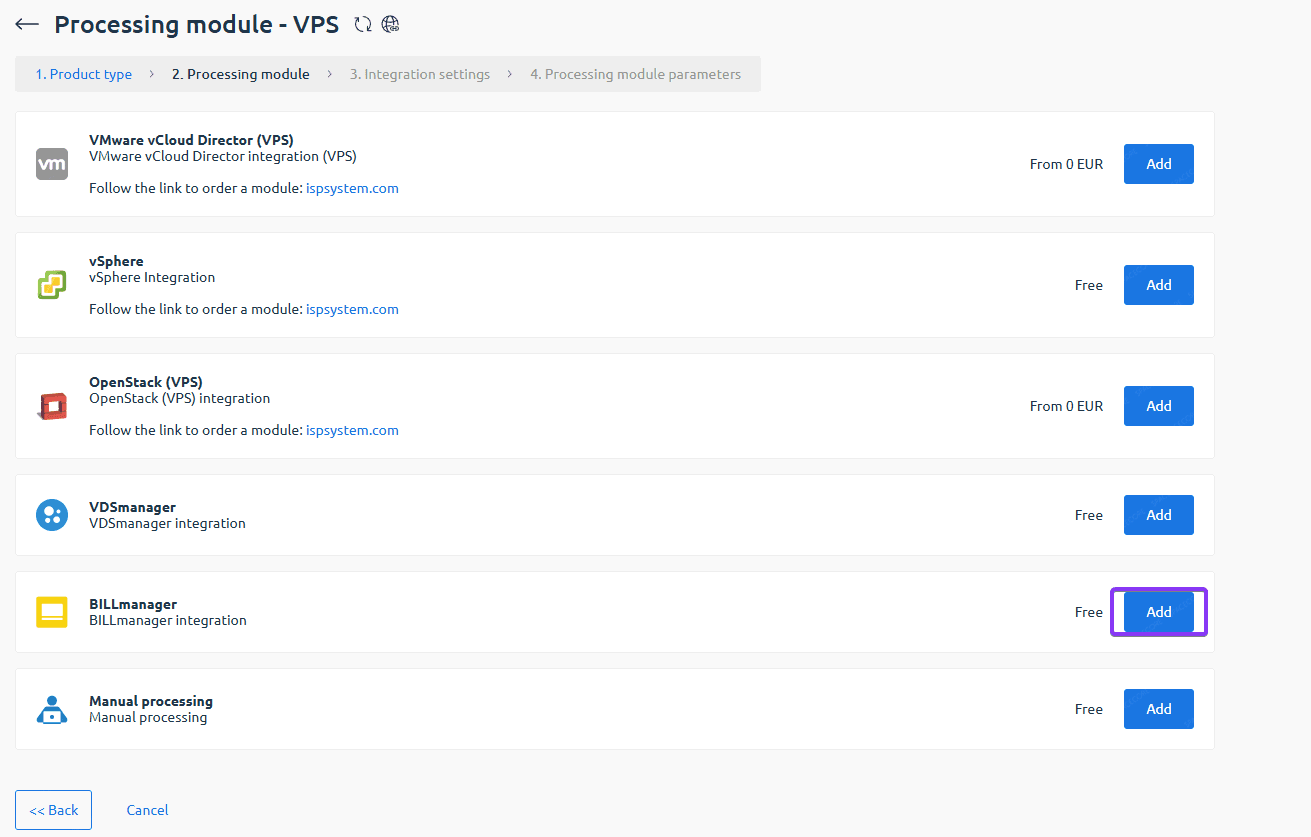
On this page, click the button to add a new processing module, then select the service type. We will use as an example. In the next window, click the button to add the integration module.
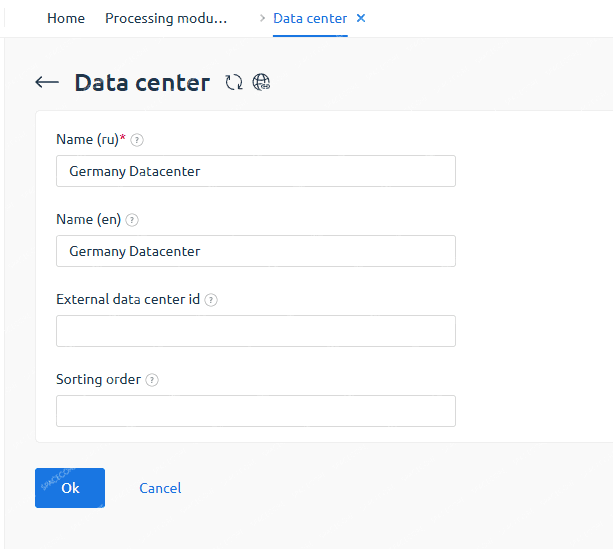
The system will ask you to add the first data center. Create it with any name.
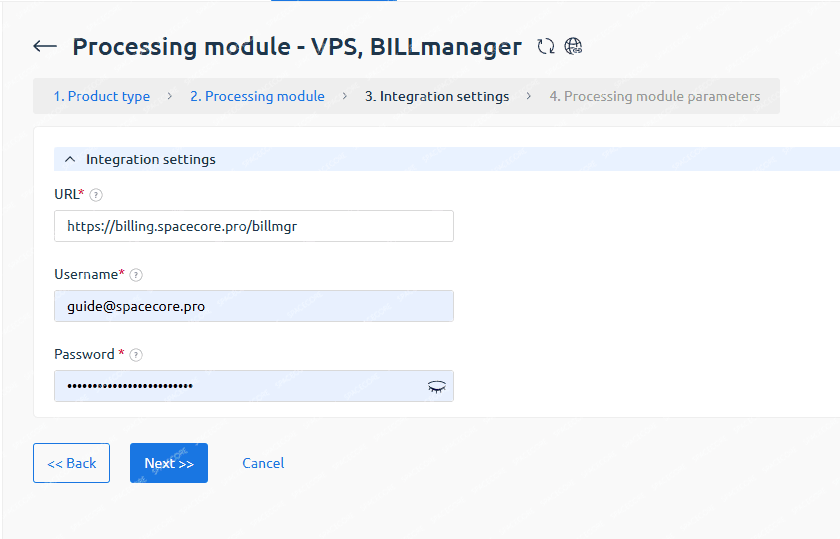
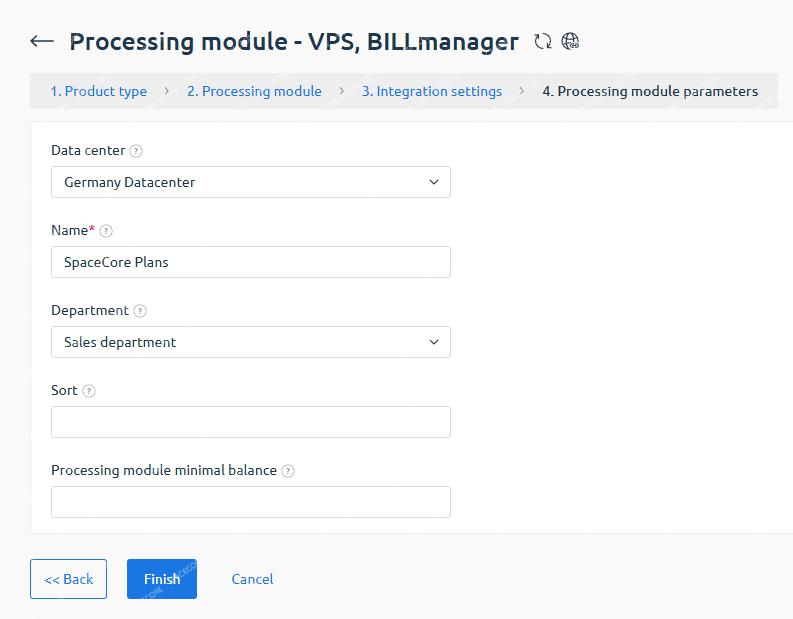
Click the button to add an integration module again. Enter and the credentials for the account that will be used to order services. In the next window, specify any name for the processing module and complete the creation process.
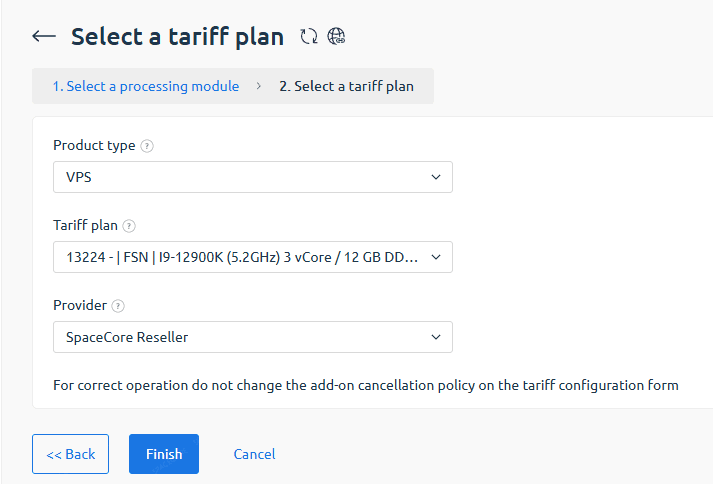
Great. You can now proceed to importing plans. Go to . Click the button to import a plan.

Select the product type and the plan you want to import.
All set. You can now configure the tariff plan as needed and make it available for use. When placing an order, the client will only see your billing system, without any identifying marks of our company. Activation is performed automatically.

Official BILLmanager 6 documentation To become our partner and receive a discount, contact us by email at support@spacecore.pro