How to order a VPS/VDS
This guide explains how to order a virtual server VPS VDS in your client area.
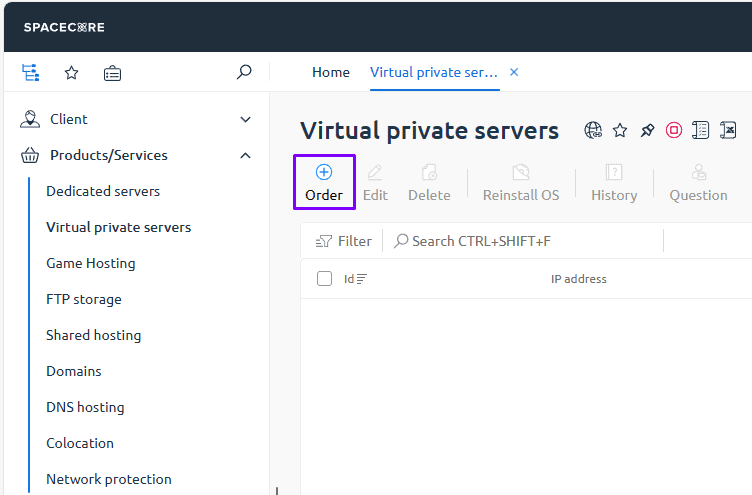
Step 1. Go to the “Virtual Servers” section
In your client area, open the “Products and Services → Virtual Servers” section, then click the “Order” button.
Step 2. Select location and billing period
On the page that opens, select the desired location from the available list, as well as the billing period for the service, for example monthly, quarterly, or yearly.
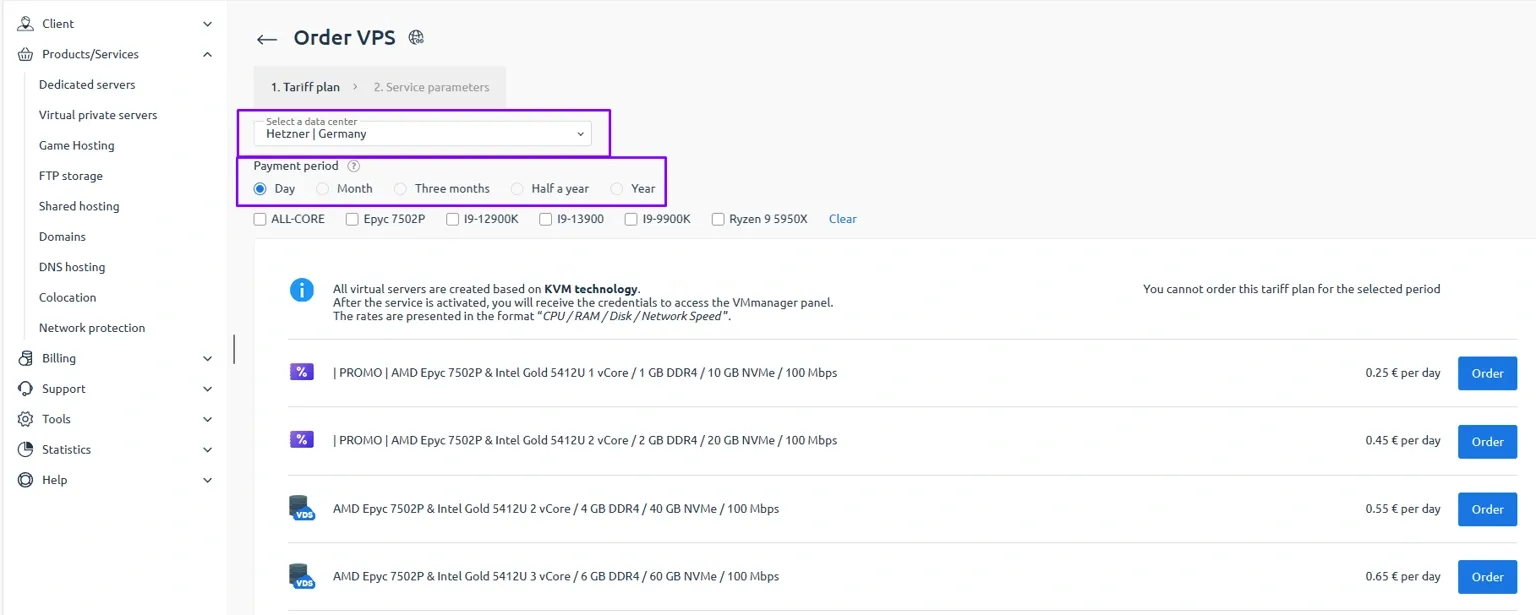
After choosing a plan, click the “Order” button next to the desired server.

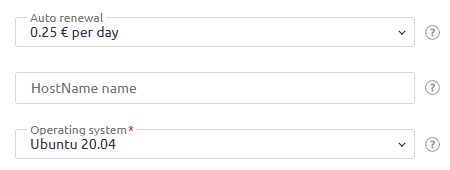
Step 3. Configure your virtual server
On the next step, a form with your future server parameters will open. Here you can configure:
- Auto-renewal — an optional feature that automatically debits funds from your account balance to renew the service. Note that the charge is made only from your client area balance, not directly from a bank card. One day before the service expiration, make sure there are sufficient funds on your balance. If the payment is overdue, you can renew the service manually on the “Virtual Servers” page using the “Renew” button.
- HostName — the domain name that will be assigned to the server, for example . You can leave this field empty — in this case, a subdomain like will be assigned automatically.
- Operating system OS — select the system that will be installed when the service is activated. After you get access to the control panel, you will be able to reinstall the OS with a different or identical one if needed.
- Pre-installed software — allows you to automatically install additional software on the server immediately after activation. This parameter is optional, and you can install any required software manually later.
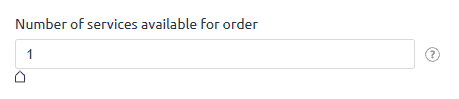
If needed, you can also specify the number of identical servers to order at once.
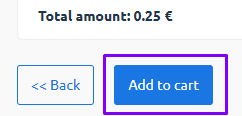
Step 4. Add the server to the cart
Once all parameters are configured, click the “Add to cart” button.
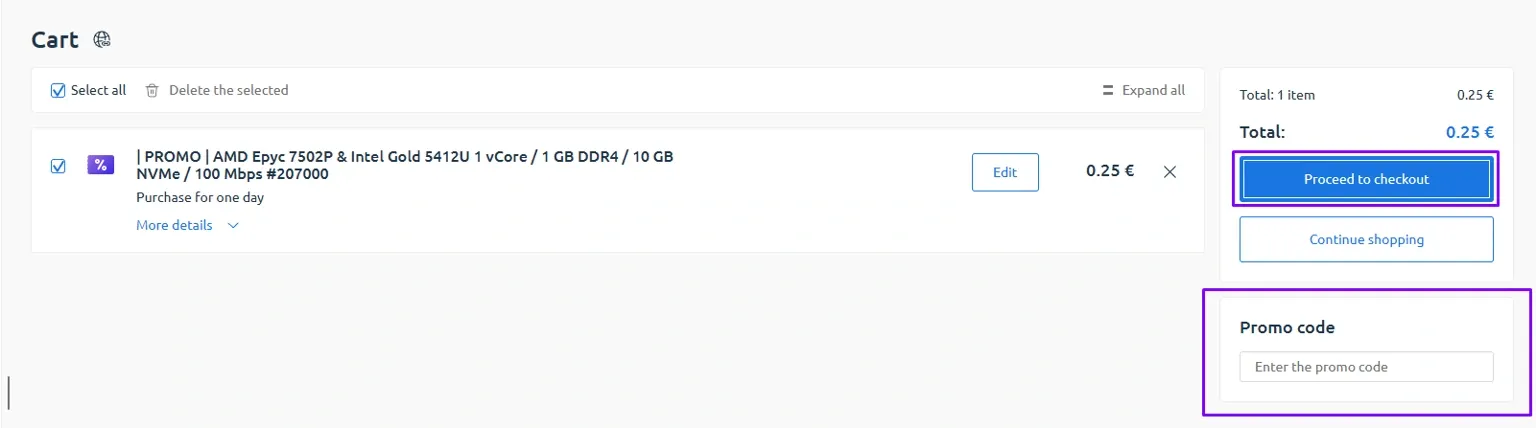
Step 5. Review your order and apply a promo code if available
Go to your cart. Here you can:
- verify that the selected plan and server parameters are correct
- if you have a promo code, enter it in the corresponding field to apply the discount
- delete or edit items before proceeding to payment if necessary
Step 6. Choose a payment method
At the payment stage, select a convenient payment method from the available options. If your account balance has sufficient funds, you can pay for the order directly from the balance.
Please note that the “Account balance” method will be available only if there are enough funds on your balance.
Step 7. Payment and VPS VDS activation
After selecting the payment method, proceed to payment and complete the transaction on the payment provider page.
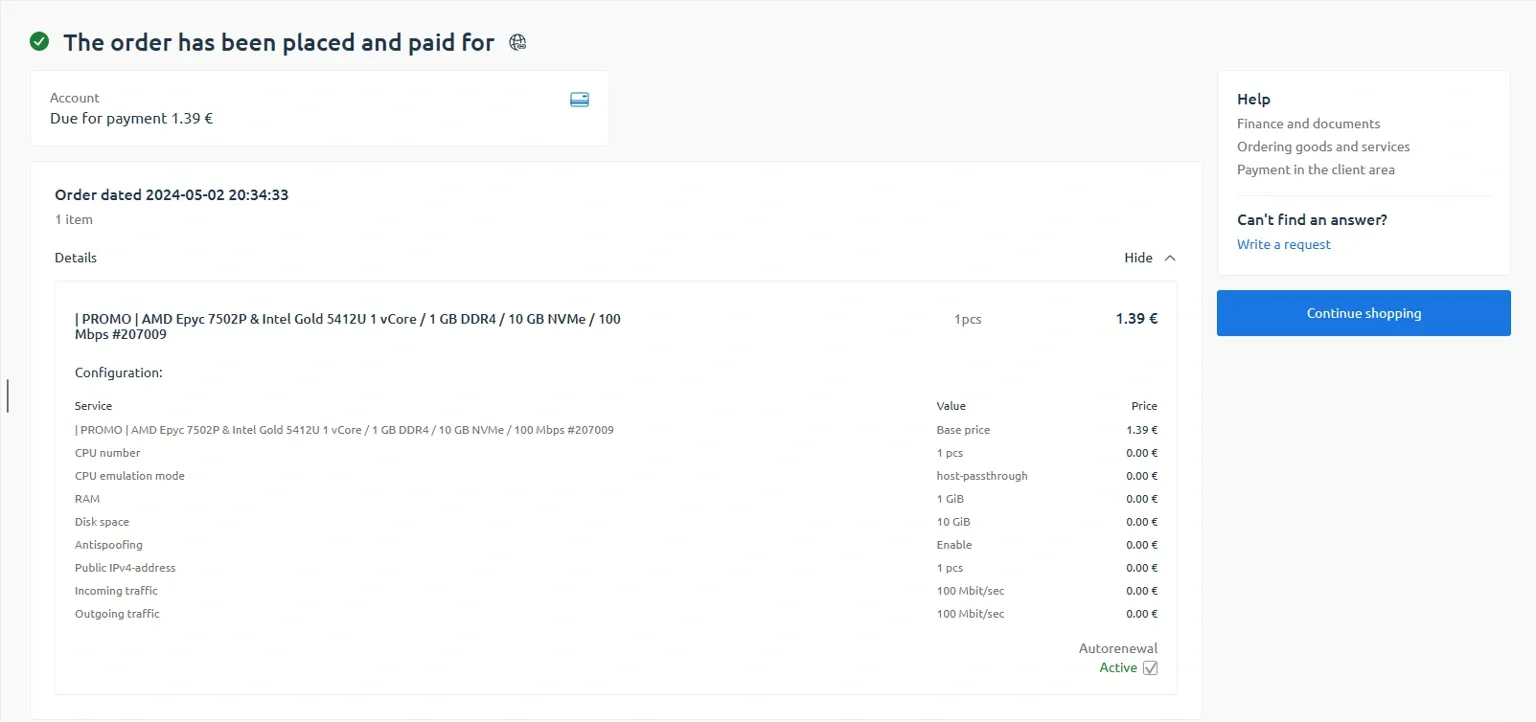
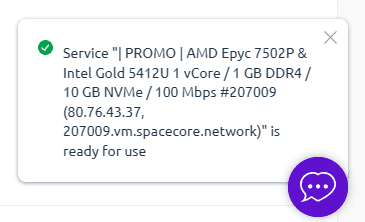
After successful payment, a notification will be displayed on the page, and the ordered virtual server will automatically be placed in the activation queue. The access details will appear in the Virtual Servers section of your client area.