Configuring IPTables
This is a subsystem for working with network packets that filters all connections on the server. In this article, we will take a closer look at configuring IPTables.
General information
IPTables is built into the main Linux kernel by default, but the user-space tools for managing it are not installed by default in many distributions, so let’s use the command below to install the utility.
[sudo] apt install iptablessudo yum install iptablesConfiguration
After installing the utility, we can proceed to its detailed configuration.
Arguments
Opening port(s)
First, let’s check the list of current rules:
iptables -L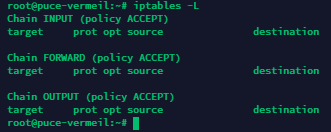
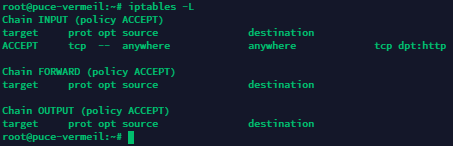
Now let’s open a single TCP port 80 for incoming connections:
iptables -t filter -A INPUT -p tcp --dport 80 -j ACCEPT
Check the list again...
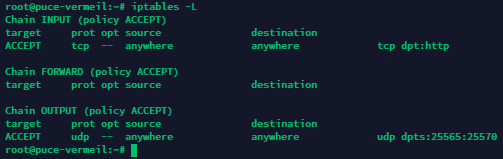
Now let’s open a range of UDP ports from 25565 to 25570 for outgoing connections:
iptables -t filter -A OUTPUT -p udp --dport 25565:25570 -j ACCEPT
Check the result.
Want to block all incoming connections to TCP 250? No problem.
iptables -t filter -A INPUT -p tcp --dport 250 -m state --state ESTABLISHED -j DROP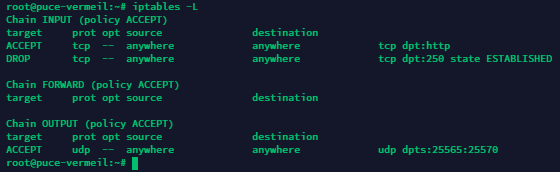
Deleting rules
Now let’s delete the rule that allows incoming connections to TCP 80:
iptables -t filter -D INPUT -p tcp --dport 80 -j ACCEPT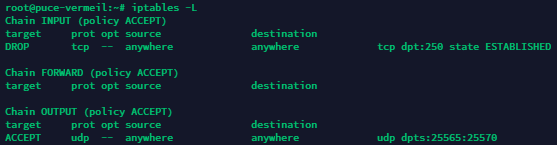
Deleting all rules
To do this, use the following command:
iptables -F
Saving created rules
By default, all created rules are applied only until the next reboot and will be removed when it occurs. To avoid this, let’s save the IPTables rules we have created. Use the following command:
iptables-save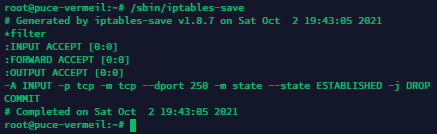
Done. The rules have been saved and will remain active even after the server is rebooted!