Installing Marzban
Marzban is a web panel designed for managing proxy servers and supports protocols such as VMess, VLESS, Trojan and Shadowsocks. It allows you to efficiently manage users, configure various proxy connection parameters, including traffic and expiration limits, as well as control access by IP addresses. The panel also supports automatic SSL certificate configuration and integration with Telegram for convenient notifications and management. Marzban is an excellent choice both for experienced administrators and for those who are just starting to work with proxy servers, offering an intuitive interface and flexible configuration options.
This is a proprietary protocol used for communication in the V2Ray project, designed specifically to bypass network restrictions and ensure privacy. It supports both TCP and UDP traffic, which makes it highly versatile. One of the key features of VMess is that it uses encryption and obfuscation to hide the data transmitted between the client and the server, significantly complicating traffic detection by internet service providers.
Advantages
-
Intuitive web interface: Marzban provides a simple and user-friendly web interface that allows you to easily manage proxy servers, create and configure user accounts, and monitor traffic and resources without requiring deep technical expertise.
-
REST API for flexible management: All Marzban functionality is available via a REST API, which makes it possible to integrate it with other systems and automate proxy server management processes programmatically.
-
Infrastructure scalability: Marzban supports integration with multiple nodes, allowing you to distribute the load across servers and efficiently scale the infrastructure as the number of users or traffic volume grows.
-
Multi-protocol support for users: Each user can use several protocols at the same time, providing flexibility and compatibility with different clients.
-
Support for multiple users on a single connection: Marzban allows you to create multiple user accounts that can share a single inbound connection, optimizing server resource usage.
-
Multiple inbound connections on a single port: The platform supports hosting multiple inbound connections on a single port with configurable fallback mechanisms, which increases connection reliability.
-
Traffic and expiration limits: The panel can set traffic volume limits and expiration dates for user accounts, helping to efficiently manage server resources.
-
Server resource monitoring: Built-in monitoring tools allow you to track server status and traffic usage in real time, helping you quickly respond to changes in load.
-
Support for modern security technologies: The panel is integrated with TLS and modern technologies such as REALITY, ensuring secure and resilient connections.
-
Built-in Telegram bot: For convenient management, a built-in Telegram bot is available, allowing you to receive notifications and execute commands directly from the messenger.
-
Command-line interface (CLI): Marzban also supports management via the command line, which is especially useful for advanced users who prefer a text-based interface.
Installation
Use the following command to install the Marzban panel:
sudo bash -c "$(curl -sL https://github.com/Gozargah/Marzban-scripts/raw/master/marzban.sh)" @ install
After installation, you will see the log output. You can stop it by pressing Ctrl+C. All Marzban files will be stored in the /opt/marzban directory, and the main configuration file can be found at /opt/marzban/.env
To create an administrator account, run the following command:
sudo marzban cli admin create --sudo
Enter a username for the new account, a password, and confirm the password. The system will then ask for your Telegram ID and Discord Webhook. These are optional management settings and can be skipped by pressing Enter. After that, you will see a message confirming successful creation of the administrator account.

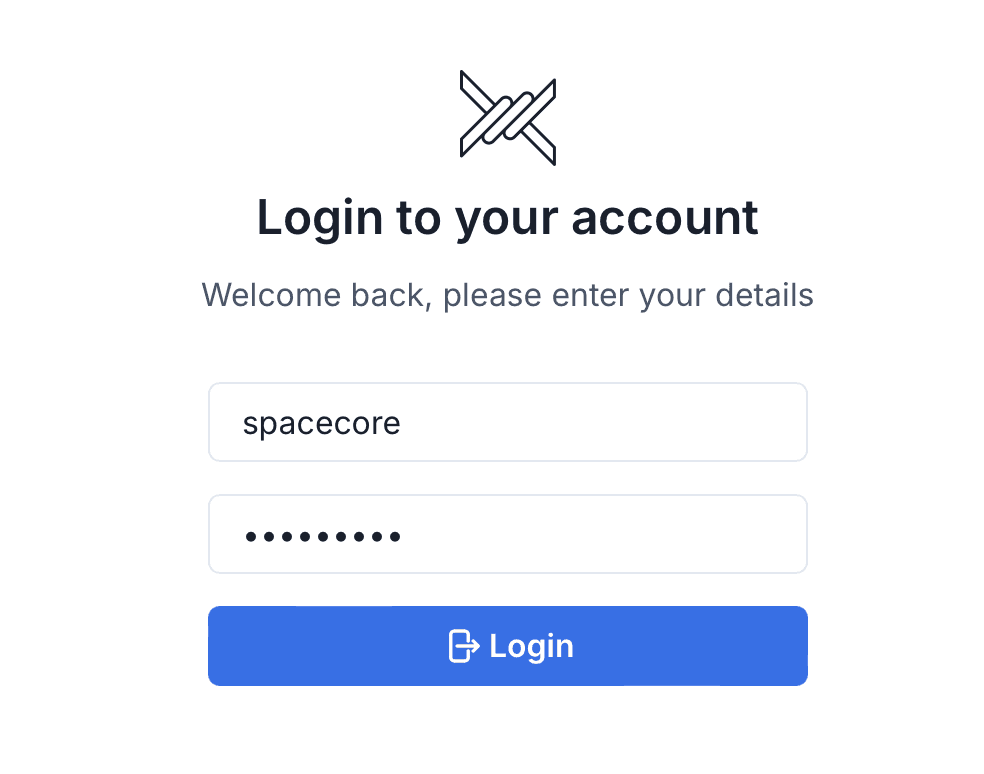
Go to http://SERVER_IP:8000/dashboard/ (replace SERVER_IP with the IP address of your server). Enter the credentials of the user you created earlier to log in.
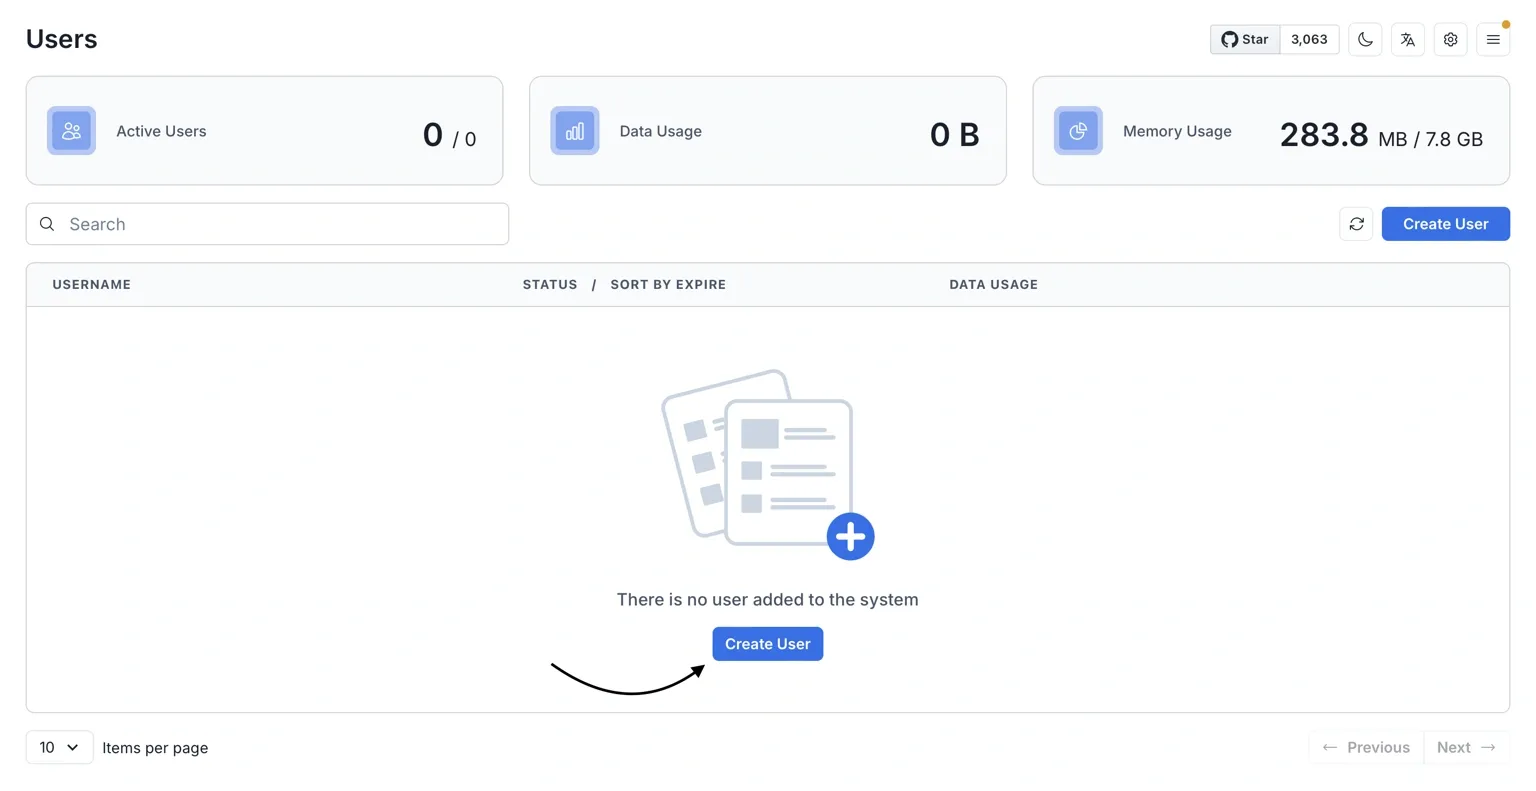
On the main page of the control panel, use the "Create User" button to create a new user.
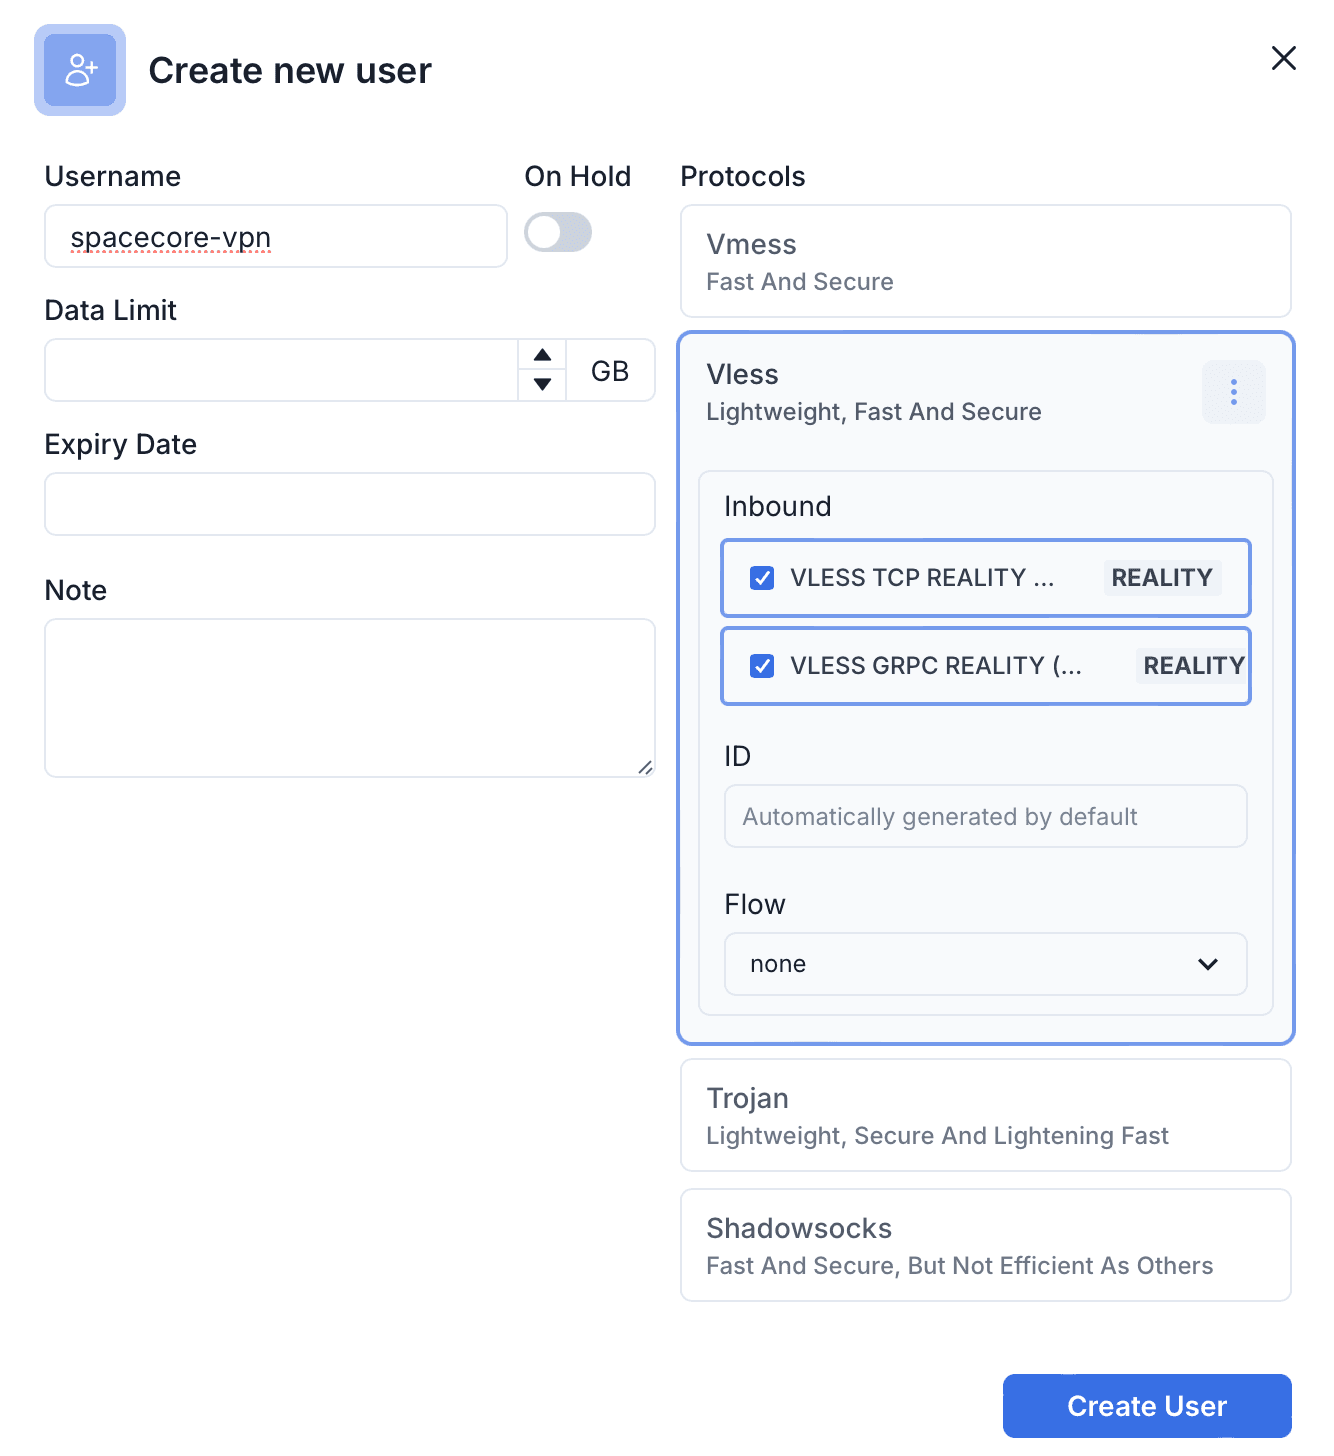
If needed, you can set a daily traffic limit (in GB) as well as specify an expiration date for this user. By default, all protocols are selected, but we will keep only VLESS as the most convenient and reliable option. Click "Create User".
Connecting to the proxy
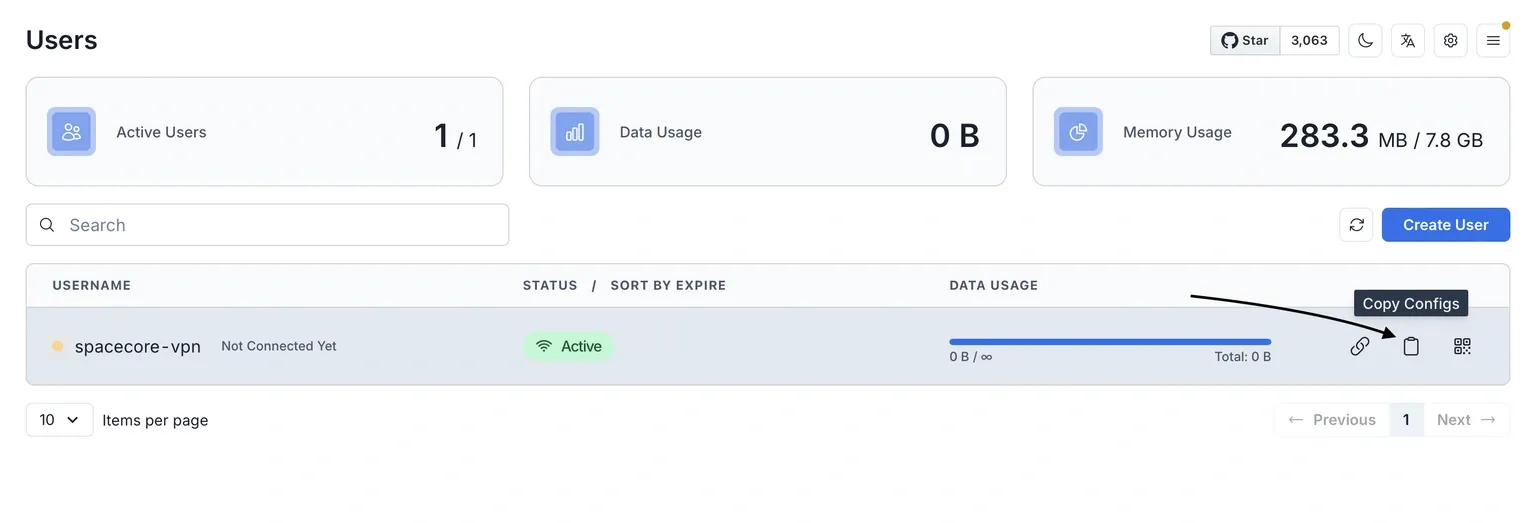
The user has been created successfully. Next, copy the configuration using the button highlighted in the screenshot.
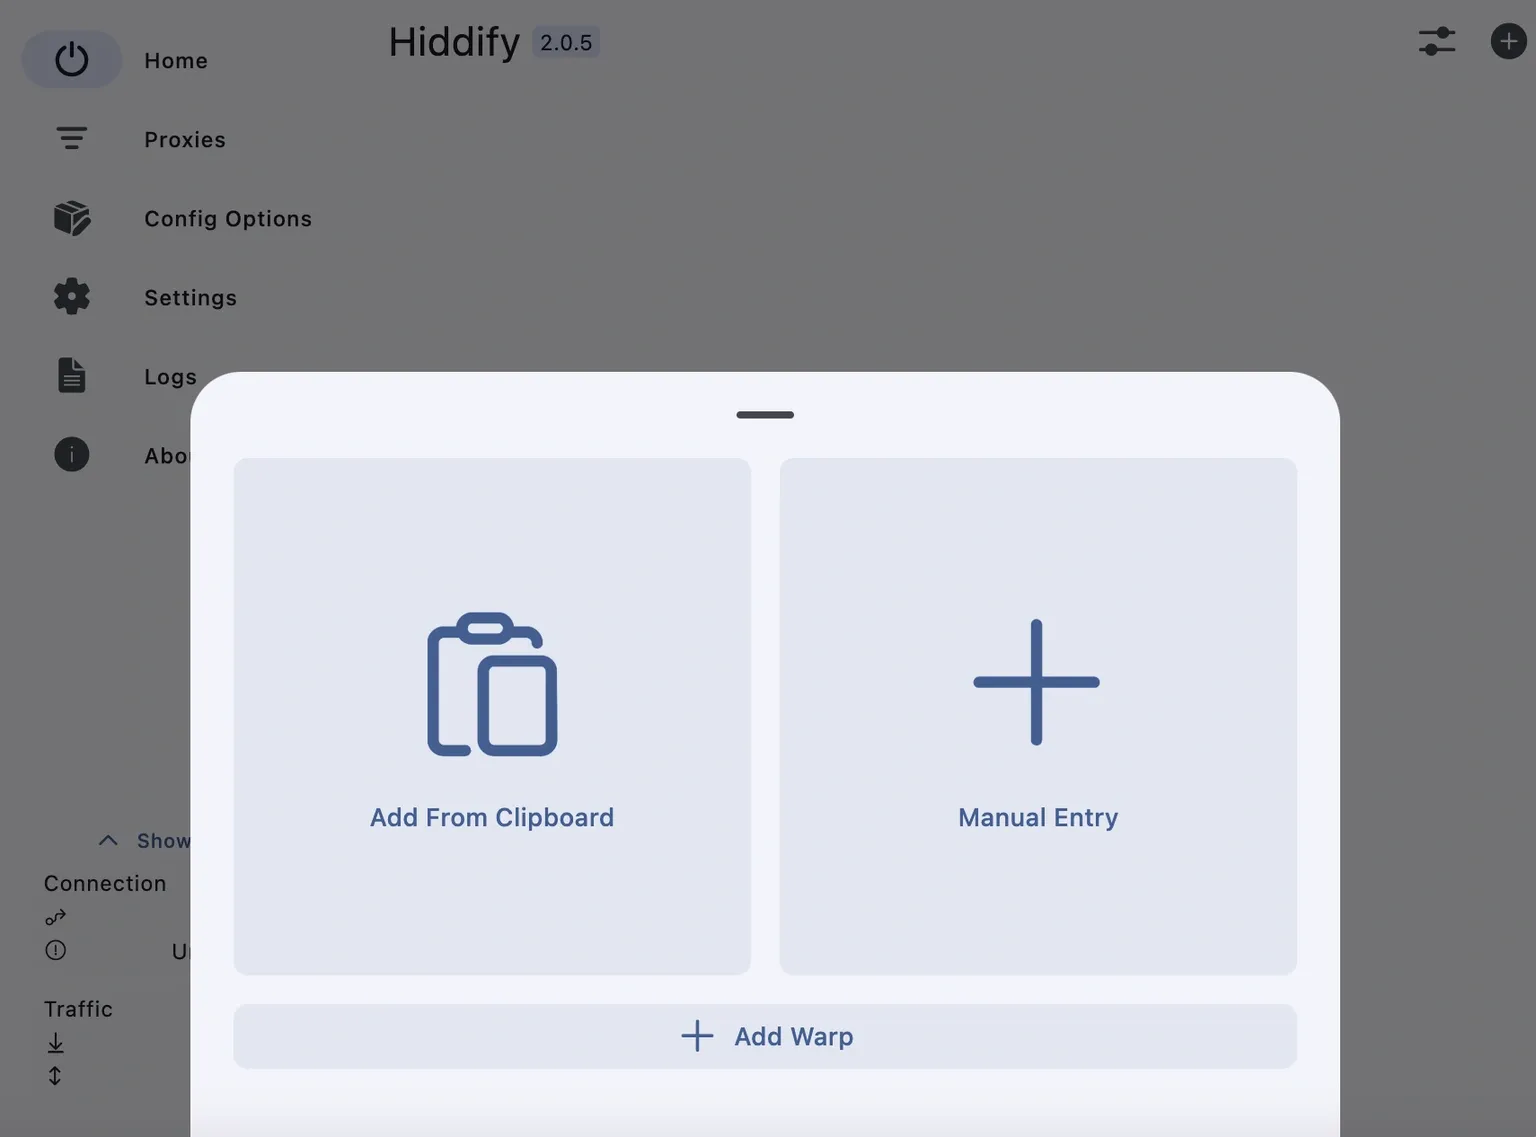
For connections from Windows / MacOS / Linux / Android, we recommend using the Hiddify application. Download it for any supported system.
After installing and launching the application, click "New Profile" and then "Add From Clipboard" to paste the authorization code from the clipboard. Before doing this, make sure you have copied it as shown above.
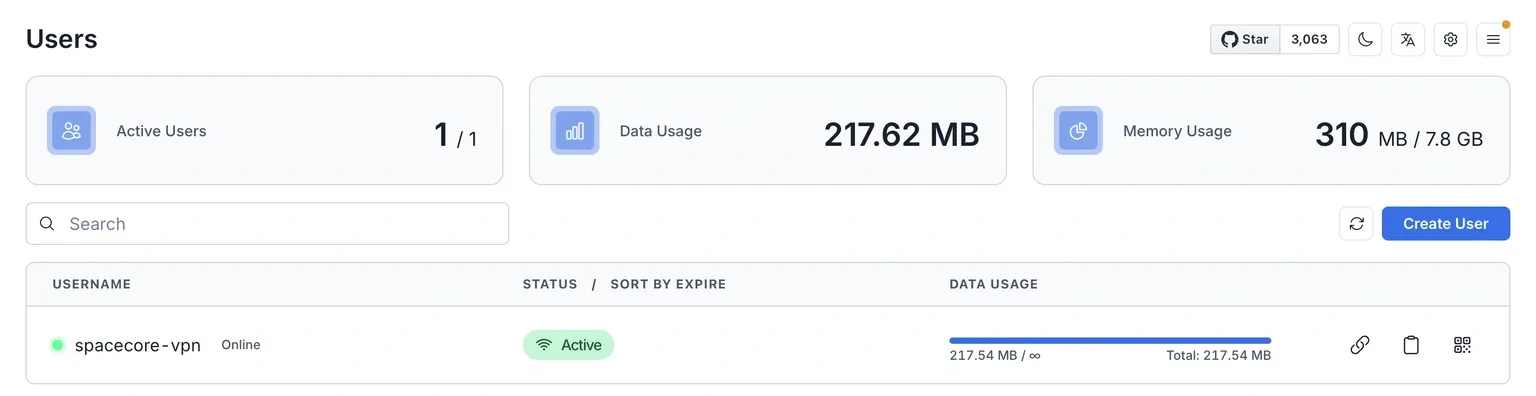
After a successful connection to the network, you will be able to see the user activity and their traffic usage in the control panel.
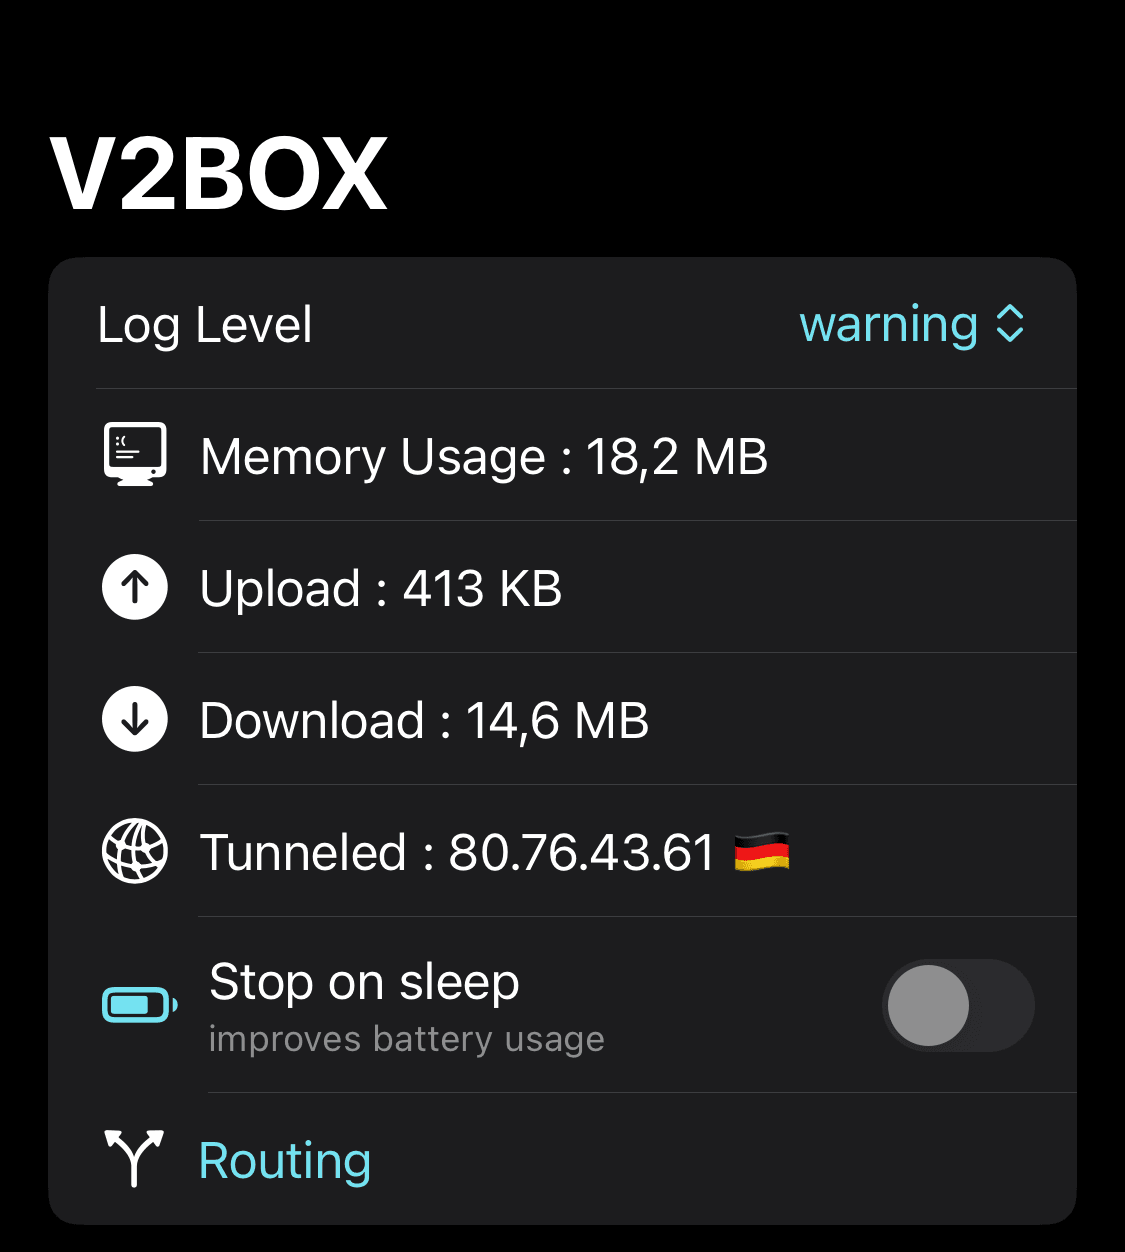
As mentioned earlier, for Android you can use the Hiddify app. However, it is not available in the App Store. For iPhone, we recommend installing V2Box.
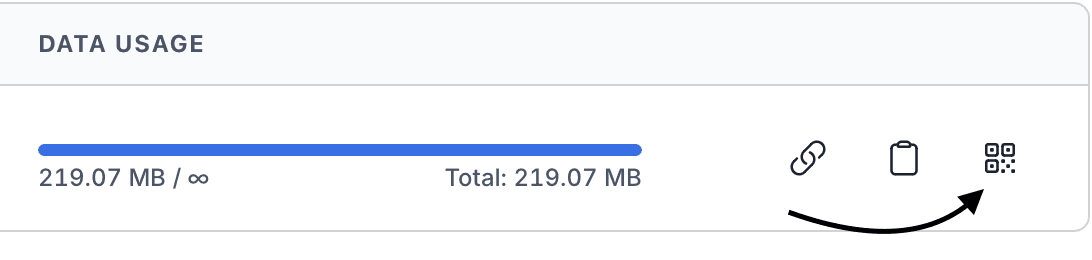
Configuration is just as straightforward. Simply go to the Configs section and scan the QR code. The configuration will then be added to the app.
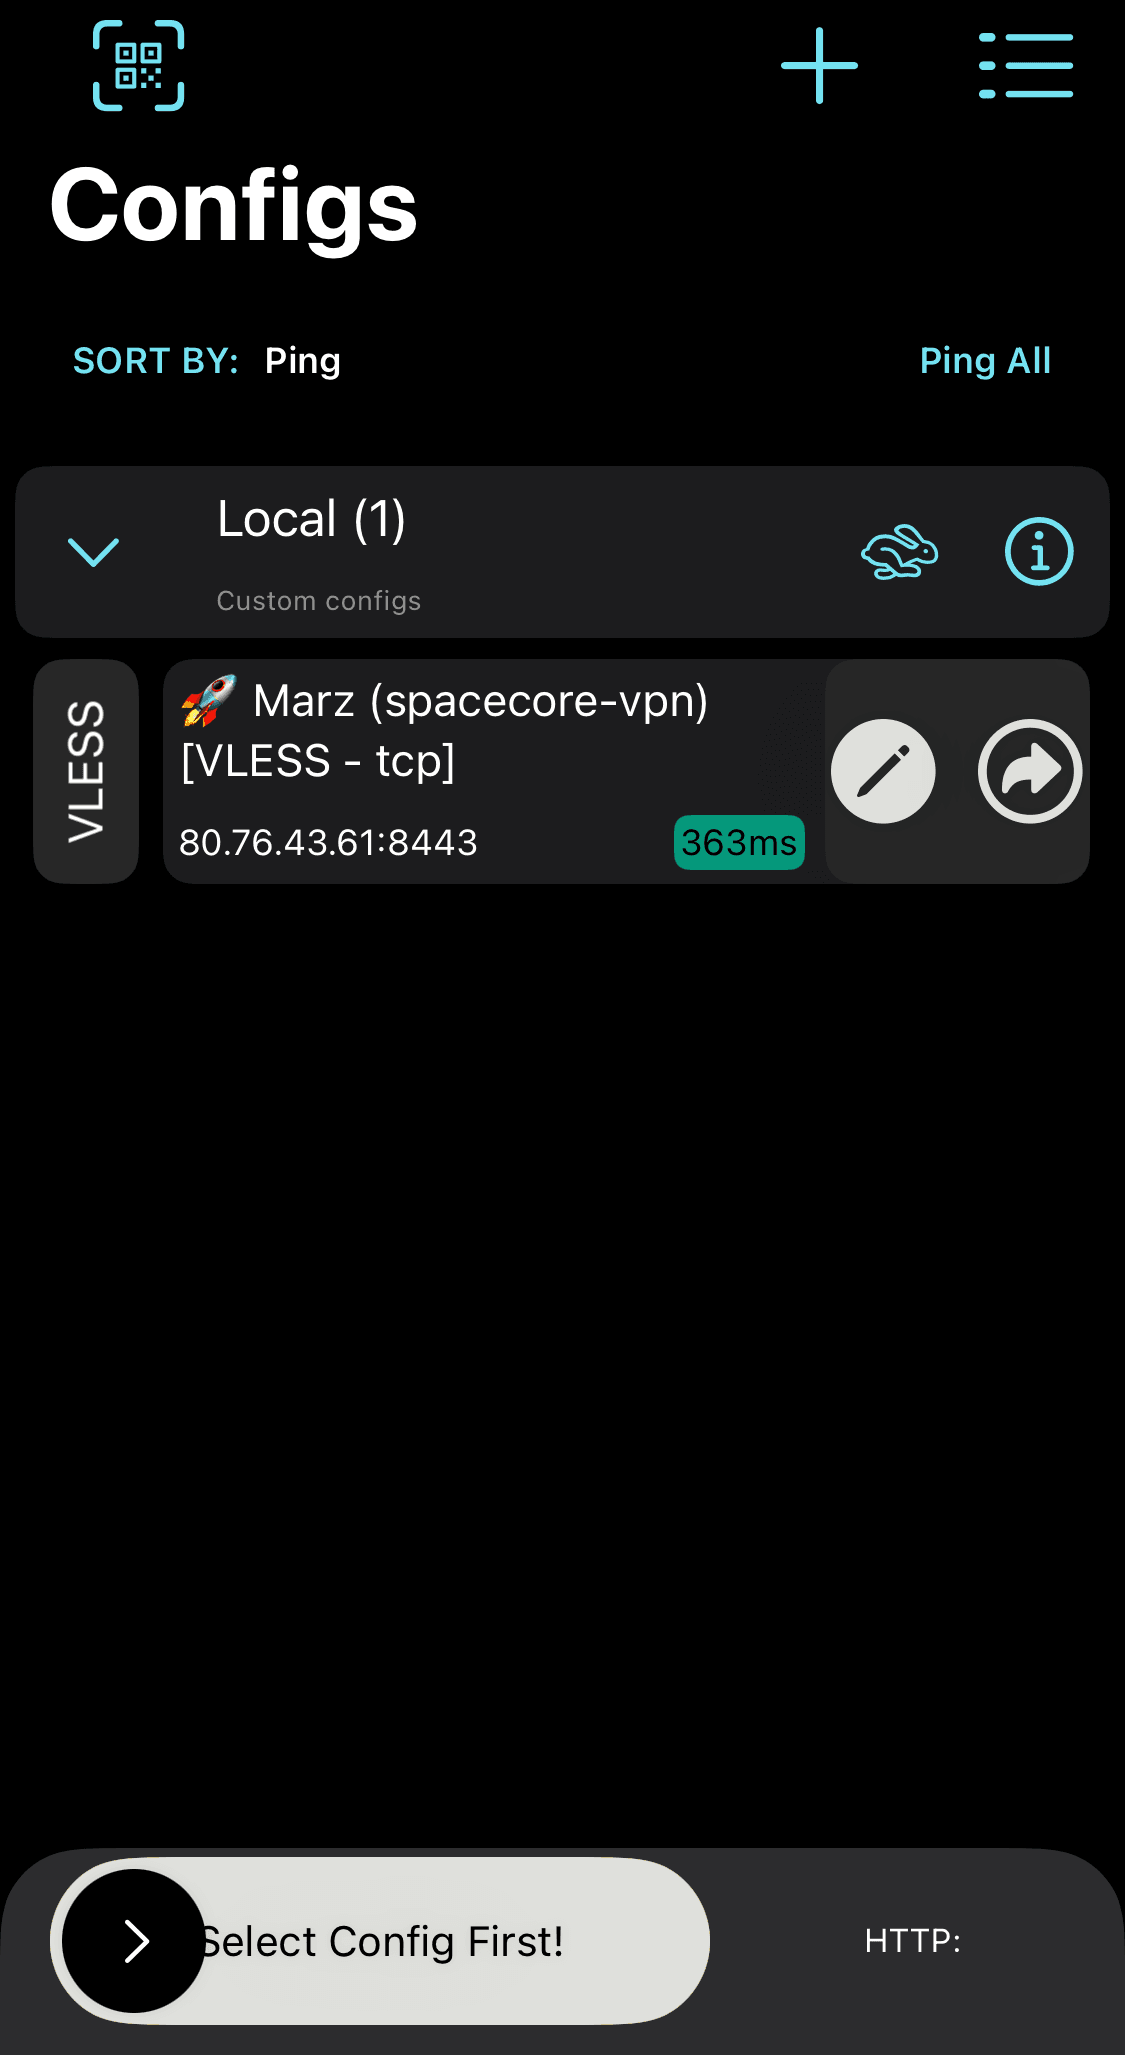
The connection has been successfully established! You can now use the network.