Game Hosting Panel
This guide explains how to use the game hosting web panel. By default, all users are provided with the Pterodactyl panel.
Login and general information
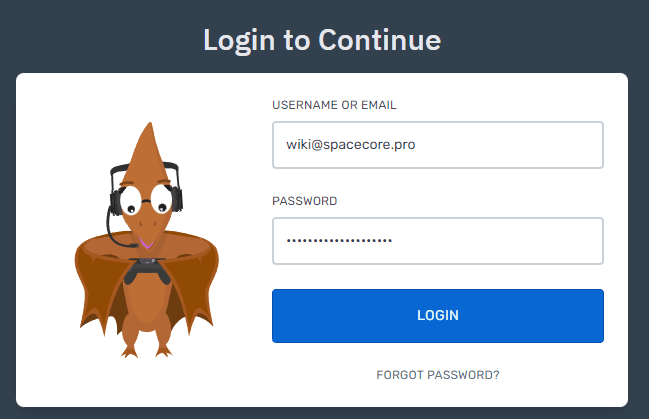
After your game hosting service has been activated, follow the link provided in the activation email and enter your credentials to log in to the panel.
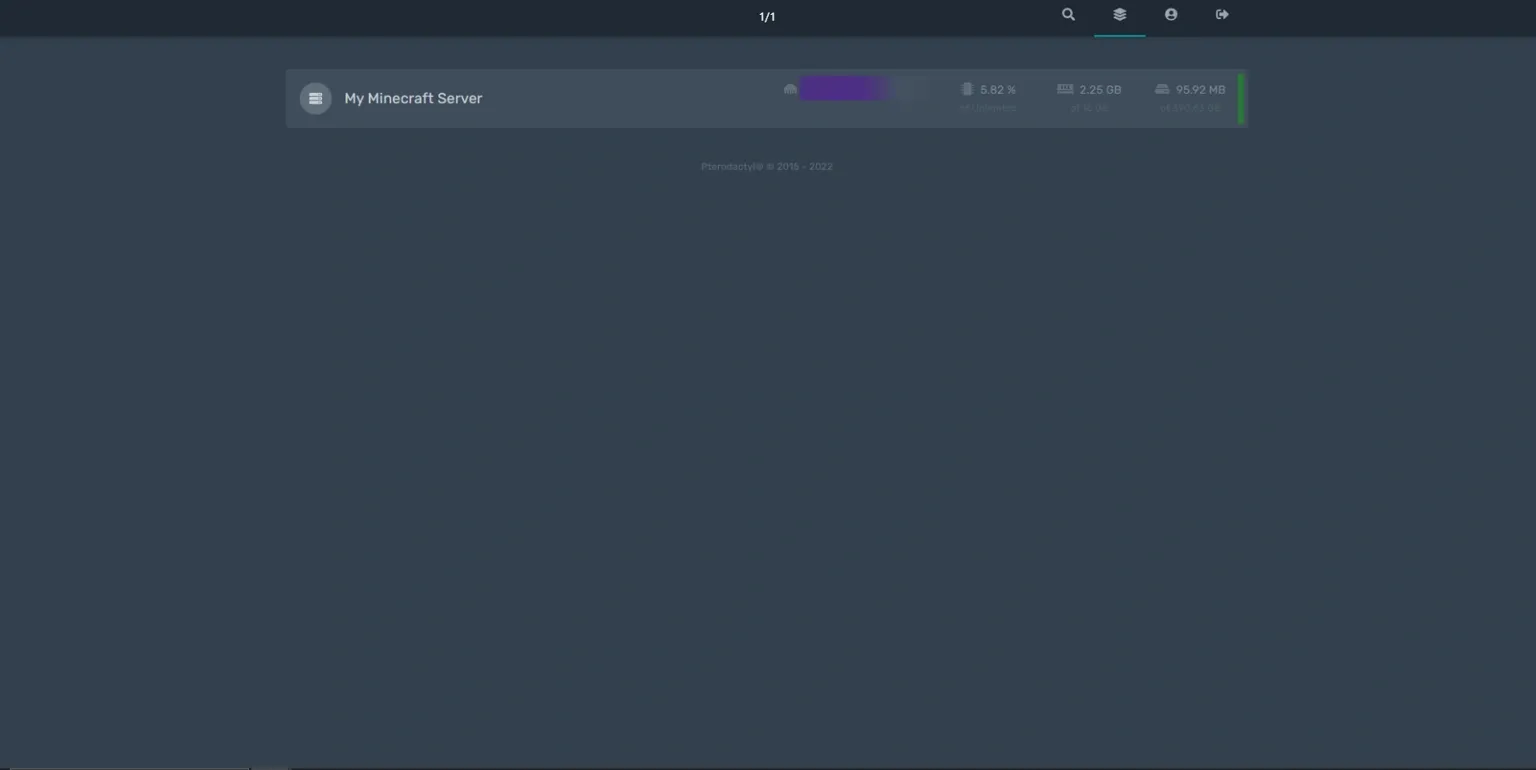
Great, you have successfully logged in to the control panel.
Several buttons are displayed in the upper-right corner. The first one lets you search among your active servers.

The second tab takes you to the page with the list of all servers.
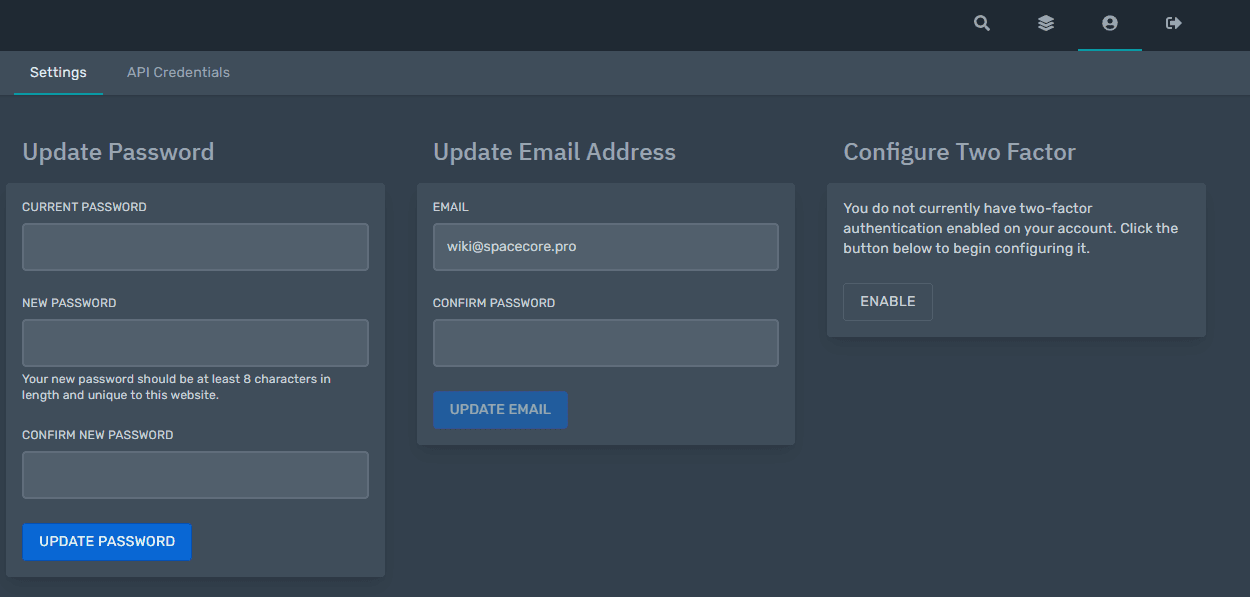
The third tab allows you to manage your profile settings, namely change your password, email address and enable 2FA authentication. You can also configure the API there.
The last button allows you to log out of your account.
Server pages
Console
When you open the page of any server, you see an interface similar to the one below. It is the same for all games; only the server output in the console differs.
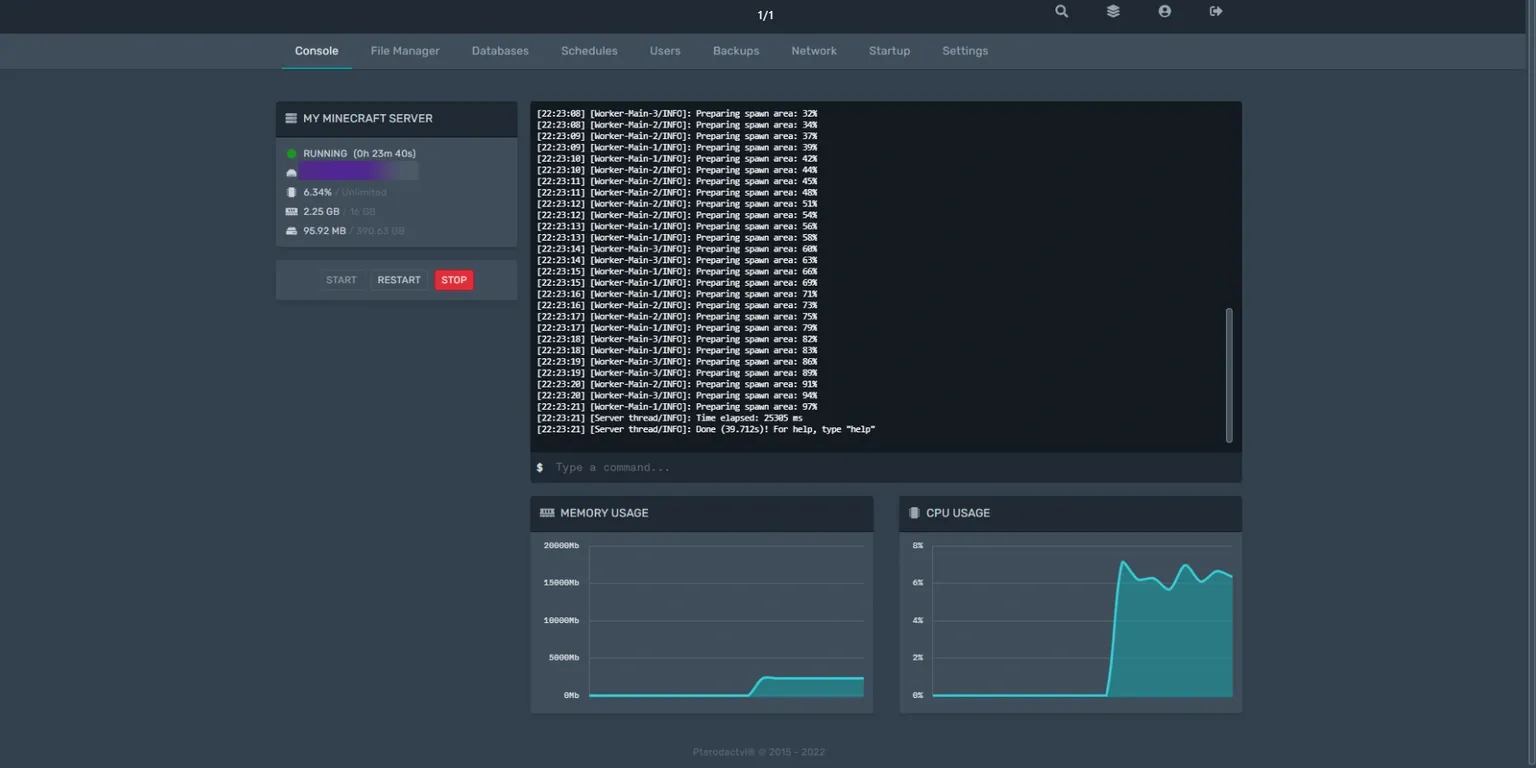
On this page you can see general server load statistics, namely CPU, RAM and disk usage. You can also use the buttons to start, restart and stop the game server. The largest area on the page is the console used to enter commands on the game server.
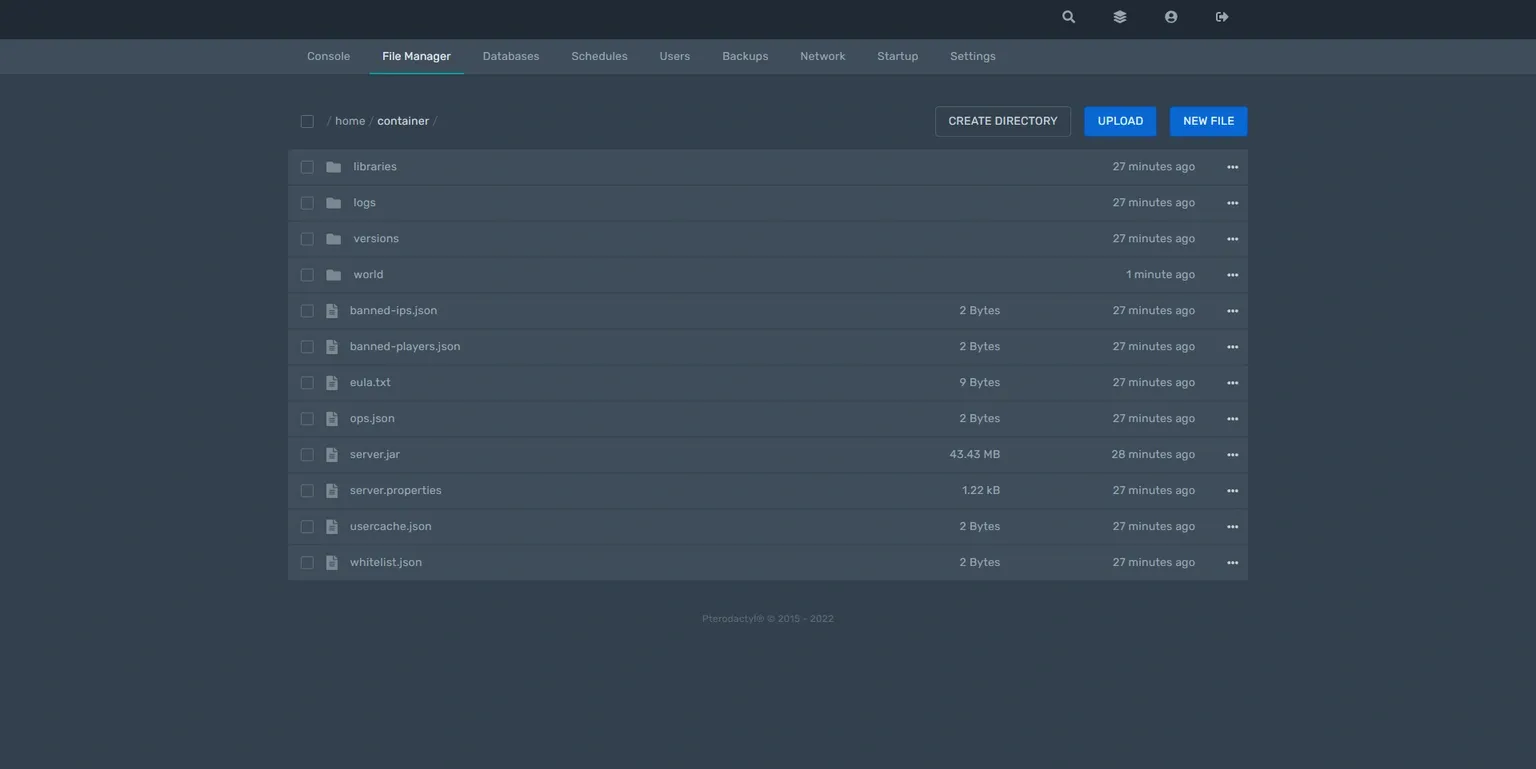
File Manager
Here you can manage your server files. Editing text files is available. Using the buttons above the file list, you can create directories, upload files, and also create new files directly on the remote server.
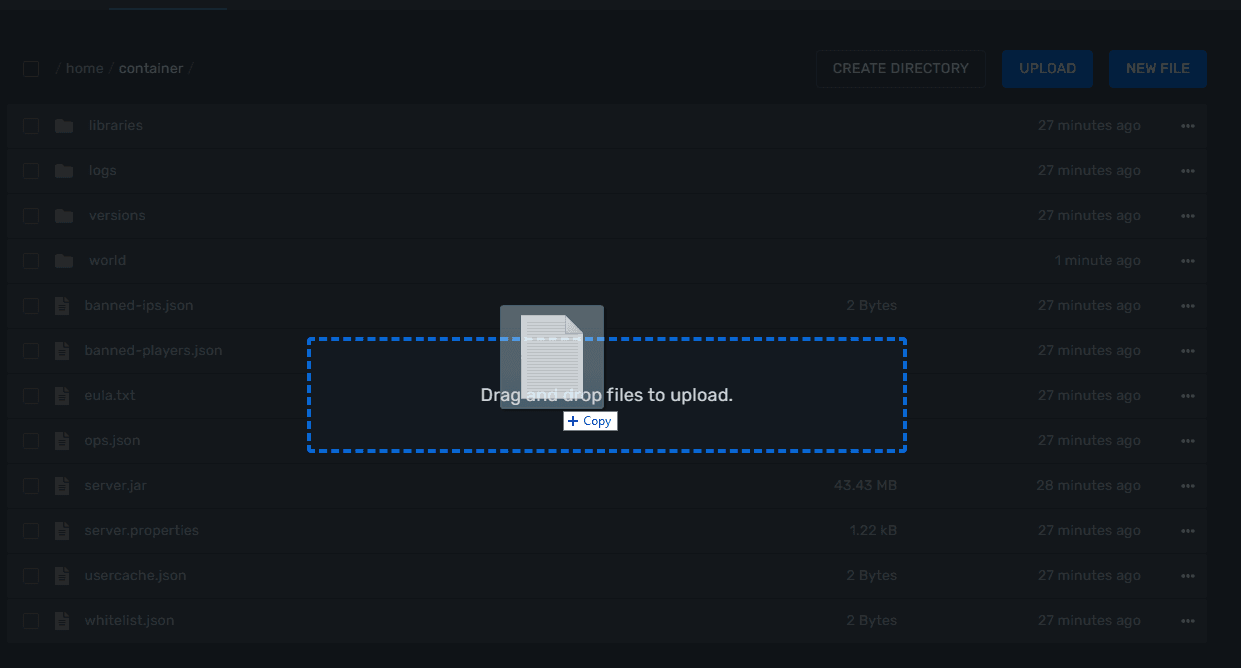
You can upload any file to the game server by simply dragging and dropping it into the file manager area in your browser.
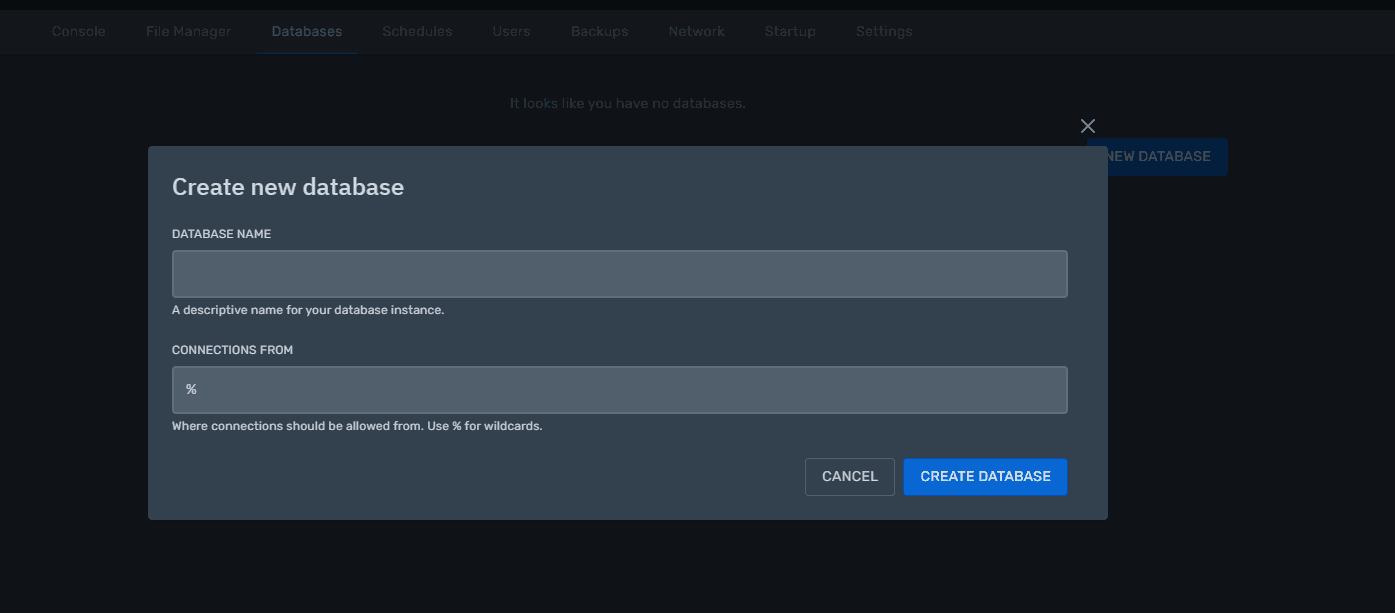
Databases
In the Databases section you manage the databases associated with your server. Here you can:
- create new databases
- delete unused databases
- view the host, port and database name for connecting
- manage access (allowed IP addresses for connecting)
Access to the database contents is performed through separate tools (for example, phpMyAdmin) using the credentials specified in this section.
Schedules
The Schedules section is responsible for the task scheduler. You can configure automatic actions to be performed according to a schedule, for example:
- daily server restart
- sending commands to the server at a specified time
- creating backups according to a schedule
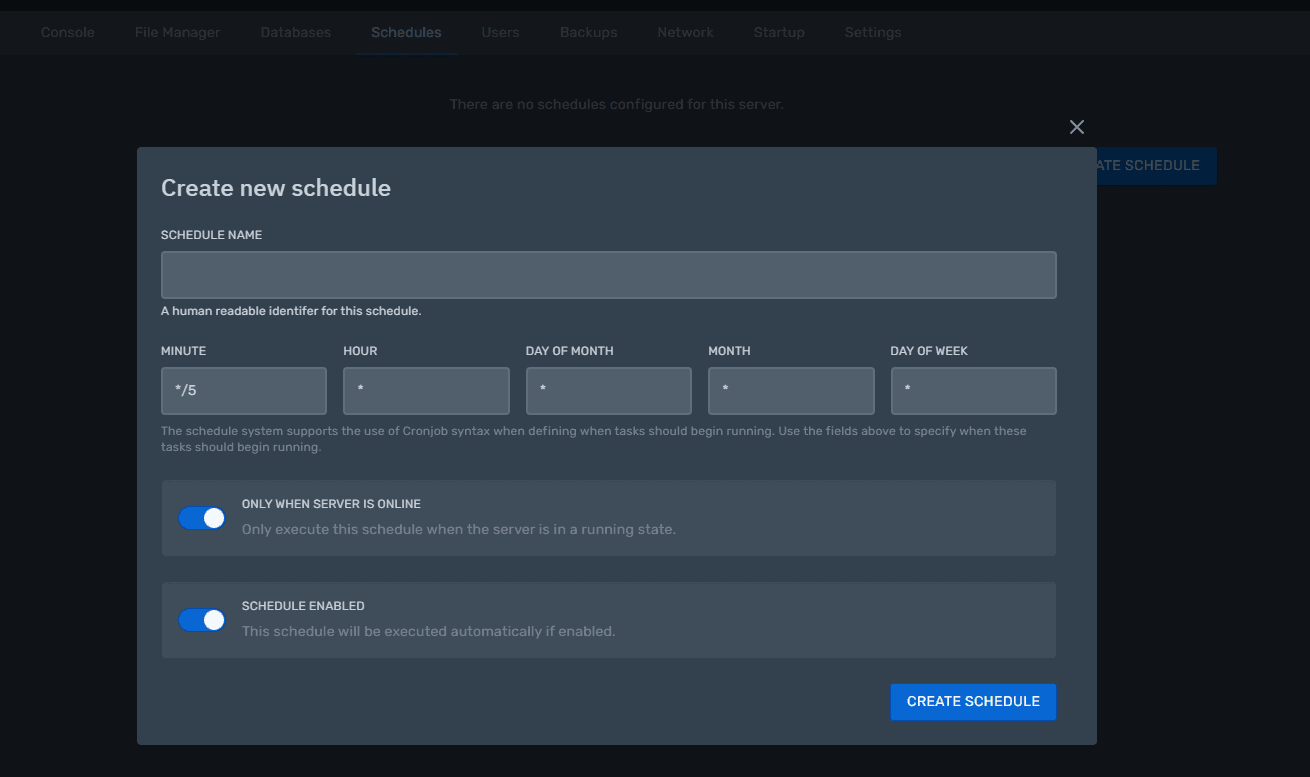
For each task you configure the interval (every hour, day, week, etc.) and the list of actions that should be executed. It is based on CRONTAB.
Users
In the Users section you can grant other people access to manage your game server. For each user you can configure permissions:
- access to the console
- file management
- creating and deleting backups
- database management
- changing startup settings and more

Backups
The Backups section allows you to create and manage server backups. Here you can:
- create a new backup manually
- download an existing backup to your computer
- delete old backups to free up space
- choose which folders and files to include in or exclude from a backup
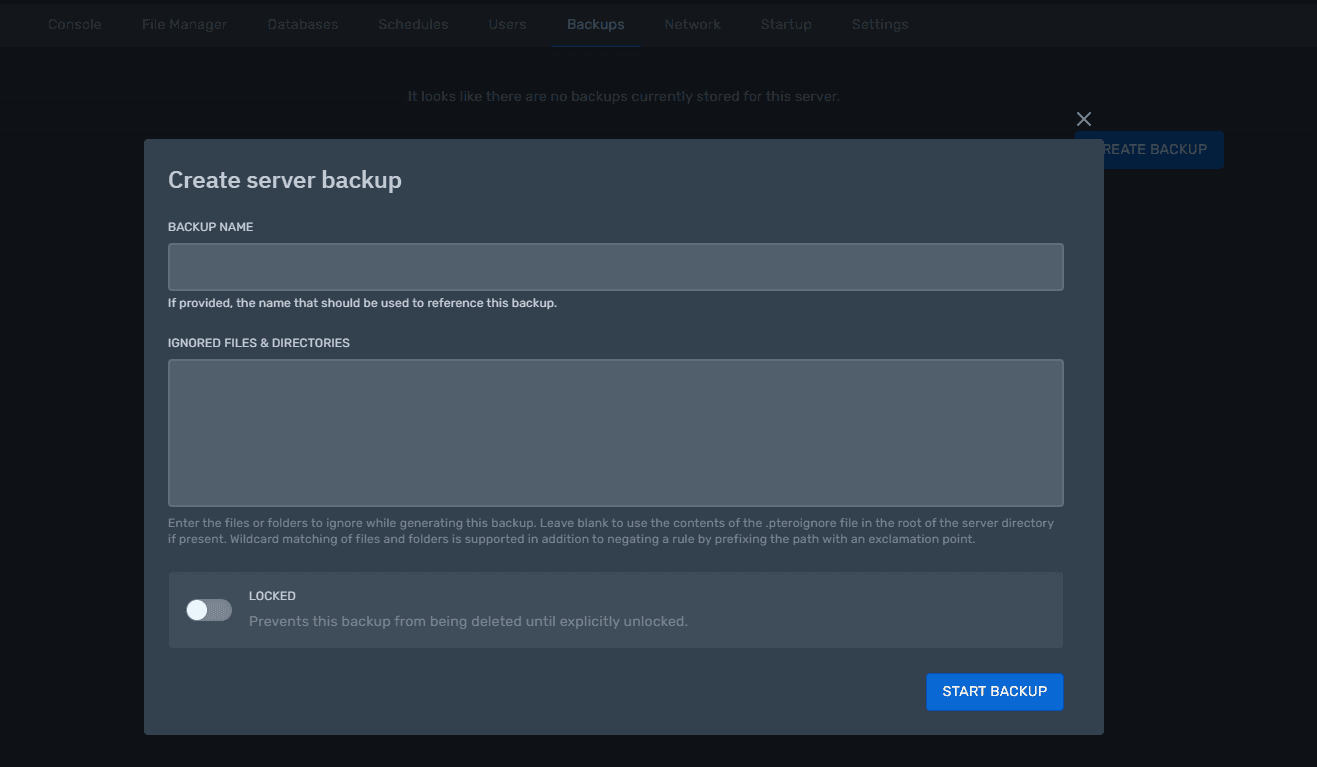
We recommend creating backups regularly, especially before installing new plugins, mods, or updating the server core.
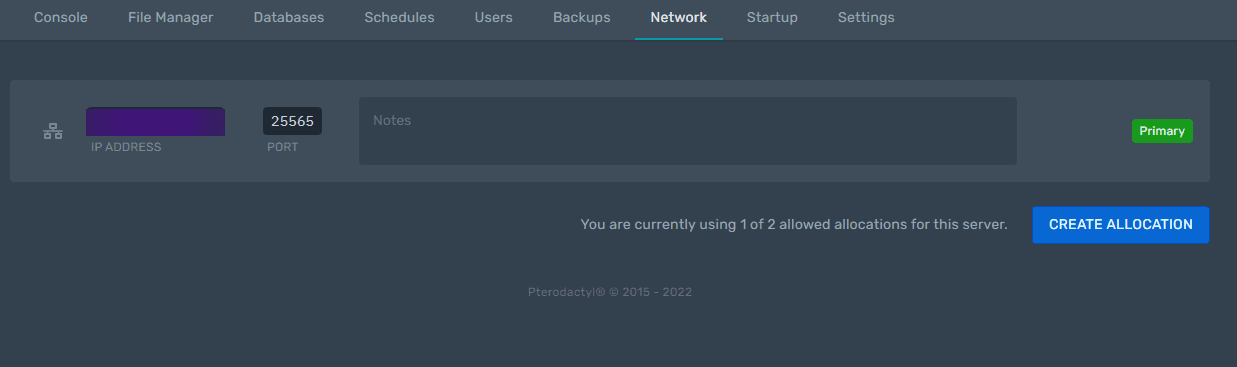
Network
Here you can configure the basic network settings of your game server, for example allocate additional ports if needed.
Startup
In this subsection you configure your game server startup parameters.
Please note that the available parameters will vary depending on the game selected for your server. An example for Minecraft Vanilla is shown in the screenshot below.

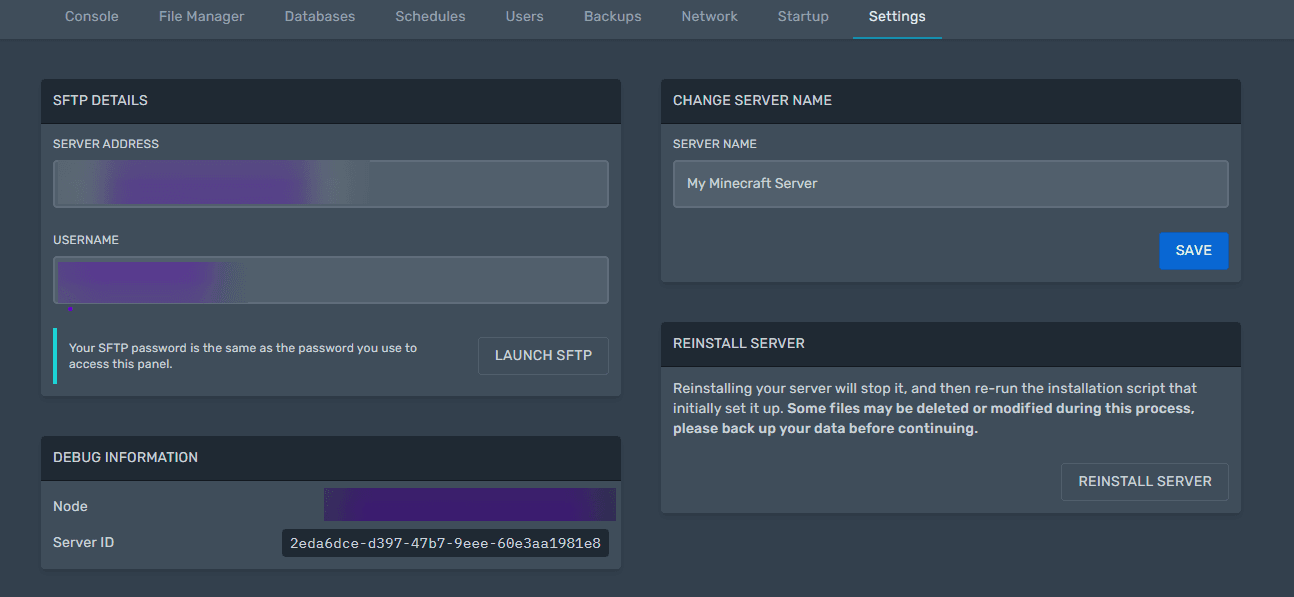
Settings
In the Settings section you will find the credentials for sFTP access to your game server. You can also change the display name of your server in the game panel. In the bottom-right corner there is a button to fully reinstall the selected game server.