Installation via QEMU
Let’s take a look at how to install Windows on any dedicated server with any processor that supports KVM.
First, you need to boot the server in Resque mode and log in.
Go to the /tmp directory:
cd /tmp
Download the vKVM software:
wget https://mirror.spacecore.info/software/vkvm-latest.tar.gz && tar xvf vkvm-latest.tar.gz
Download the required OS image:
wget https://mirror.spacecore.info/os/windows/Windows_10_x64_1909.isoNext, start the software:
/tmp/qemu-system-x86_64 -net nic -net user,hostfwd=tcp::3389-:3389 -m 10000M -localtime -enable-kvm -cpu core2duo,+nx -smp 2 -usbdevice tablet -k en-us -cdrom Windows_10_x64_1909.iso -hda /dev/nvme0n1 -vnc :1 -boot dAfter the "-cdrom" argument, you must specify the name of your OS image.
After "-hda" specify the name of the disk to which the OS will be installed.
If you encounter an error like: "cannot set up guest memory "pc.ram": Cannot allocate memory" the solution is to change the "-m 10000M" value to the amount of megabytes available in your system.
If the command runs successfully, you will not see any output, and the KVM process will start in the active window.

Next, install and run UltraVNC. In the input field, enter the address of your server plus port "1" in the format "IP:1".
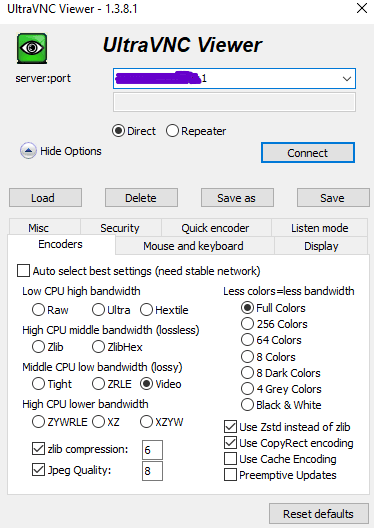
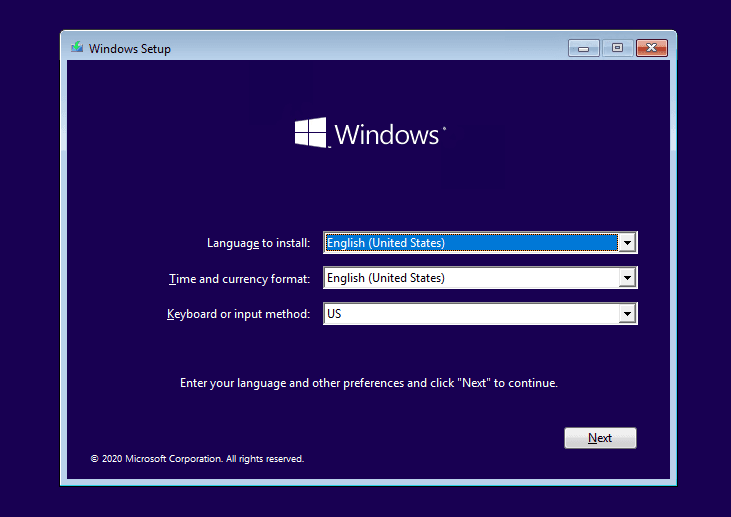
Connect to the server and start the Windows OS installation process:
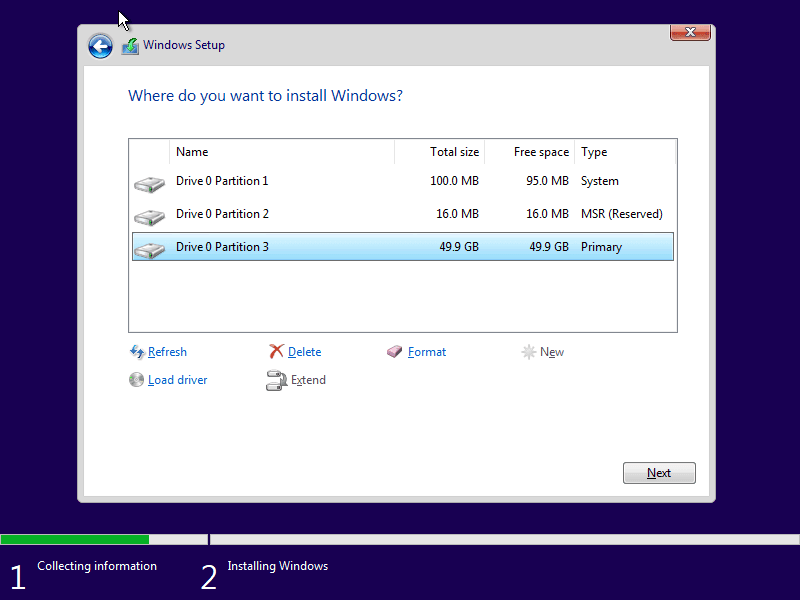
Then create the partitions and install the OS on the main drive with sufficient free space.
After the main installation is complete, proceed to user configuration. First, specify the username.
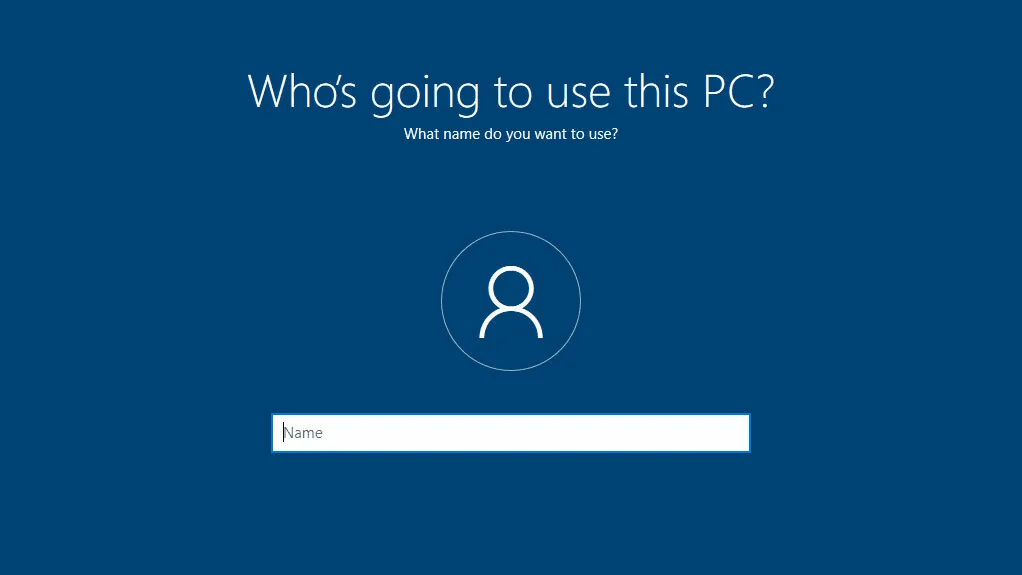
Then set the user password.
A password is required, otherwise you will not be able to access the server via RDP.

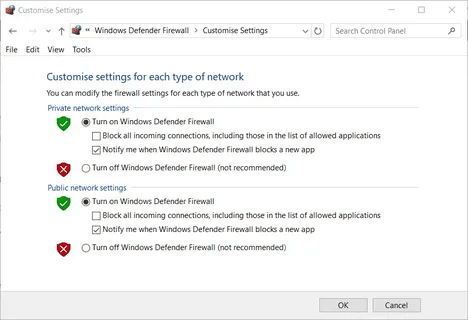
Once the installation is fully completed, you need to go to the Windows Firewall settings and completely disable it to avoid connection blocks.
Next, enable Windows Remote Desktop (RDP) in the corresponding settings.
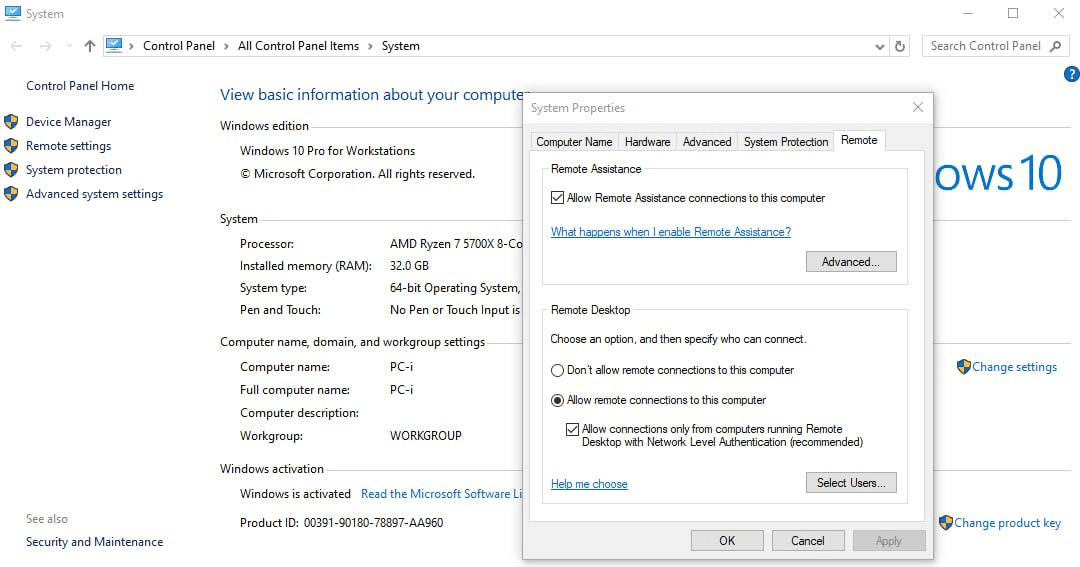
Also, do not forget to clear the checkbox for the option "Allow connections only...".
Save the changes and then shut down your Windows system.
Now boot your dedicated server from the main disk where Windows OS was installed and connect using the created user account.