WireGuard VPN [Easy]
Introduction
WireGuard is a modern solution for creating secure virtual private networks (VPN). It is an easy-to-use, fast and reliable tool that provides a high level of security for data transmission. WireGuard uses advanced cryptographic protocols and algorithms to protect your connection, making it one of the most secure VPN options available today.
This guide uses Ubuntu 20.04 as the operating system.
Connecting to the server
Connect to your server. If necessary, you can use our detailed guide on how to perform this operation.
Installing WireGuard
Update the system package and repository lists.
apt-get update
Next, check whether Curl is installed or install it.
apt-get install curl -y
Then use the command below to install Docker. The download and installation will run automatically.
curl -sSL https://get.docker.com | sh
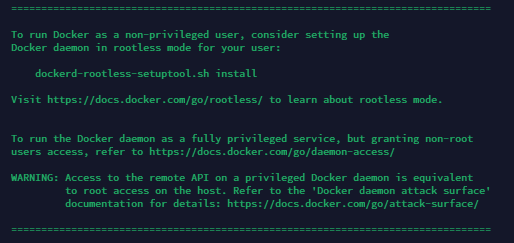
Wait for about 1 minute (the time depends on the network speed and the performance of the server you are using). The following message indicates that Docker has been installed successfully.
After the installation is complete, use the template below and modify it by setting the required values.
"🚀YOUR_SERVER_IP" is the address of the server where WireGuard VPN is being installed. "🚀YOUR_ADMIN_PASSWORD" is the password that will be used later to access the web management panel.
You must replace the entire value inside the quotes without leaving extra spaces or Emoji.
docker run -d \
  --name=wg-easy \
  -e WG_HOST=🚀YOUR_SERVER_IP \
  -e PASSWORD=🚀YOUR_ADMIN_PASSWORD \
  -v ~/.wg-easy:/etc/wireguard \
  -p 51820:51820/udp \
  -p 51821:51821/tcp \
  --cap-add=NET_ADMIN \
  --cap-add=SYS_MODULE \
  --sysctl="net.ipv4.conf.all.src_valid_mark=1" \
  --sysctl="net.ipv4.ip_forward=1" \
  --restart unless-stopped \
  weejewel/wg-easy
Make sure your password contains only digits and/or letters. Using other characters may cause the script to fail.
Example of an invalid password — u>N#uG_3Z=5pS'cn;
Example of a valid password — QJQcc7cAdTY85sp7
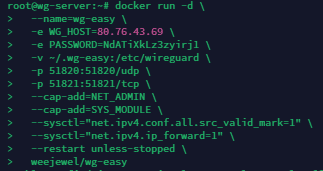
The screenshot below shows a correct command execution request according to the values for our server.
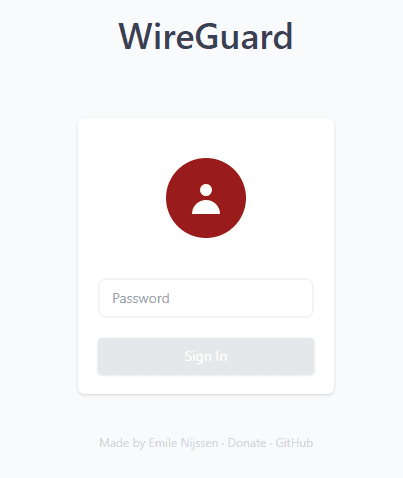
Wait for the installation to finish and make sure that no errors occur during the process. Almost done! Next, open your browser and go to "IP:51821", where "IP" is your server address. The following page will open, where you need to enter the password that you specified when running the WireGuard installation command.
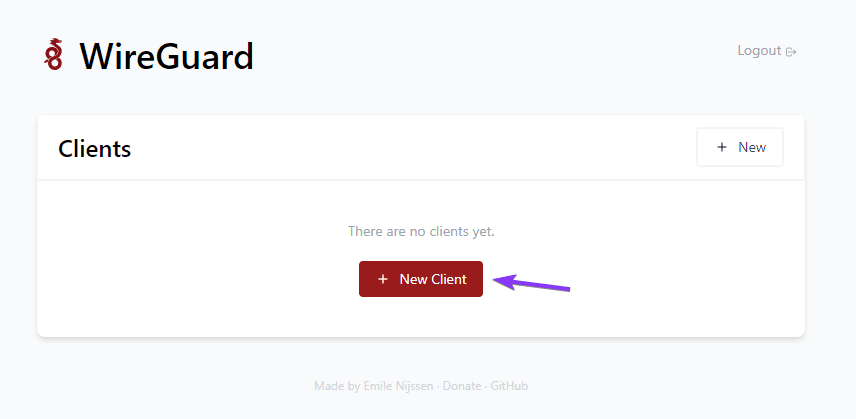
After logging in, use the button to create a new VPN user.
Enter any suitable name and click "Create".
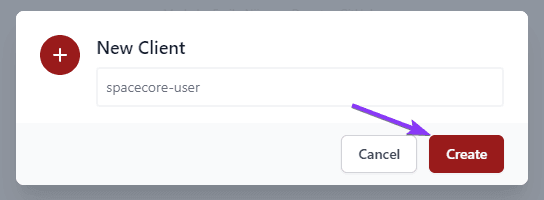
Great! The first user has been created. There are several ways we can connect to our VPN network.
Usage
To download the configuration file, use the corresponding button next to the created user.
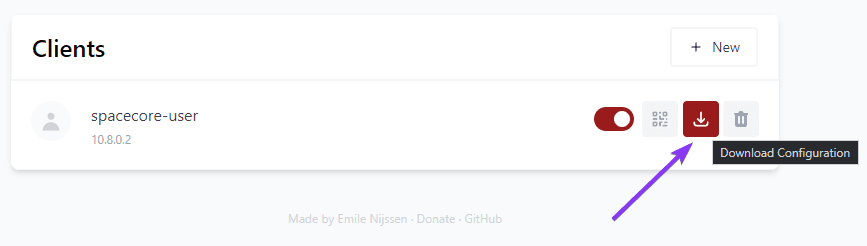
The downloaded file can be used to configure a VPN connection on any supported device, whether it is a computer or a router. This is all you need to connect.
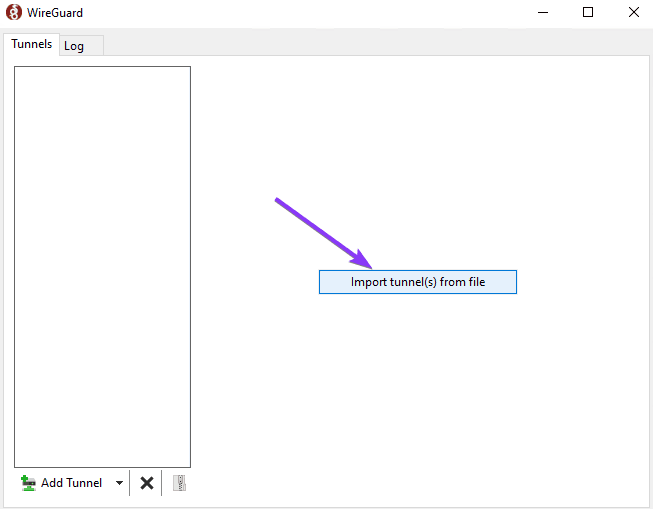
On a computer, you can add this file in the WireGuard VPN application using the corresponding button.
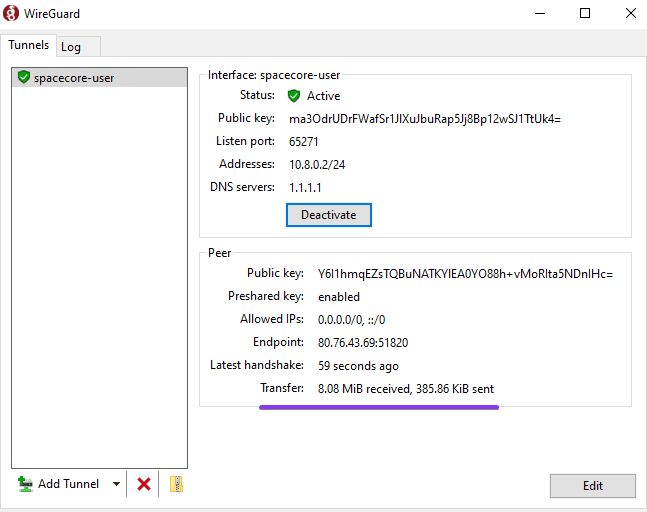
If everything is done correctly, after adding and activating the tunnel you will see active incoming and outgoing traffic.
This method is especially convenient for devices with a camera (🧐 in case you decide to use your computer's webcam).
To use this method, simply click the button to display the QR code.
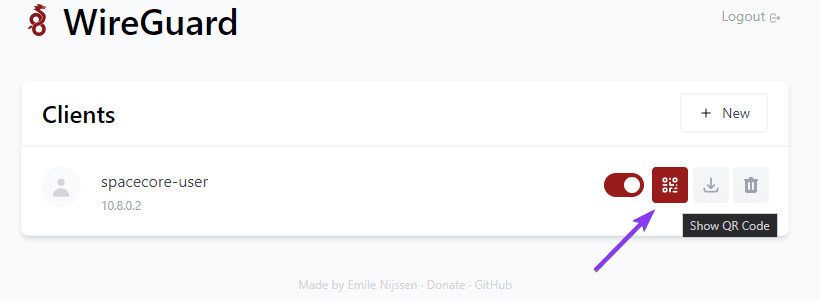
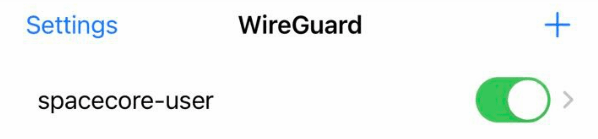
Then scan it with your device.

The tunnel has been added and is ready to use!
Monitoring
For each VPN user, you can view activity information and real-time traffic usage in the management panel.