3X UI Installation
3X UI is a powerful web panel for managing VPN servers that supports multiple protocols such as VMess, VLESS, ShadowSocks, and WireGuard. This tool makes it easy to configure and control VPN connections, manage multiple users, and set limits for traffic, validity period, and IP addresses. Thanks to automatic SSL certificate management and its other features, 3x-ui is suitable for both advanced and novice users.
Supported protocols
Installation
Use the following command to install 3X UI:
bash <(curl -Ls https://raw.githubusercontent.com/mhsanaei/3x-ui/master/install.sh)
Enter y to confirm that you want to change the panel settings before installation (for additional security). Then you need to specify a username (login) that will be used for authentication.

In the same way, specify the user password, the panel port (we recommend using a non-standard port), as well as the web path to the panel site (the panel URL will have the format ip:port/web-path).

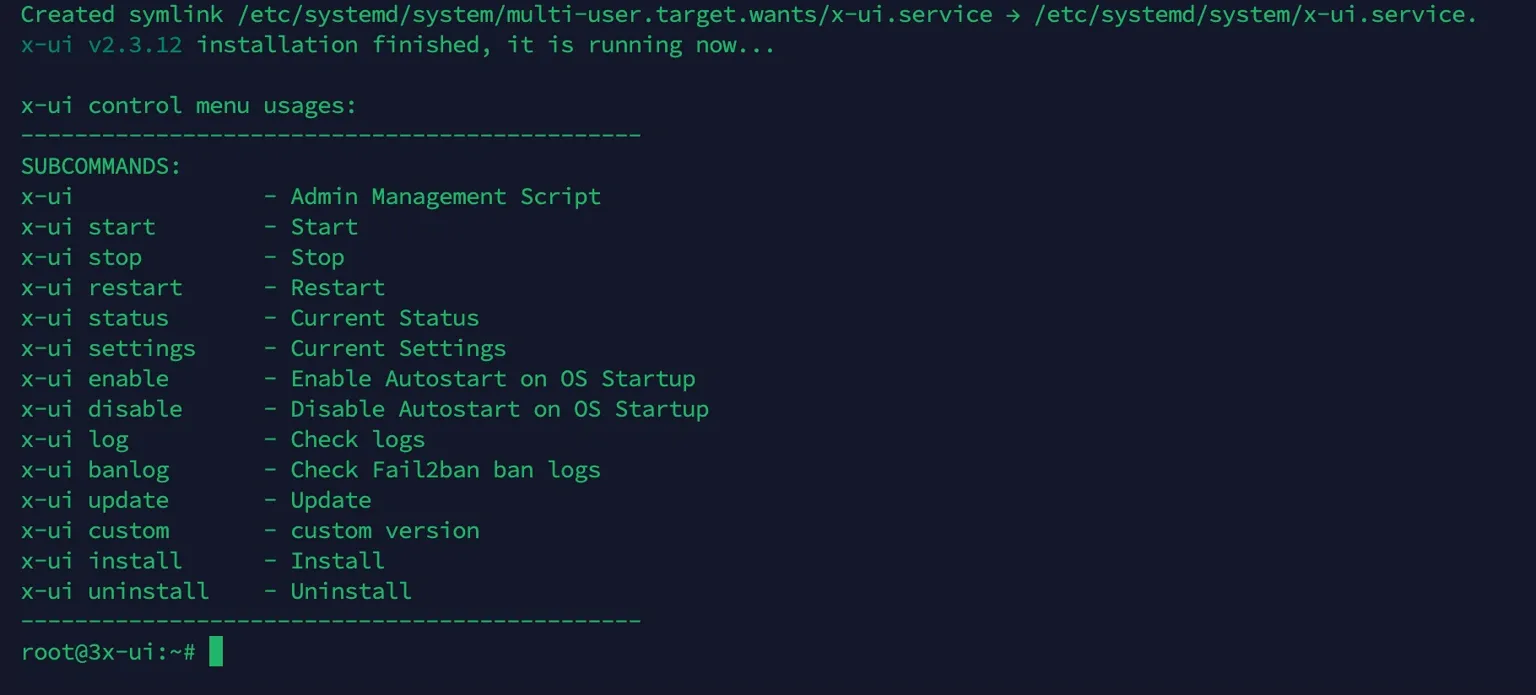
If you see a message like this, it means the installation was successful.
Web panel configuration
Open the following URL:
server_ip:port/web-path

// In our case, this is 194.87.25.161:3579/mysecret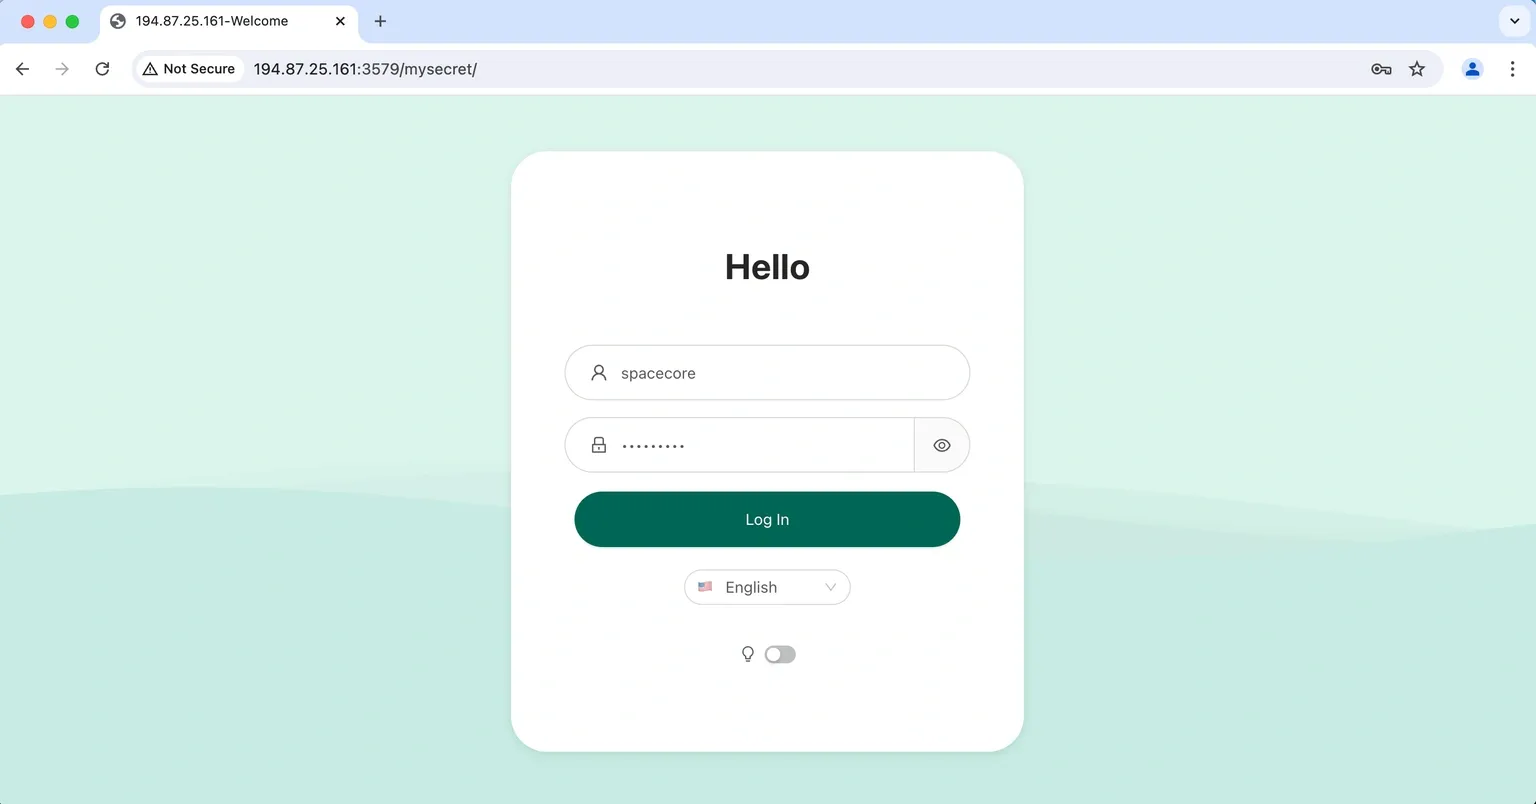
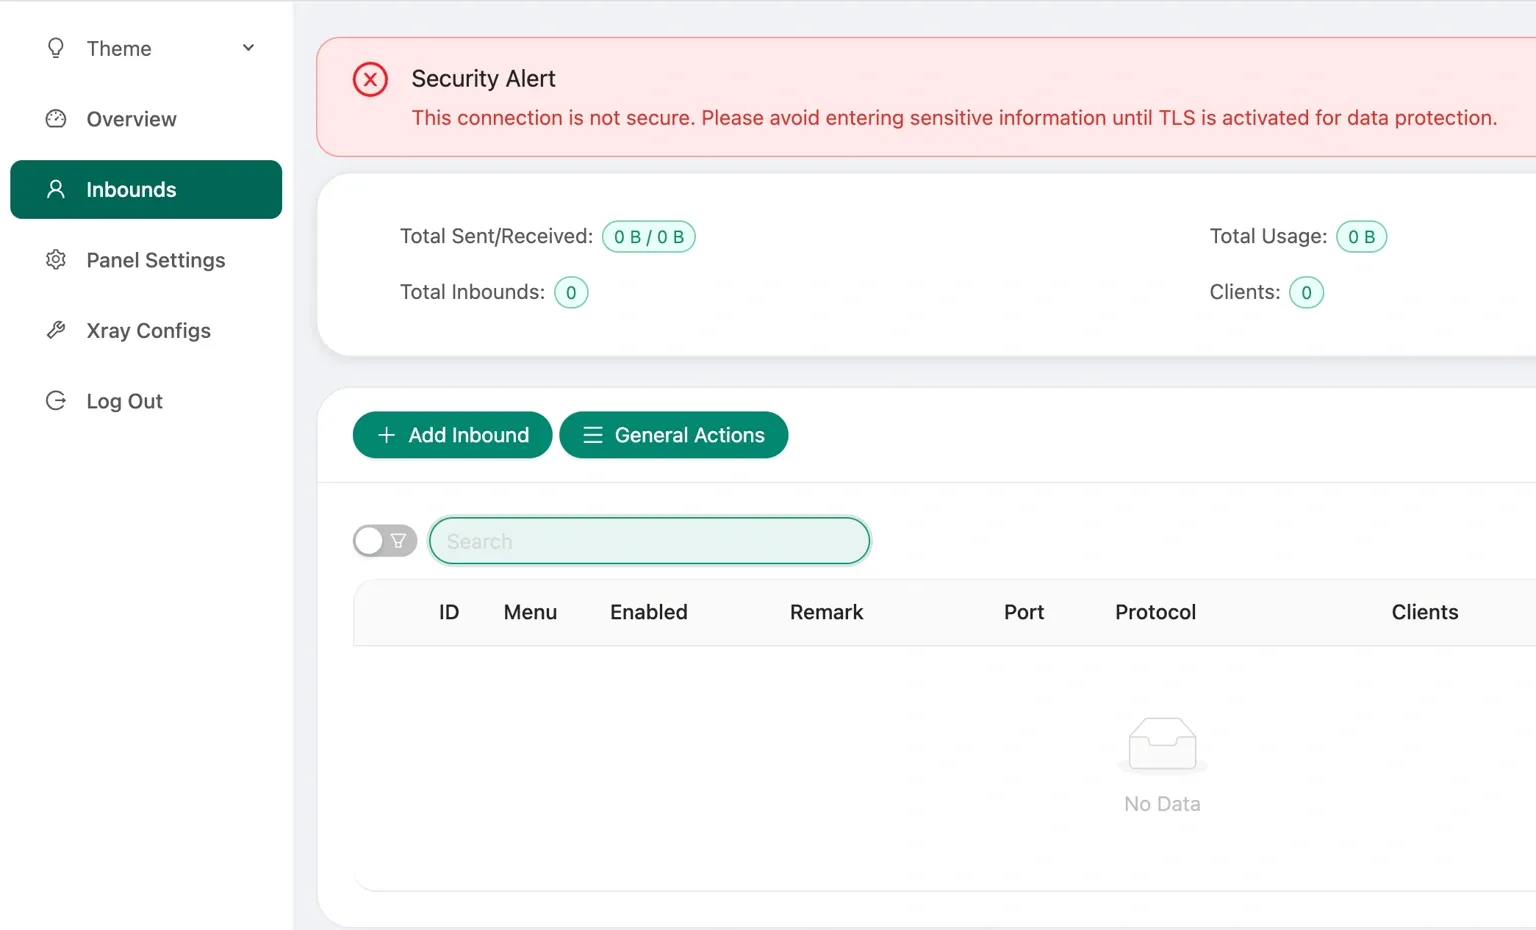
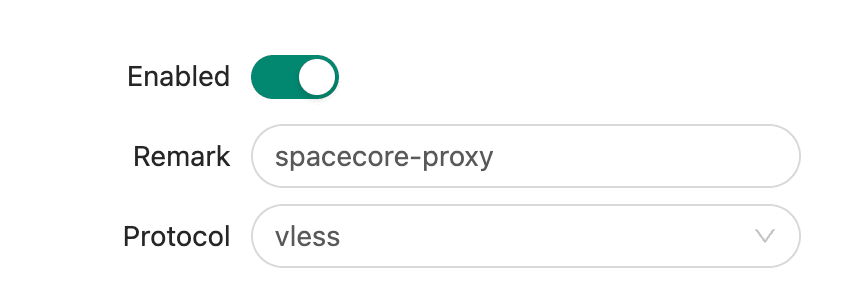
Log in using the username and password you specified earlier. Go to the "Inbounds" page and then click the "Add inbound" button to create a new connection.
In the opened window, you can specify any connection name in the "Remark" field. It will not affect functionality but will be convenient for display in the panel.
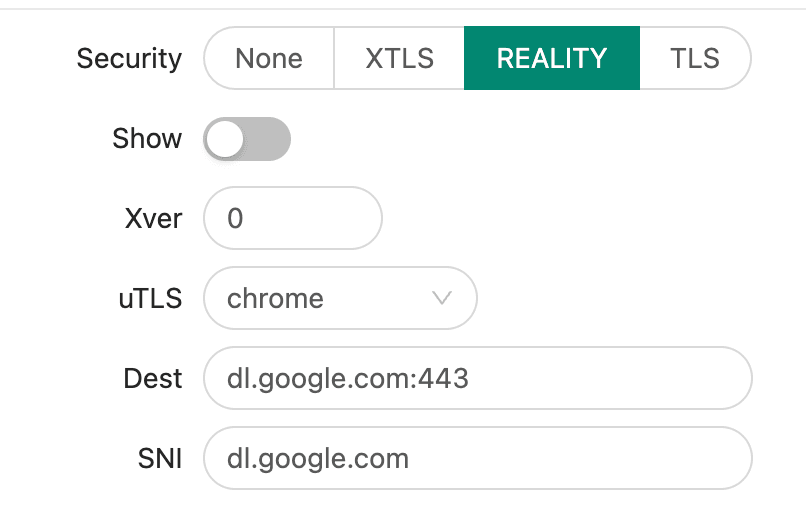
Below, select Security type "Reality". Set uTLS to "chrome". By default, yahoo.com is used as the camouflage (masking) domain, but we recommend specifying other values, for example, dl.google.com:443 in the "Dest" field and dl.google.com in "SNI".
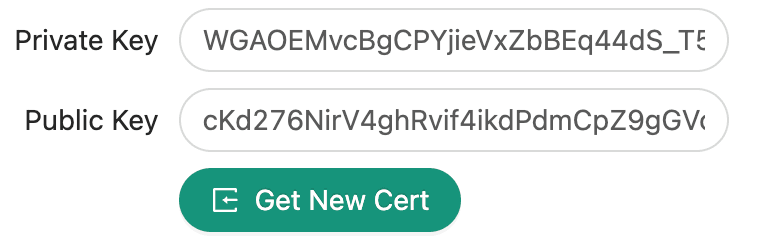
Click Get New Cert to automatically generate random keys.
Use the Create button to save and create the connection. After that, you will see the created connection; click the plus button to show additional settings.

Click the QR code.
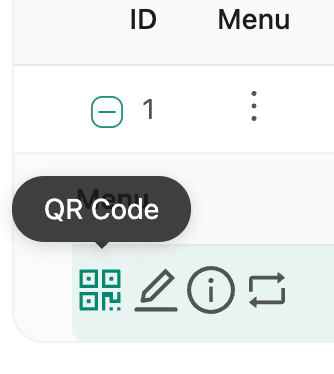
In the window that opens, you can scan the QR code with your phone or click it on your computer to copy the connection code.

Connecting to the proxy
To connect from Windows / MacOS / Linux / Android, we recommend using the Hiddify application. Download it for any of these systems.
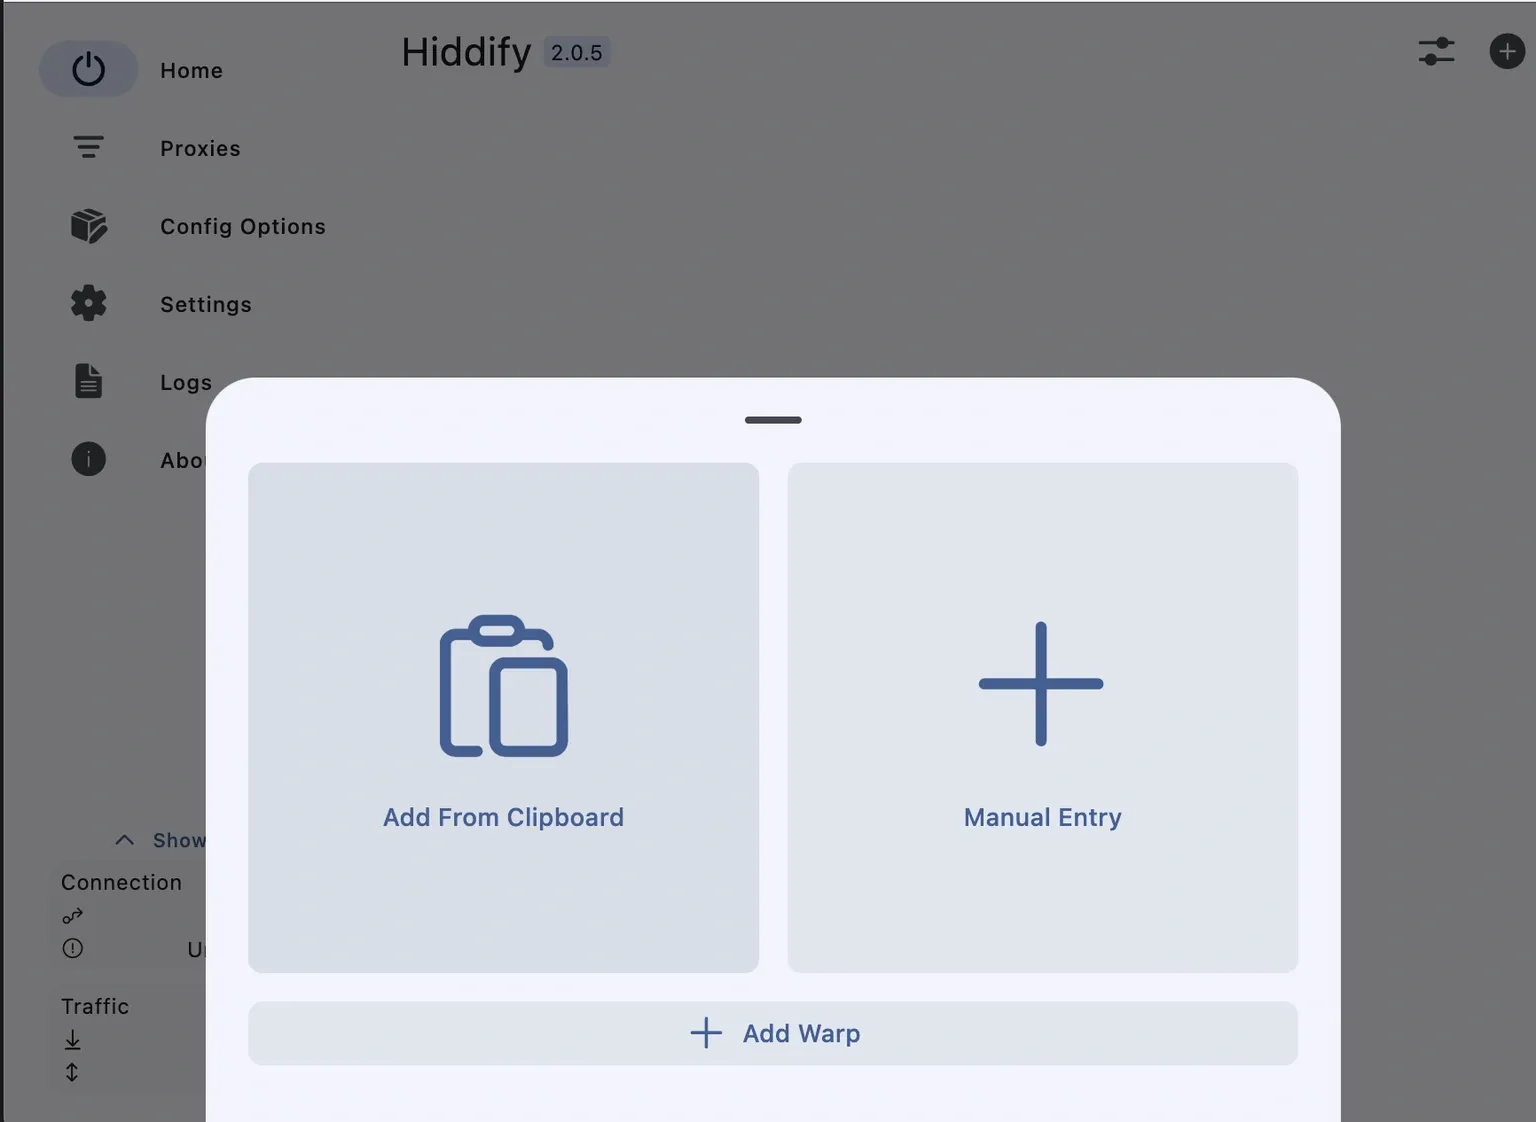
After installing and launching the application, click "New Profile" and then "Add From Clipboard" to paste the authorization code from the clipboard. Before that, make sure you copied it by clicking the QR code.
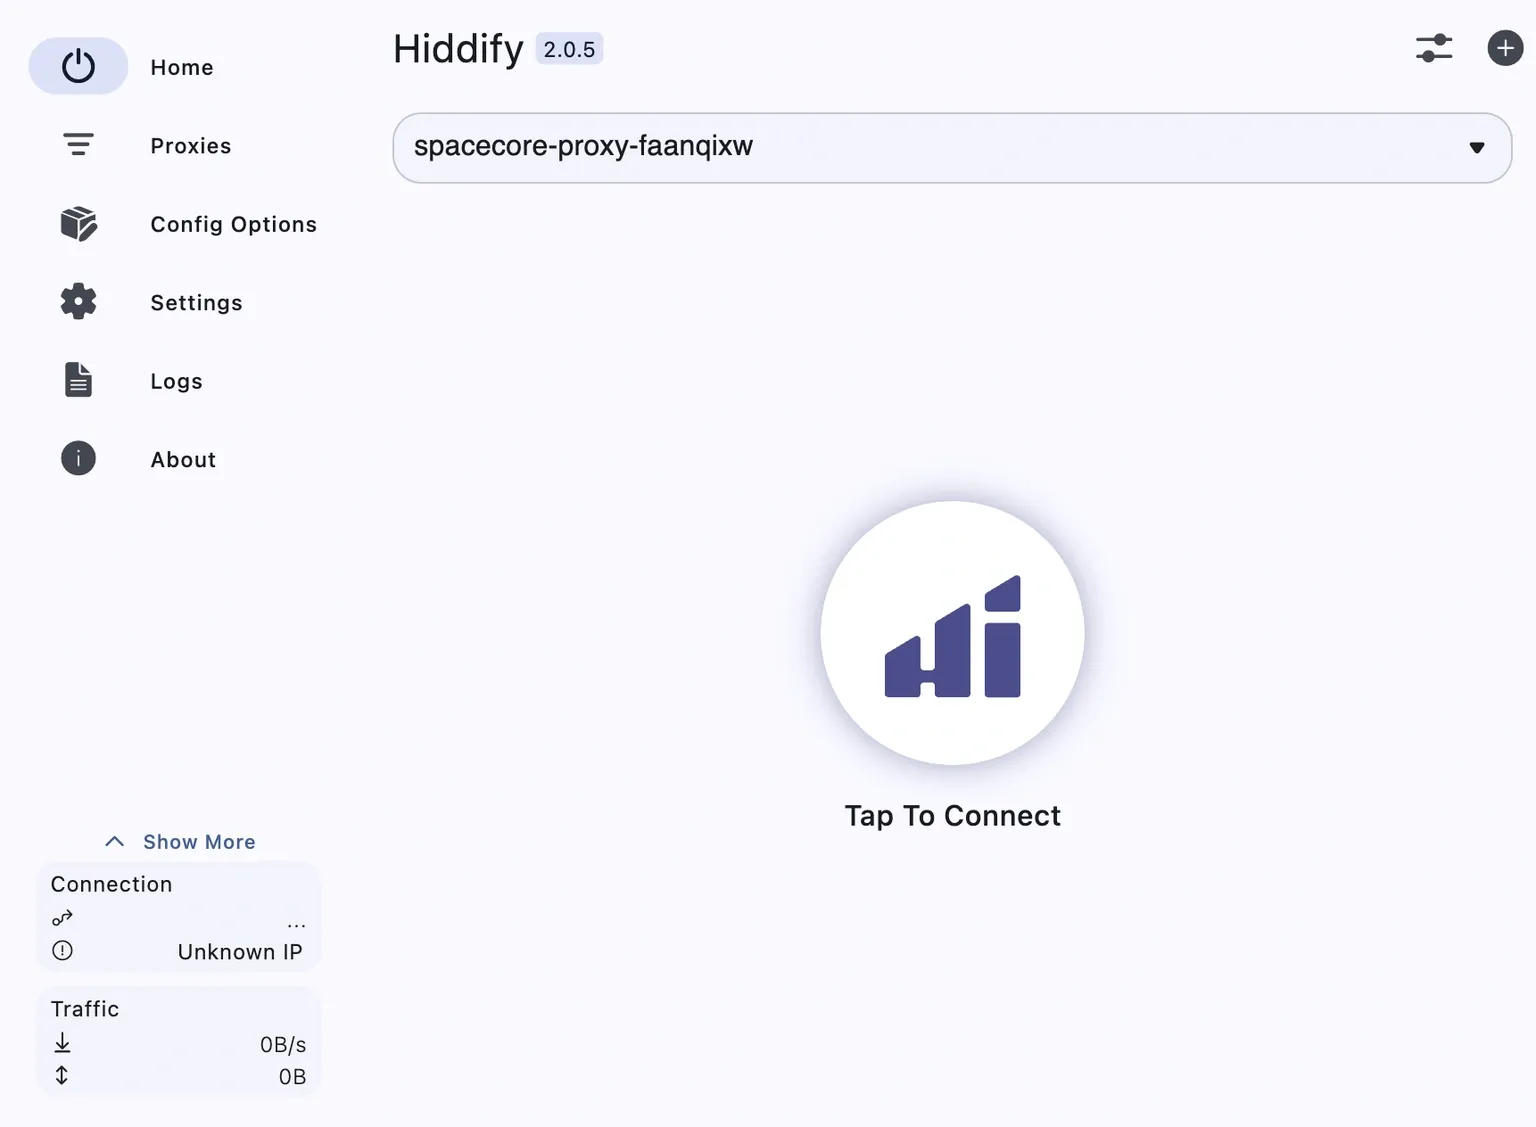
Next, you can click the large button in the center to establish a connection to the proxy server.
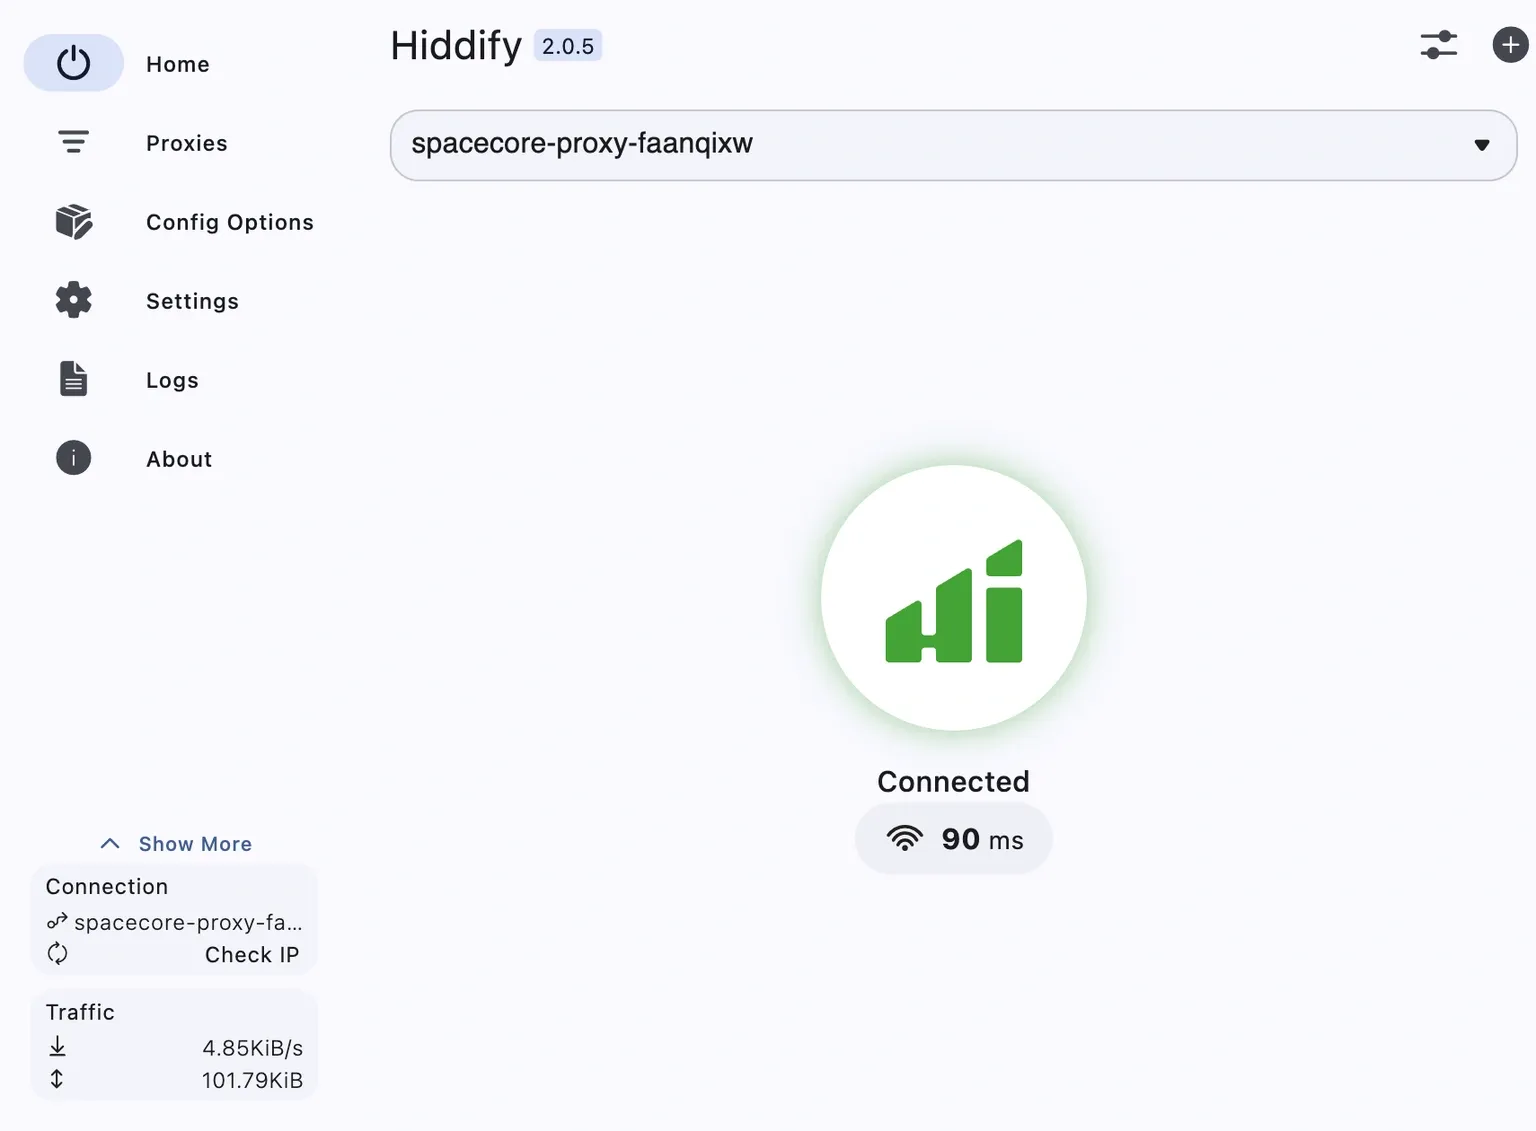
The connection has been successfully established. You can start using it.
If you experience issues using Hiddify, we recommend considering Karing as an excellent alternative.
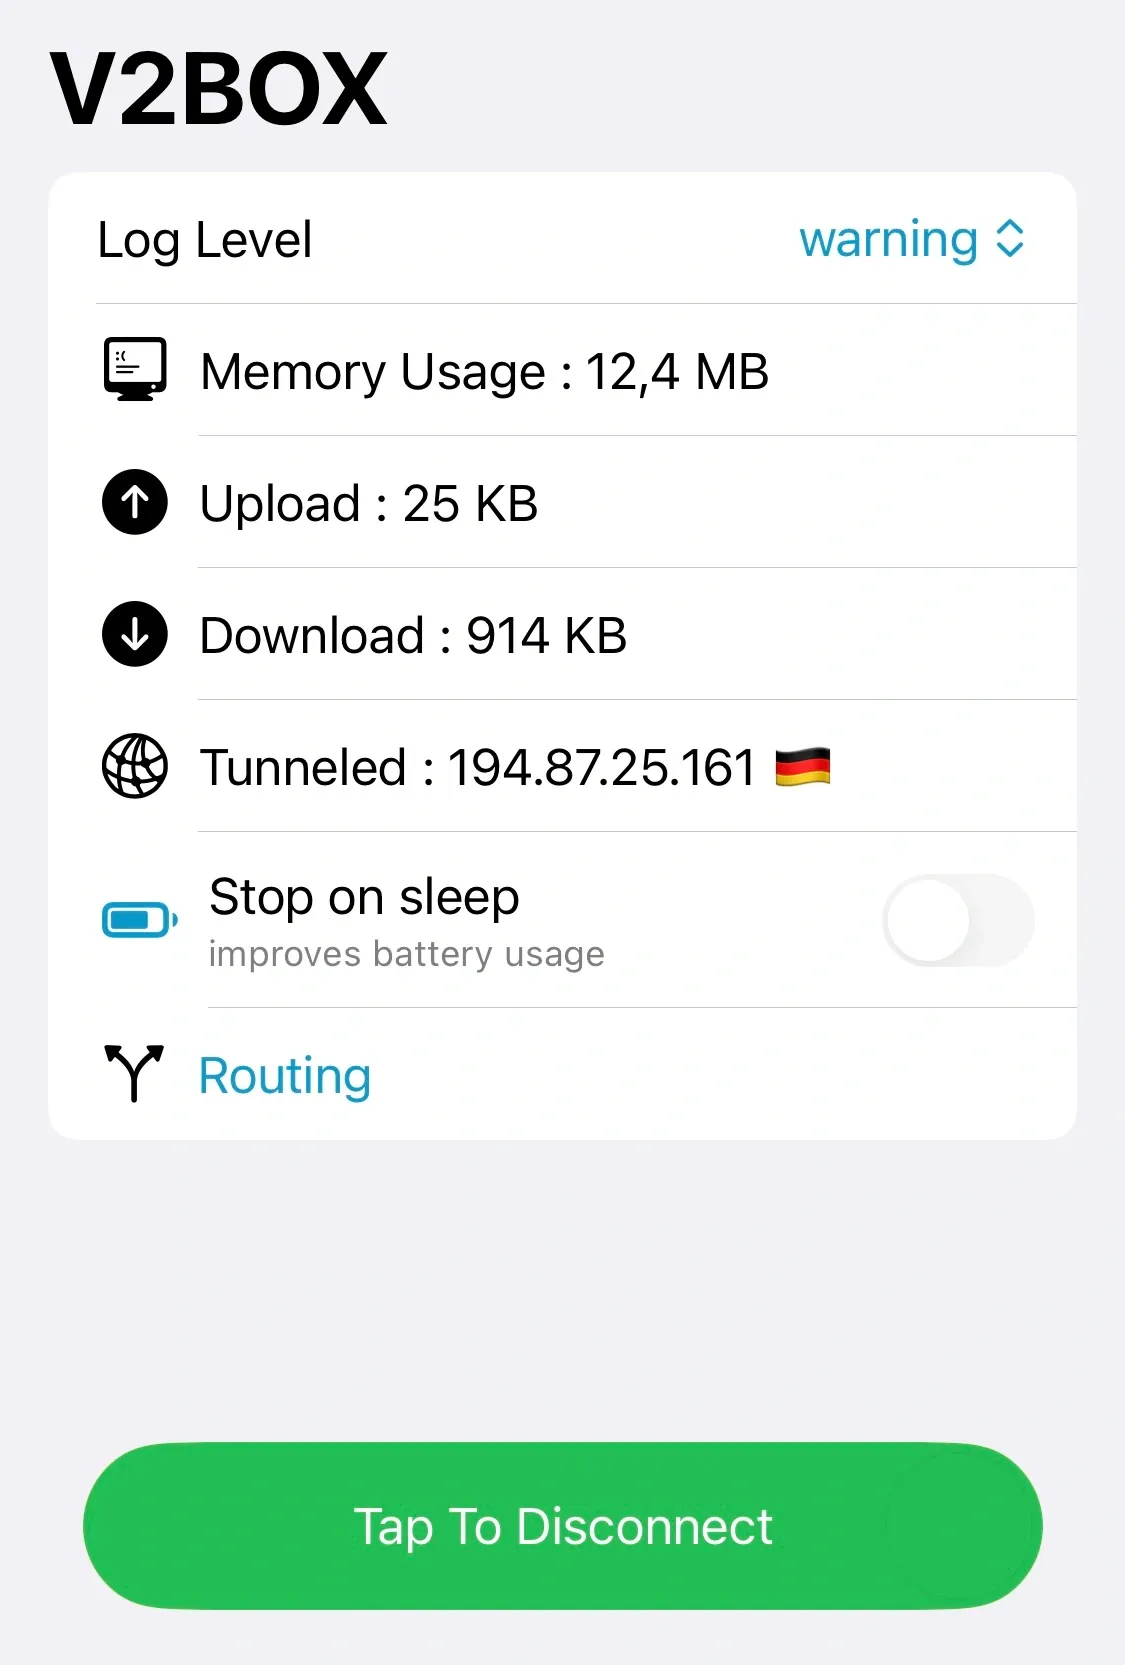
As mentioned earlier, for Android you can use the Hiddify application. However, it is not available in the App Store. For iPhone, we recommend installing V2Box.
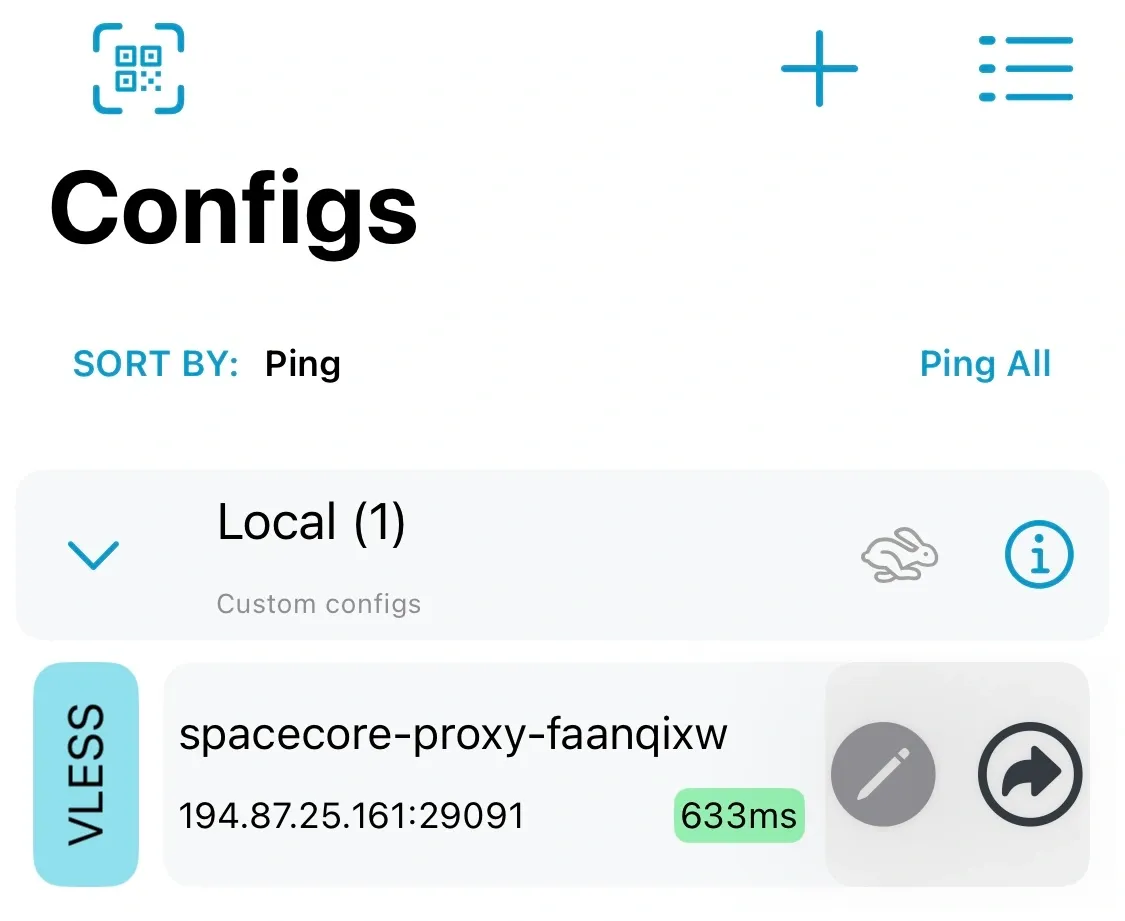
Configuration is just as simple. Go to the Configs section and scan the QR code. After that, the configuration will be added to the application.
Connect. Everything works!