Deploying MikroTik RouterOS on a VDS
Introduction
MikroTik RouterOS is a versatile operating system that turns standard hardware into a fully featured router. This solution is widely used for building corporate networks and even at home thanks to its flexibility and affordability.
This guide uses Ubuntu 20.04 as the operating system.
Recommended technical requirements.
CPU: 1 vCore
RAM: 512 MB
Storage: 1 GB
This information is provided for reference only and does not require special attention, since any available tariff plan on our virtual servers is suitable for running MikroTik RouterOS.
Connecting to the server
Connect to your server. If needed, you can use our detailed guide on how to perform this operation.
Installing RouterOS
Update the system package and repository list.
apt-get update
Check whether unzip is installed or install it, as it is required to extract the archive.
apt-get install unzip -yTo download the latest version of the software, go to the MikroTik download page , expand the “Cloud Hosted Router” section and select the current stable “Raw disk image” version. Then copy the link from that button.
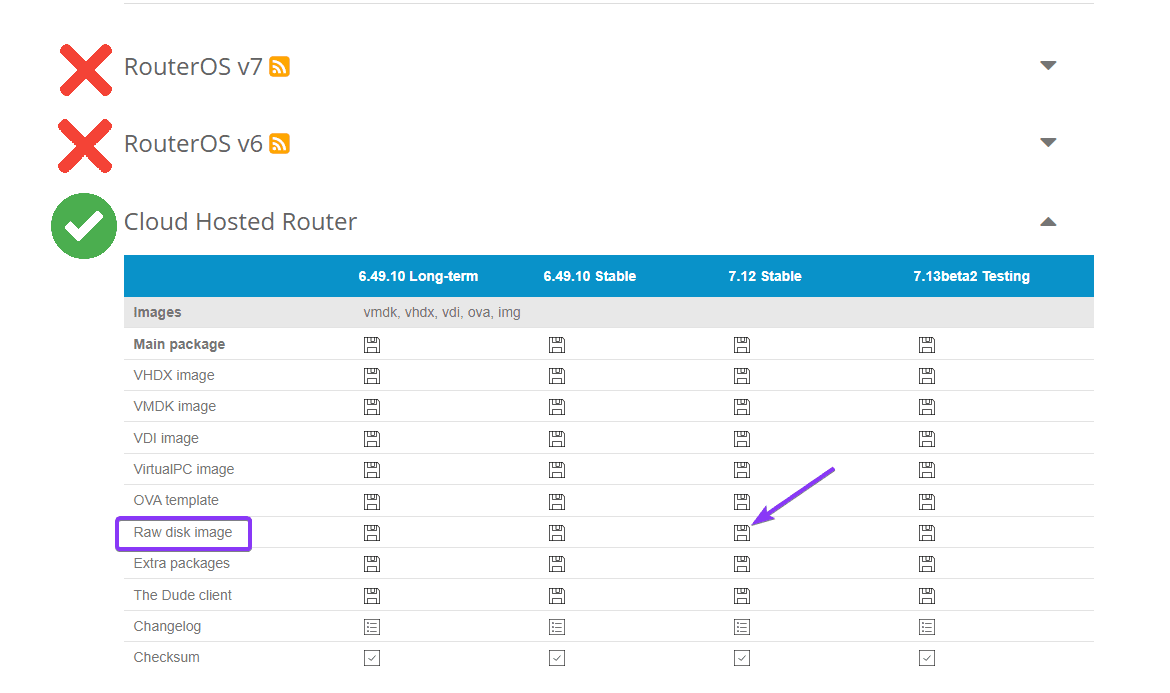
Download the selected image using wget or cURL.
wget https://download.mikrotik.com/routeros/7.12/chr-7.12.img.zip
Once the download is complete, extract the archive.
unzip chr-*.img.zip
Next, you need to write the system image to the virtual disk of the server.
rm chr-*.img.zip; for file in chr-*.img; do dd if="$file" of=/dev/vda bs=4M oflag=sync; done
Initialize the RouterOS boot process. Enter the following commands one by one.
echo 1 > /proc/sys/kernel/sysrqecho b > /proc/sysrq-trigger
Configuration
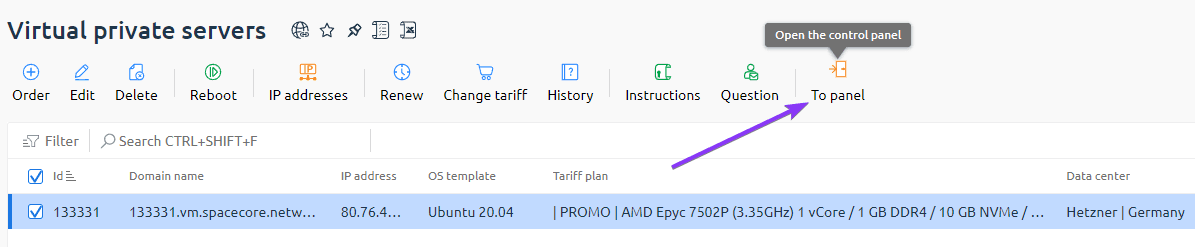
To connect to the server now, you should use VNC, which you can access from the control panel . Follow the link and sign in using the details sent in the initial server activation email.
Note that the login details for your client area and the control panel are not the same.
As an easier option, you can use the button to open the control panel from the client area on the virtual servers page. Authentication will be performed automatically.
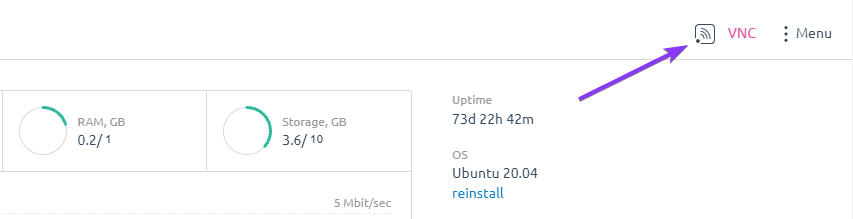
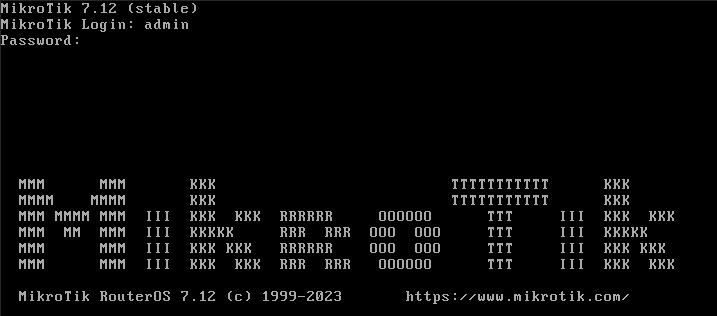
In the control panel itself, go to the page of the server you are using and click the “VNC” button in the upper-right corner.
In the login window that appears, enter the username “admin” and skip the password field by pressing “Enter”.
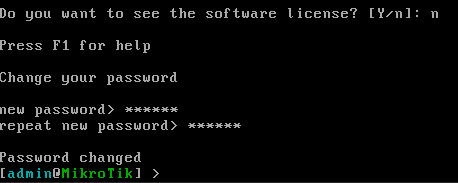
Next, if required, review the software license by entering “y” as the answer to the first question. In our example, we enter “n” as there is no need to review it.
Then set a new password that will be used to access the system. ❗️ Pay special attention to this step, as it is critical for maintaining security.
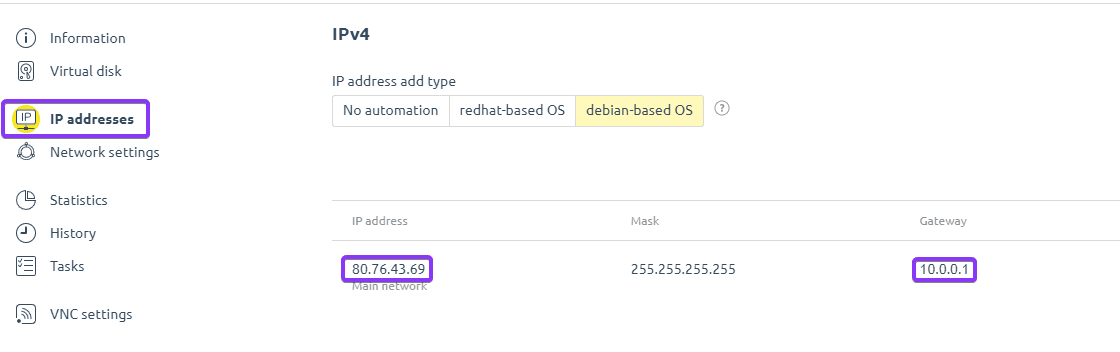
Now go back to the control panel and open the IP address configuration section. There you need to note down two values: the IP address and the gateway (they are highlighted in the screenshot below).
After that, adjust the corresponding values and enter the following commands in VNC one by one.
😨 Unfortunately, CTRL+V will not work here.
ip address add address=🚀IP/32 network=🚀Gateway interface=ether1ip route add dst-address=0.0.0.0/0 gateway=🚀GatewayThere must be no Emoji in the commands you enter.
If all steps have been completed correctly, you can now open the MikroTik RouterOS web interface. To do this, simply enter your server’s IP address in the browser’s address bar. The login page will appear, where you should use the same “admin” username and the password you set earlier via VNC.

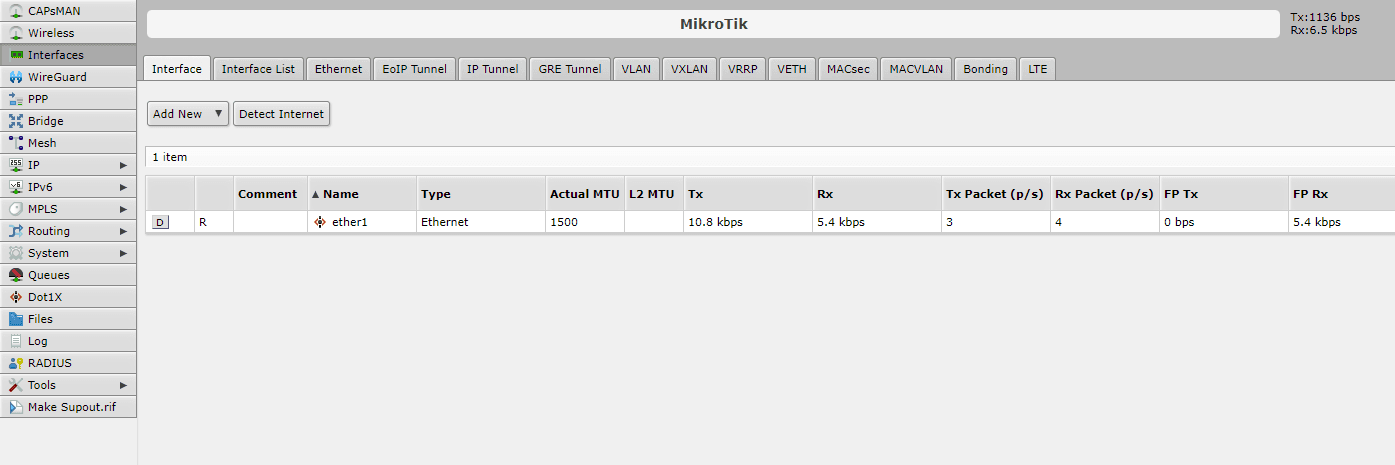
The installation is complete! You can now proceed with configuring network interfaces, IP addresses, routing, and other features available in MikroTik RouterOS to fully prepare your server for use in your network infrastructure.