Getting your access details
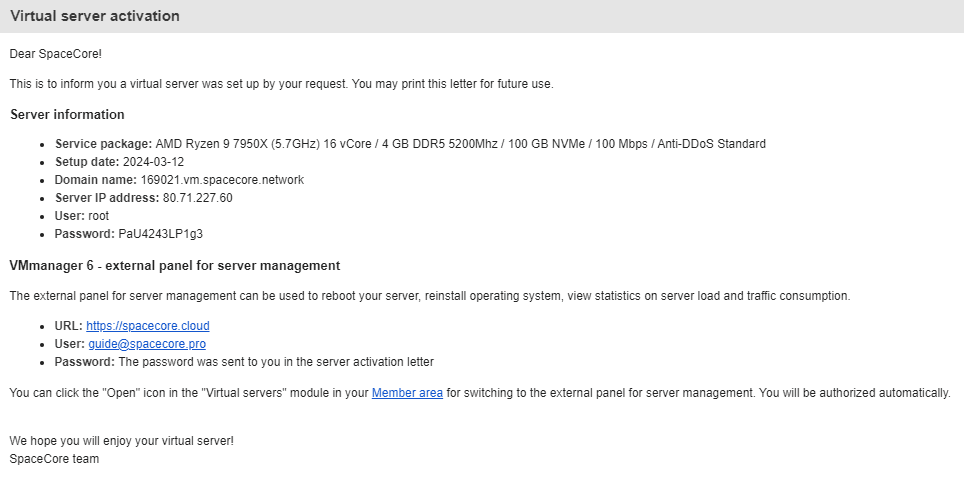
If you have not purchased your server yet, you can follow our guide . Once your server is activated, you will receive an email with all the details required to start working.
If this is not your first time ordering a virtual server, instead of a password for the control panel you will see: "the password was sent to you in the activation email for a previously ordered server".
I haven’t received the email, what should I do?
This may happen in rare cases due to issues with our mail servers.
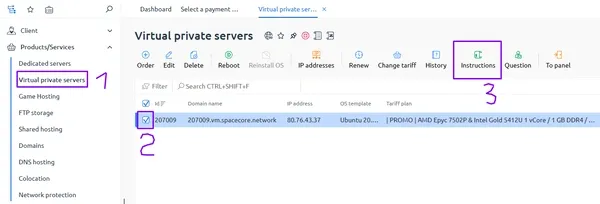
If you have checked all folders, including Spam, and still cannot find the activation email, you can find your details in your client area . Log in and then select the section with your service, in this case "Virtual servers". After that, tick the specific server and click the "Instructions" button, as shown in the screenshot.
As a result, a copy of the service activation email will open for you on a new page.
Connecting to the server
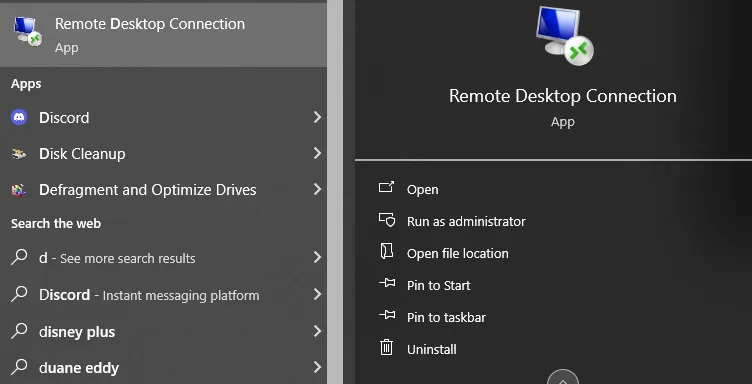
We will need a utility to connect via RDP. All recent versions of Windows include built-in software for this purpose, and that is what we will use. In the system search, find and open the following application:
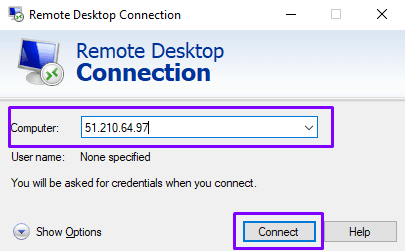
In the window that opens, enter the server IP address and click the button to connect.
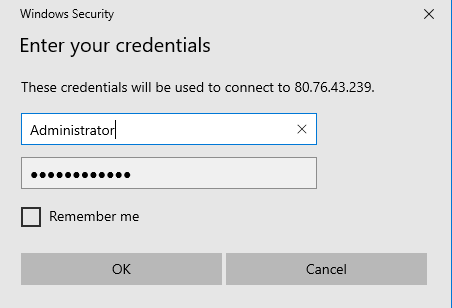
Next, specify the login and password for connecting to the server and click "OK".
Please note that depending on the Windows version, default logins may differ. As a rule, it is one of the following options:
Administrator, Администратор — for Windows Server
Admin, Админ — for Windows Desktop
In this guide we are using Windows Server 2019, so we specify the Administrator login.
A window will appear asking you to confirm the authenticity of the server certificate you are connecting to. Tick the checkbox so that similar prompts do not appear during future connections to this server, and click "Yes".
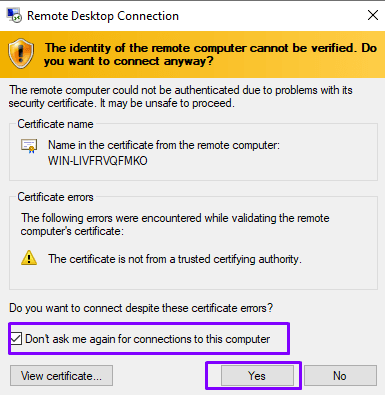
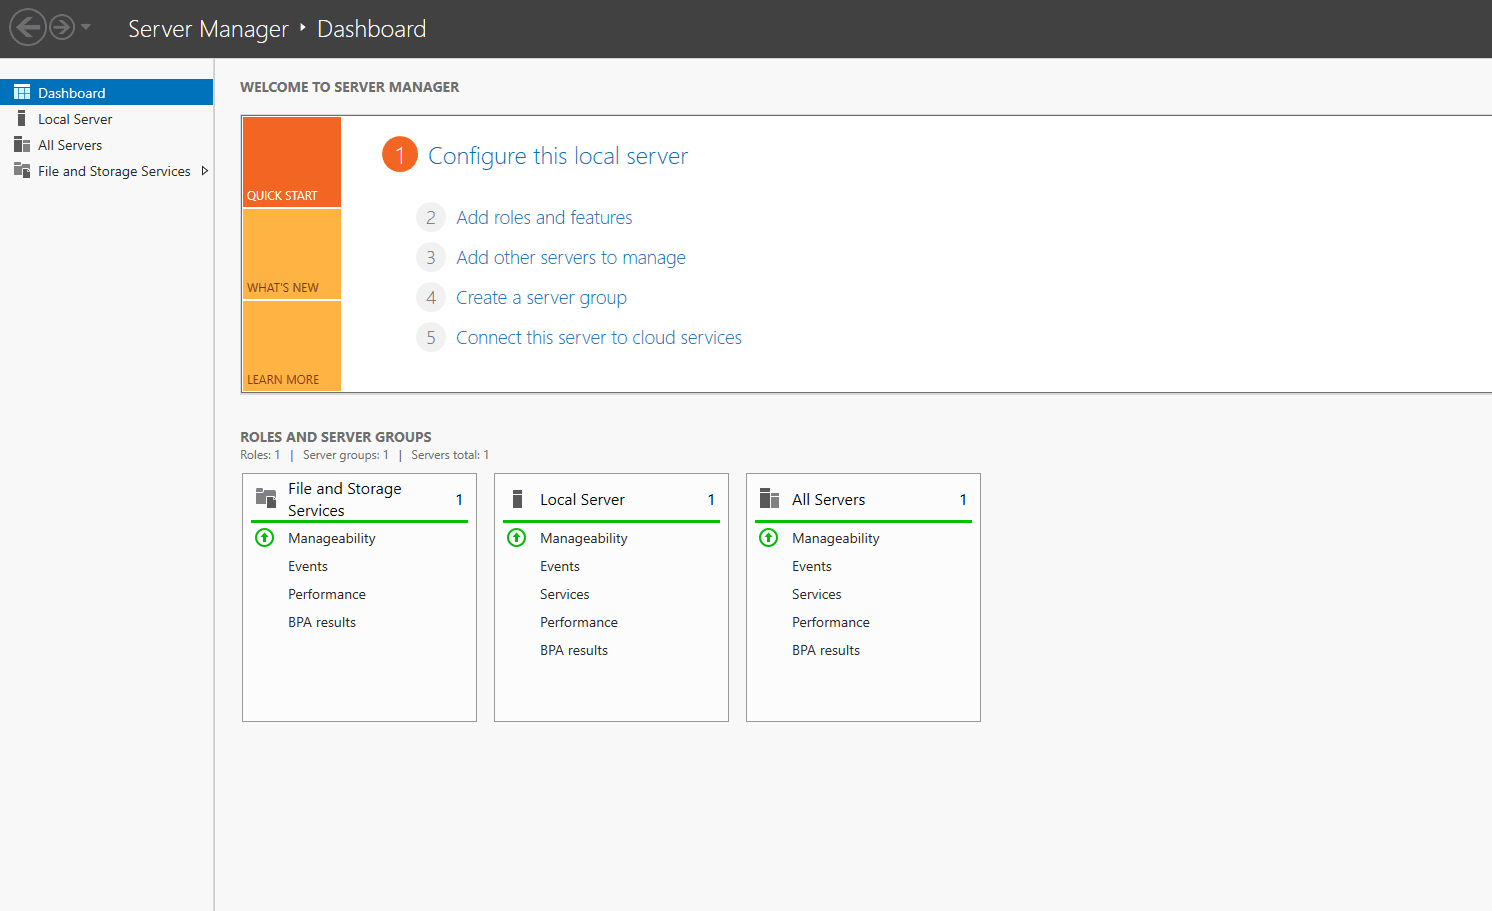
The connection is established.
How to transfer files to a remote server?
The utility we are using has a built-in feature for transferring data to the remote server. Open the same application again. Then expand the options and go to the "Local Resources" tab. In the "Local devices and resources" section, click the "More" button.
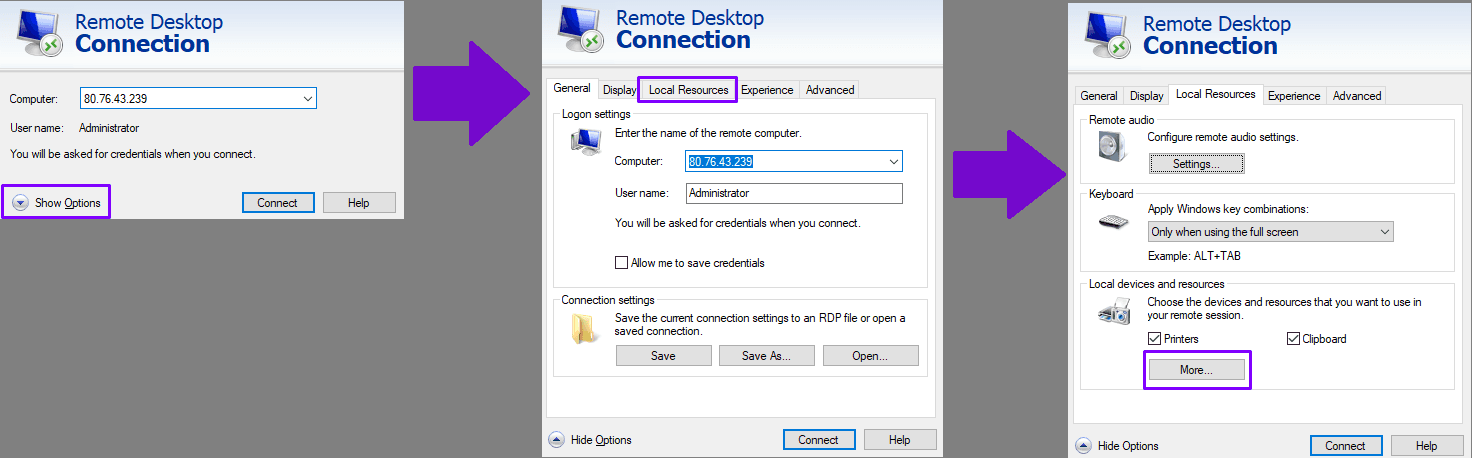
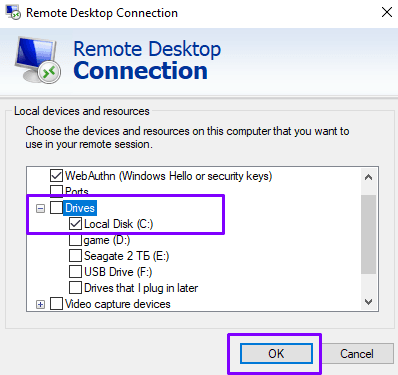
In the window that opens, expand the "Drives" list and select the drives of your computer that should be connected to the remote server, then save the changes by clicking "OK".
Connect to the server in the same way as described in the instructions above. Open Windows File Explorer. There you will see the connected remote drive.
By navigating to the directory of the connected drive, you can find the folder from which you want to upload files.
To transfer data from your computer to the server, simply drag and drop the file from the folder on the remote drive to the server desktop. Please note that the file transfer speed depends on the network speed of both the server and your own computer.