Operating System Installation
Hetzner tools allow you to install an OS on a dedicated server in different ways, resulting in different configurations. In this article, we’ll look at these methods.
Using Robot (RAID1)
The simplest and fastest method is to reinstall the operating system in the «Linux» section of the Robot control panel.
First, go to this section and review the information. Then choose a suitable OS from the available images. After that, check the box confirming that all data on the dedicated server’s drives will be erased.
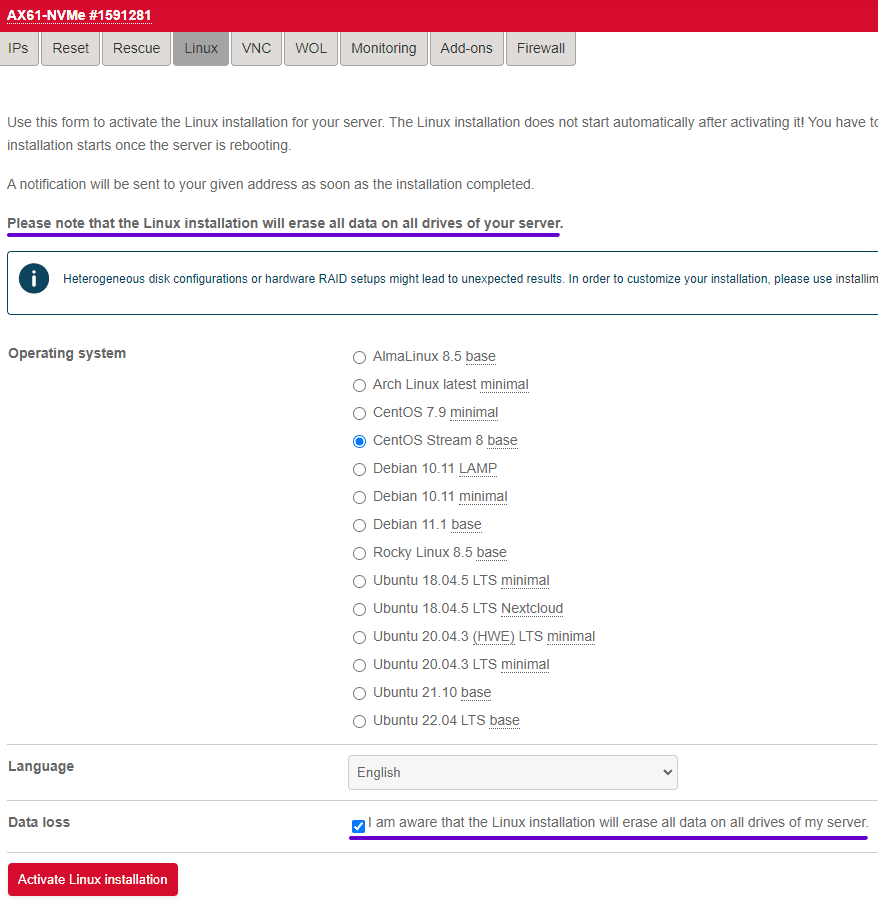
After clicking the «Activate Linux installation» button, you will see a message similar to this:
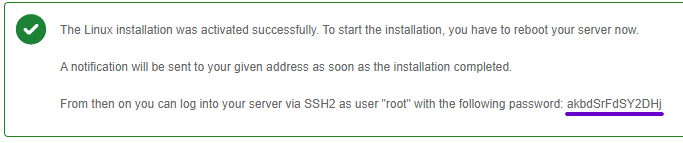
Be sure to copy the password generated for you; it will be assigned to the root user once the operating system installation is complete.
Next, to start the process, reboot the server using the
reboot
command if you have an active SSH session, or use the «Execute an automatic hardware reset» button in the «Reset» section of the Robot control panel.
Wait a few minutes and then try connecting to the server.

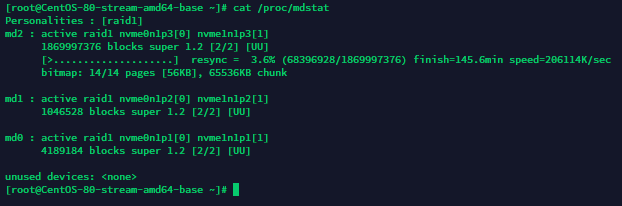
You will see the OS you selected installed on the wiped drives. By default, however, the system is configured with RAID1 .
Using installimage (RAID 1/0/10, etc.)
The installimage utility is a special tool for semi-automatic installation of the operating system. During this process you can configure the main settings, such as the RAID level, network configuration, partition layout and so on.
First, you need to boot your dedicated server into SystemRescue mode. You can find how to do this in the corresponding guide .
Be sure to save the password for accessing the Rescue session, because after installation using this method it will be assigned to the user of your system.
After activating Rescue, connect to your server.

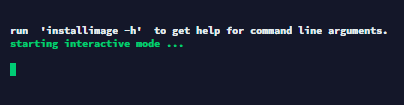
Great. Now run the following command:
installimageThe software environment is prepared almost instantly.
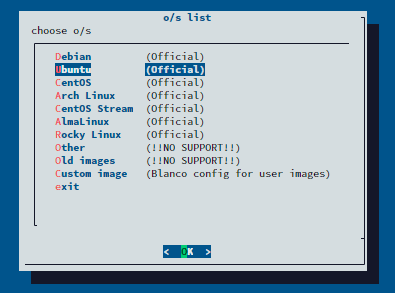
In the list that opens, select the Linux distribution or custom installation image you want to deploy. For this example, we’ll use Ubuntu.
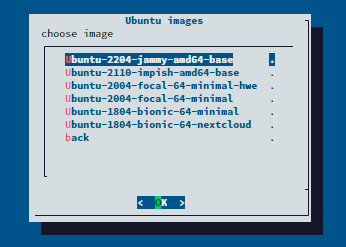
Next, choose the required version of the selected distribution from the available options. Again, for this example we’ll select the latest available image — Ubuntu 22.04.
Review the information and press Enter.
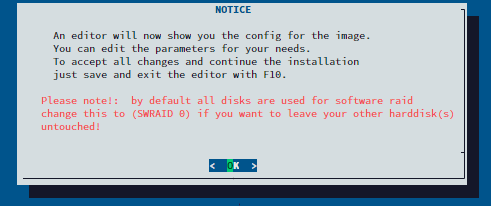
A configuration window for the system to be installed will open.
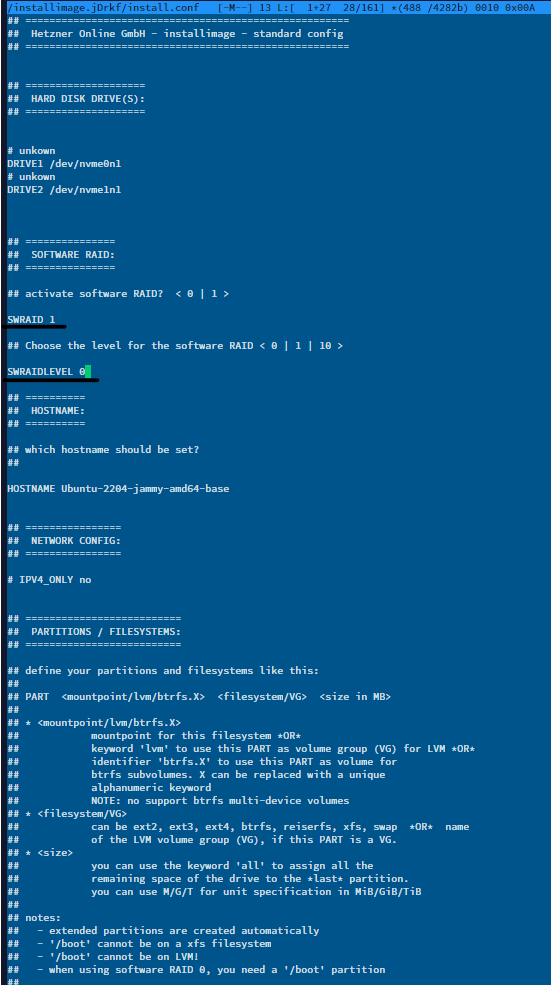
First of all, pay attention to the SWRAID and SWRAIDLEVEL parameters.
After configuring all the required parameters, press F10 on the keyboard and save the updated configuration.

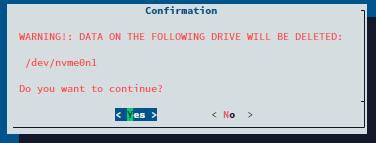
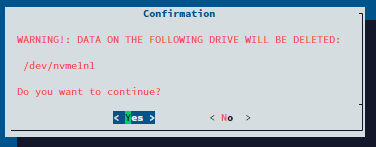
Then confirm that all existing data will be deleted from the drives.
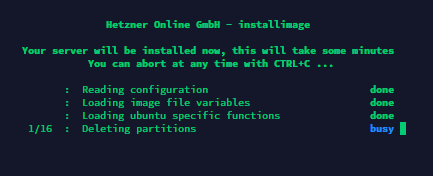
The operating system installation process will then start according to the specified parameters. Wait for it to complete.
When the installation is complete, you will see a message similar to this:
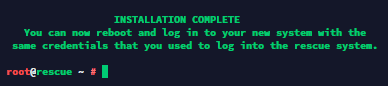
Reboot the server using the
reboot
command or via the Robot control panel.
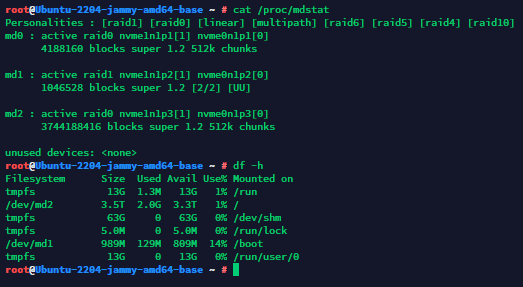
After a few minutes, connect again and you will see the OS you selected has been installed. Because we set RAID0 in the configuration for this example, the drives are now operating in RAID0:
Summary
You have now learned two different ways to install an OS on your dedicated server in Germany or Finland, each with its own advantages and disadvantages.
Your server is ready for use!