Adding an IPv4 Address
Many users wonder: "How can I add an additional IP address to my service?" Let’s look at an example using Windows Server 2019.
How to purchase an additional IPv4?
You need to go to the section of your service in the Billing panel, select it with a mouse click, and open the page with the associated IP addresses:
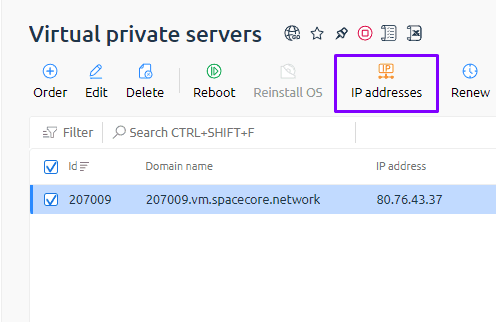
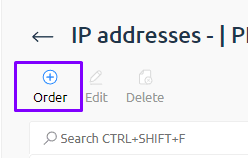
On this page you will see the active addresses assigned to your service. You can also order new ones using the corresponding button.
In this menu, specify the number of IPv4 addresses you want to order. Check the box to reboot the service and pay for the additional addresses in the required quantity.
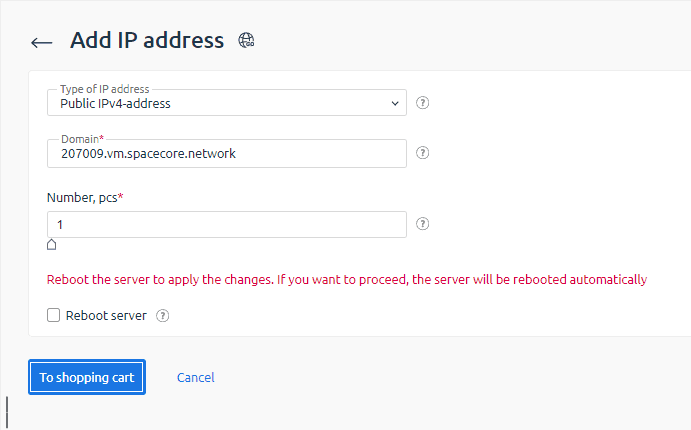
An additional IPv4 address will be automatically assigned to your service.
Assignment of additional IPv4 addresses for dedicated servers may take a bit longer.
Adding an IP address to the system
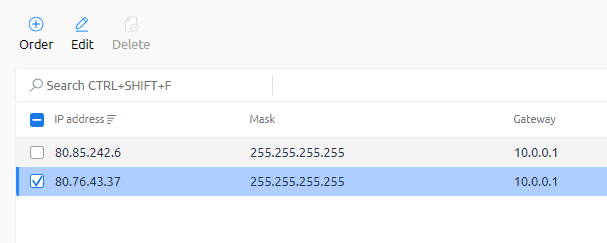
First, we need to find the subnet mask of our address. To do this, go back to the IP addresses page of your service, where this information is displayed. Copy or make a note of this value.
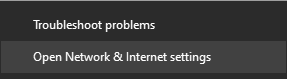
Now let’s connect to our server. Then right-click the network icon and select "Network & Internet settings".
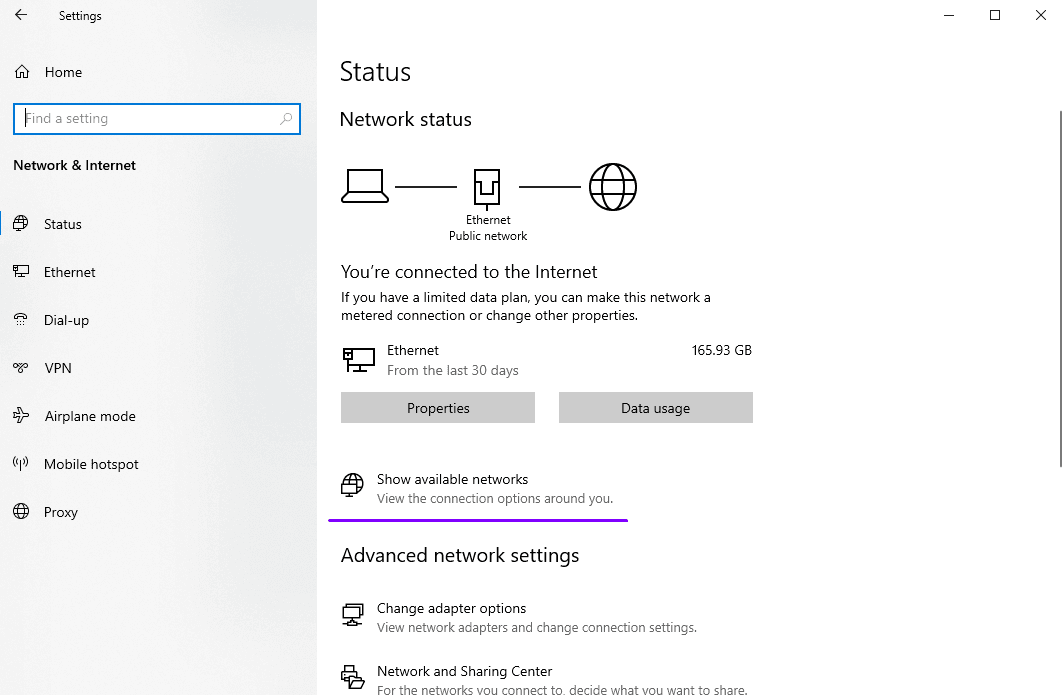
Go to "Change adapter options".
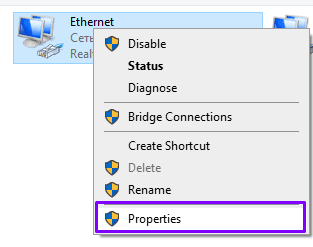
Right-click the network adapter and select "Properties".
Select "Internet Protocol Version 4 (TCP/IPv4)" and then click "Properties".
Here you can see the details of your primary IP address. Click "Advanced...".
Click "Add".
Enter the IPv4 address you purchased and the subnet mask exactly as shown in the Billing system.
Click "Add", then "OK".
Great. Close the remaining windows. Now let’s check the result. Open the Windows Command Prompt (CMD) and run the following command:
ipconfig
You should see an output similar to this:
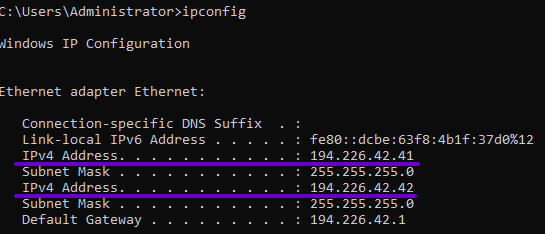
Done! The additional address has been successfully added to your system.