Installing a Minecraft Bedrock/PE Server
Previously, we published an article on creating a Minecraft Java server. This time, we will look at the process of installing a Minecraft Bedrock/Pocket Edition server.
Initial information
The installation will be performed on Ubuntu 20.04 LTS OS, so this guide is suitable for both VDS and a Dedicated server.
When working with the server, the Screen utility will also be useful; we recommend reading the article: Installing Screen
In turn, Minecraft Bedrock does not require Java to be installed either on the server or on the client side. This is because this version of the game is written entirely in C++.
Downloading server files
Update the system package and repository lists:
sudo apt-get -y update && sudo apt-get -y dist-upgrade
We will show two methods for downloading the server files: entirely through the Linux system console, and manually via the FileZilla software.
Linux console
First, we need to create a folder for the future server. Go to any directory you like (by default — root) and use the command:
mkdir minecraftbedrockWe can use a special command to list all files in the directory to make sure the folder has been created.
lsWe see the created directory. Go into it using the command
cd minecraftbedrockNext, use the wget utility to download the server files.
wget https://minecraft.azureedge.net/bin-linux/bedrock-server-1.16.221.01.zip
Done, the archive with the files has been downloaded.
Now we need to unpack it. Install the zip utility:
apt-get install zip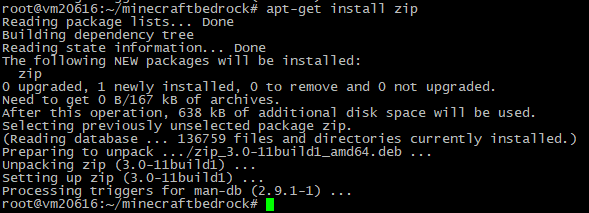
Use the command to unpack the archive:
unzip bedrock-server-1.16.221.01.zipFileZilla
Connect to the server and create a directory in any folder (Right-click — Create directory).

You can use any name.

Go to the created directory. Download the archive from the Mojang website to your computer:
Upload the downloaded file to your server.

The archive has been successfully uploaded.

Log in to the Linux console (SSH), then use the command to go to our directory:
cd bedrockNext, use the command to unpack the archive:
unzip bedrock-server-1.16.221.01.zip
For 24/7 server operation, create a Screen session with the command
screen -S bedrock
While still in the server directory, run the command
chmod 777 bedrock_serverThis grants full read, write and execute permissions on the file.

Then proceed to start the server itself. Use the command
./bedrock_serverbedrock_server — the name of the server startup file.
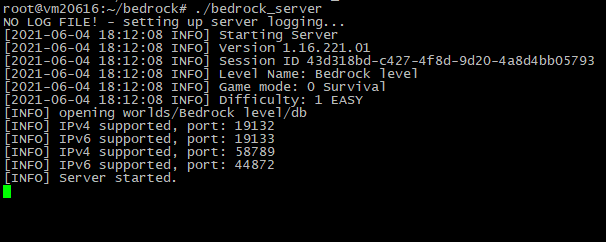
Great! Our server has been successfully started.
To detach from the Screen session, use the key combination Ctrl + A + D.
Connecting to the server
Let’s try connecting from both versions of the game.
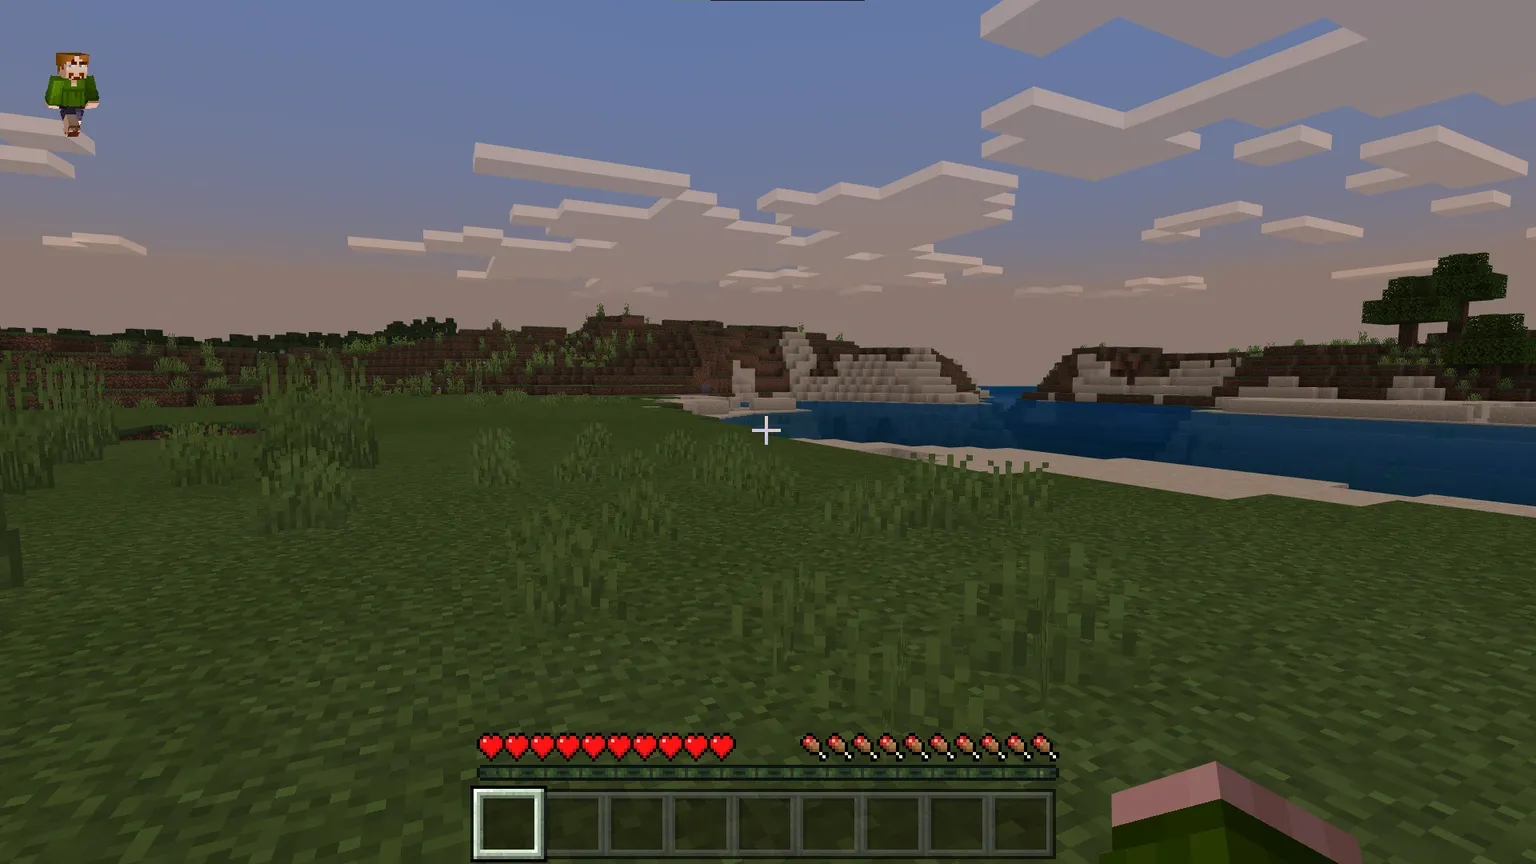
Windows 10 Edition
Add a server by specifying a name, IP address, and the default port.

We have successfully connected to the server.
The console also shows information about players connecting to and disconnecting from the server:

Pocket Edition
Enter the connection details again.
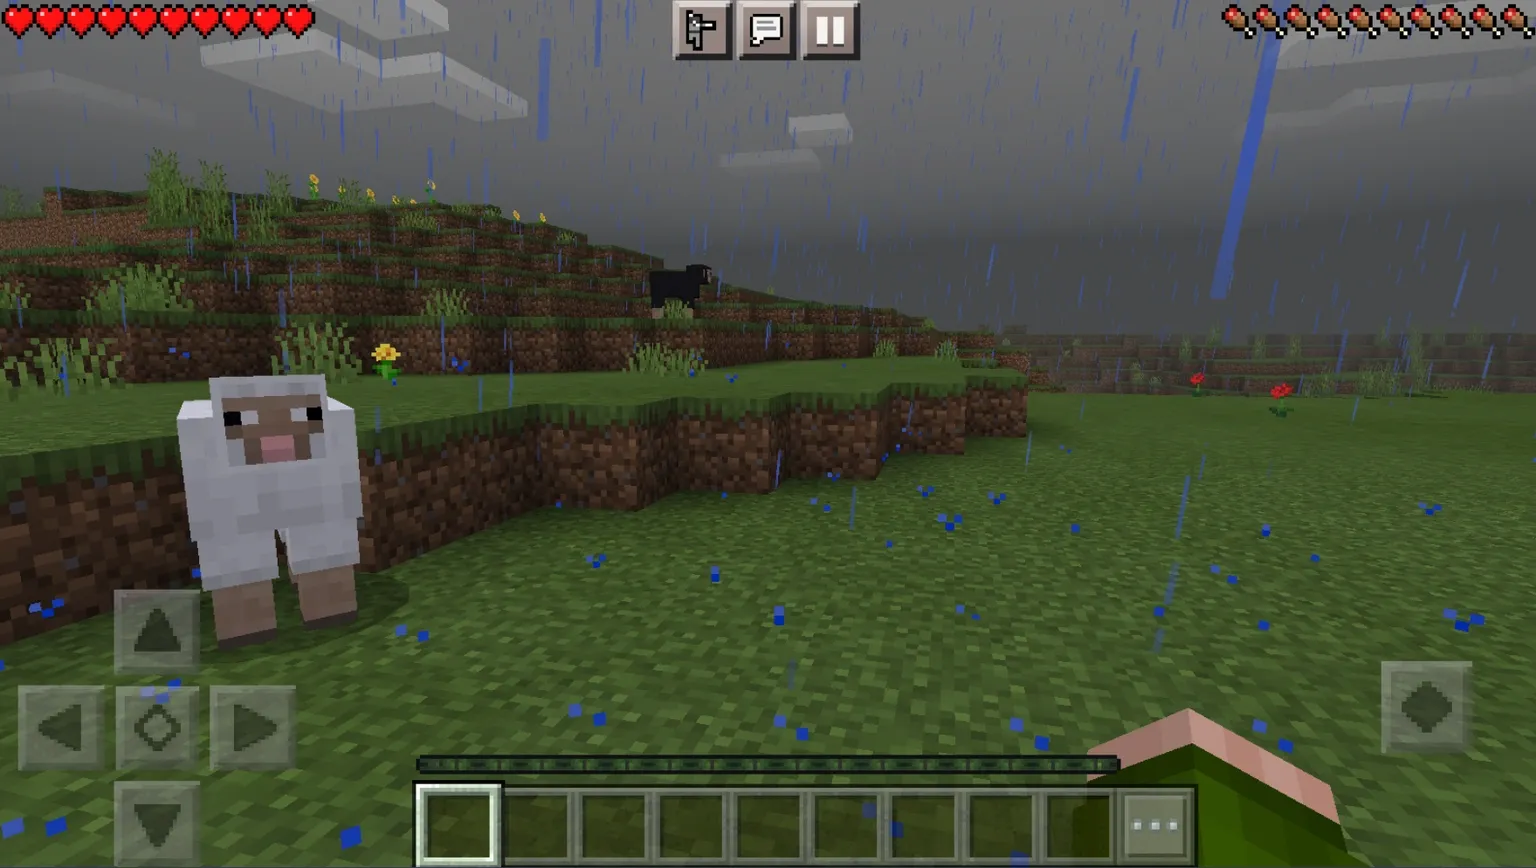
The server continues to run and is available in the Pocket Edition as well.
