


Blocking Access to Private Networks on Ubuntu Using UFW
You may suddenly start receiving complaints from the data center about private network scanning even though you did not intend to do this. To prevent such outbound connections, you can block private networks with the ufw firewall.
#Installing ufw
First, check whether ufw is installed on your server and install it if needed.
sudo apt install ufw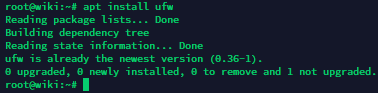
Before enabling the firewall, open the required ports so you do not lose access to your services. In most cases, you should allow SSH, HTTP, and HTTPS.
sudo ufw allow 22
sudo ufw allow 80
sudo ufw allow 443
After that, enable the firewall.
sudo ufw enable
You can check the current firewall status with the following command.
sudo ufw status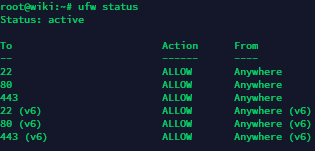
#Blocking private networks
Now you can block private networks to prevent any outbound connections to them from your server.
The following ranges are treated as private or special-use networks:
- 10.0.0.0/8
- 172.16.0.0/12
- 192.168.0.0/16
- 100.64.0.0/10
- 198.18.0.0/15
- 169.254.0.0/16
To block these ranges, add the following rules.
sudo ufw deny out from any to 10.0.0.0/8
sudo ufw deny out from any to 172.16.0.0/12
sudo ufw deny out from any to 192.168.0.0/16
sudo ufw deny out from any to 100.64.0.0/10
sudo ufw deny out from any to 198.18.0.0/15
sudo ufw deny out from any to 169.254.0.0/16
After adding the rules, verify that they are present.
sudo ufw status

# Or use iptables
iptables-save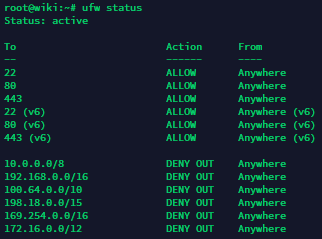
If you try to access an address from a blocked range, the connection will fail. For example, you can test this with .
ping 198.18.22.62
This completes the private network blocking setup.
#Unblocking networks if required
If you later need to restore access to one of the blocked networks, first display the numbered list of current ufw rules.
sudo ufw status numbered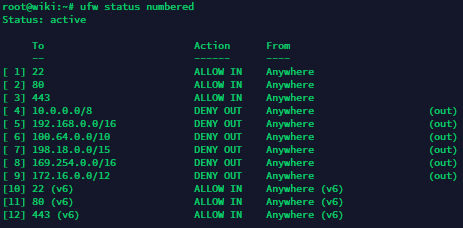
Then delete the required rule by its number. Replace with the actual number from the previous command output.
sudo ufw delete NFor example, you can remove rule 7.
sudo ufw delete 7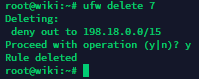
After removing the rule, access to the corresponding address will no longer be restricted.

You now know how to block and unblock your server access to private networks with ufw.
Did not find the answer? We are online 24/7.Contact support