


Setting Up a Minecraft Server with Forge and SpongeForge: Mods and Plugins
Mods always make the game more interesting, especially when they are running on a server.
Before continuing, do not forget to install JDK 25: Ubuntu / Debian.
#Installing the cores
We create a directory for our server.
Using wget, download the archive with a clean Vanilla + Forge 1.12.2 build.
wget https://mirror.spacecore.info/minecraft/vanilla-1.12.2+forge-1.12.2-14.23.5.2854.zip
Next, download the latest SpongeForge 1.12.2 core.
wget https://mirror.spacecore.info/minecraft/spongeforge-1.12.2-2838-7.3.0.jar
Unpack the archive with the following command.
unzip vanilla-1.12.2+forge-1.12.2-14.23.5.2854.zip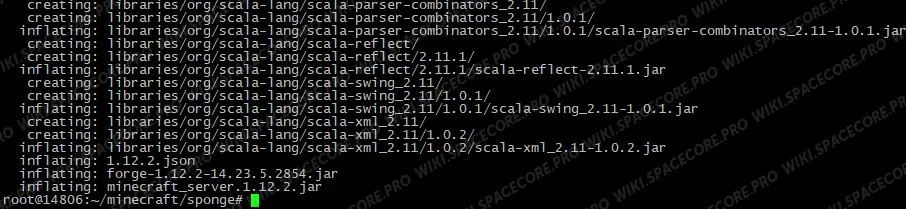
The core and library files have been unpacked. Here is what we got.
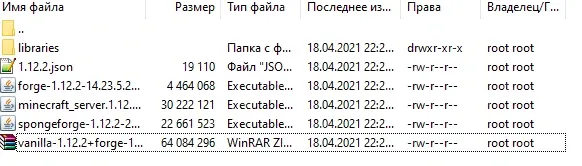
Now we need to launch the file forge-1.12.2-14.23.5.2854.jar with the following command.
java -Xms512M -Xmx2G -jar forge-1.12.2-14.23.5.2854.jarYou can read more about startup parameters in a separate article.

Now we need to confirm the agreement in the eula.txt file.
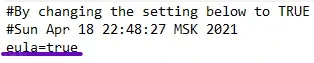
When the command is run again, the server starts successfully.

Shut down the server. Now, for the Sponge core to work, we need to send it to the mods folder.
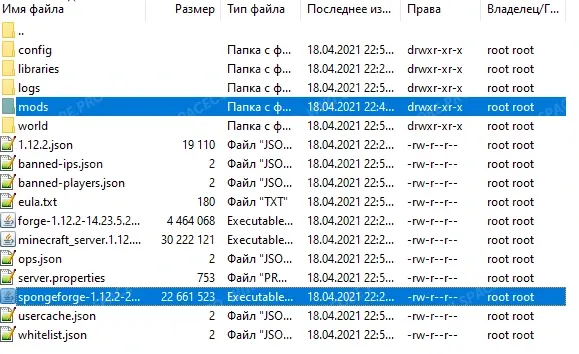
Let us start it again. Our server is now running with the SpongeForge core.

#Installing mods
As an example we will use Divine RPG 1.12.2.
Remember to install the mod on the client side as well.
Upload the mod to the mods folder.

Restart the server. Do not forget to delete the world directory if the mod changes its structure.

Let us try to connect.
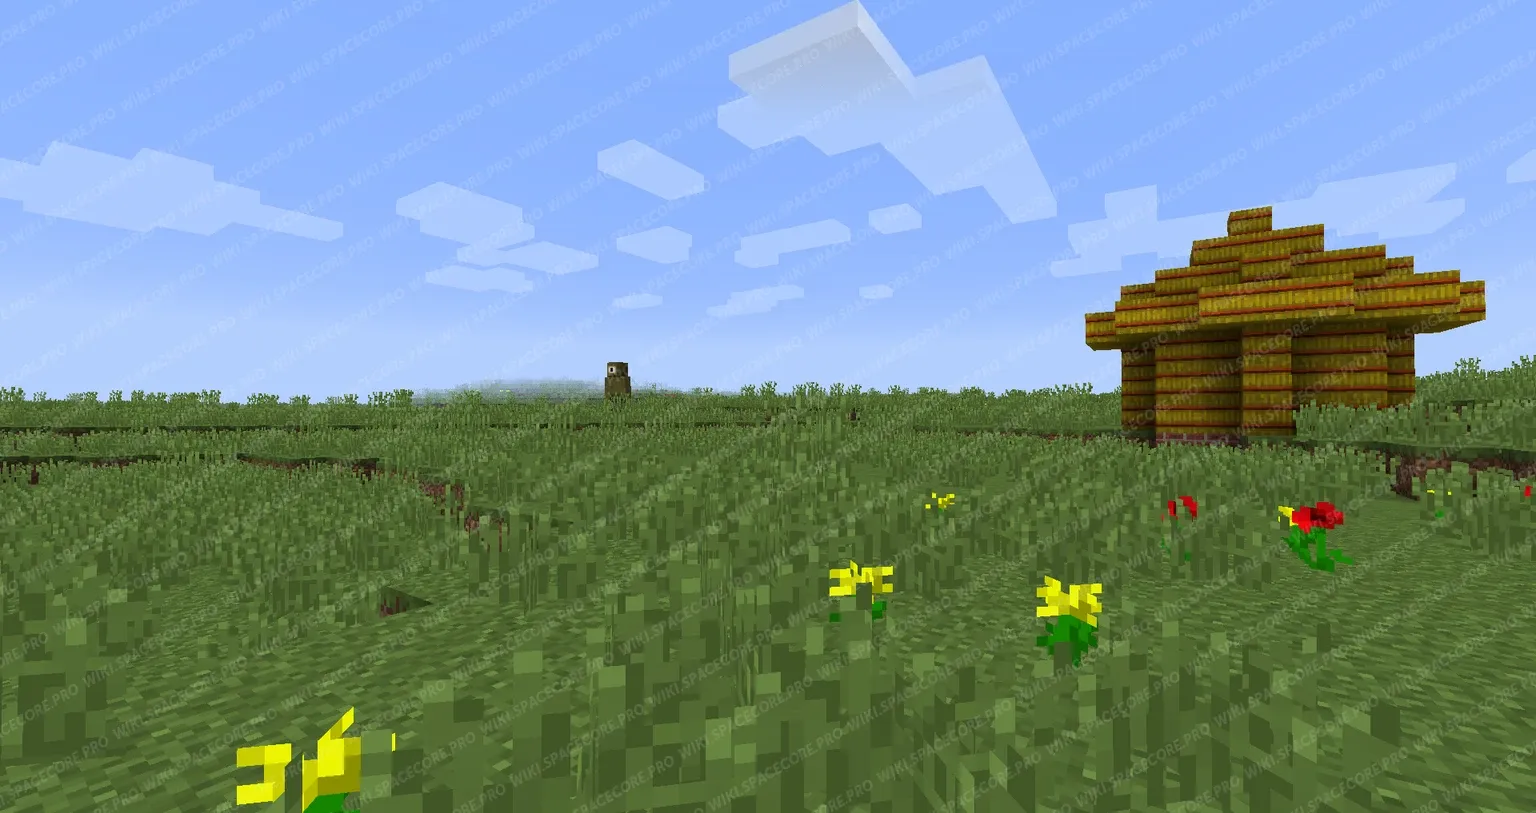
Success. We can also see that the mod works.
#Installing plugins
We will install LuckPerms. You can browse most plugins on the official site. Download the plugin and send it to the mods folder.

Restart the server. After startup we can see a new directory in the config folder, which belongs to the LuckPerms plugin.
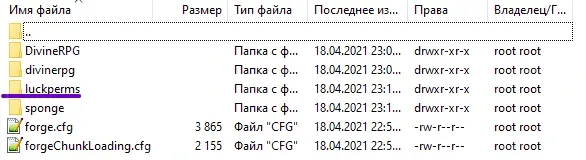
Check that the plugin works on the server. The command for LuckPerms is /lp.

Did not find the answer? We are online 24/7.Contact support