


Installing Amnezia VPN on Your Own Server
AmneziaVPN is a free open-source app that deploys a VPN on your own server by itself. You only enter the IP address and password, and the app connects to the server over SSH, installs Docker and the protocol, and creates a ready-to-use connection. That is why AmneziaVPN suits both experienced and beginner users. The main protocol is AmneziaWG. It is built on WireGuard and works fast and reliably.
This guide uses a server running Ubuntu 24.04 and AmneziaVPN 5.0.3.0 for Windows 11 and Android 14.
Please note that AmneziaVPN is third-party software. SpaceCore is not responsible for its operation.
Recommended technical requirements.
CPU: 1 vCore, 2 vCores for 10 devices or more
RAM: 1 GB, 2 GB for 10 devices or more
Storage: 10 GB SSD
This information is for reference only, since any available plan on our virtual servers is suitable for AmneziaVPN. For 10 devices or more, choose a plan with 2 vCPUs or more.
#Preparing the server
AmneziaVPN needs a server that meets the developer requirements:
- Ubuntu 22.04 / 24.04 or Debian 12 / 13.
- An x86-64 processor. ARM servers will not work.
- A KVM VPS or a dedicated server. OpenVZ and LXC will not work.
- A public IPv4 address.
The app installs Docker on the server and changes the firewall rules. That is why it is better to use a separate server for the VPN, not the one that hosts your website.
The IP address and root password are sent by email after the server is activated. You will need them both to connect and to install AmneziaVPN.
Connect to your server over SSH. If needed, use our detailed guide on connecting.
Update the system before installing.
apt update && apt upgrade -yThe process may take a few minutes depending on the network speed and server performance.
During the update, a Configuring keyboard-configuration window with a keyboard layout choice may open. This is normal. Keep English (US) and press Enter, then press Enter once more in the next window.
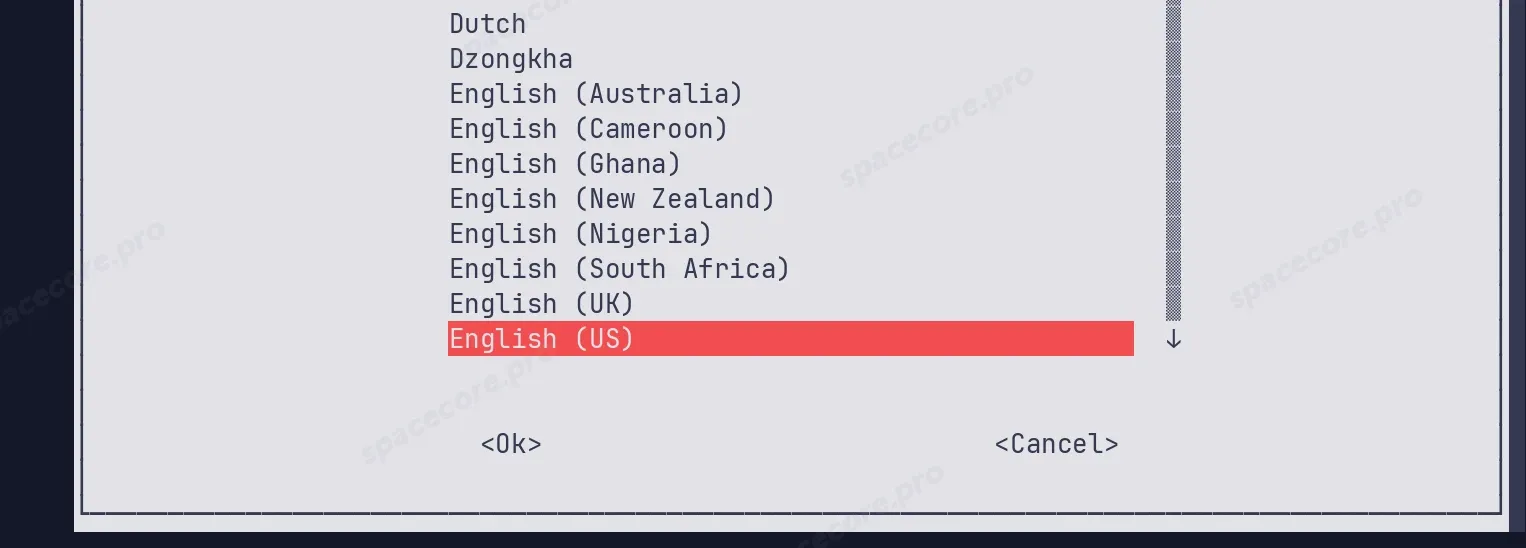
While the openssh-server package is being updated, the server does not accept new SSH connections for a few minutes. The current window keeps working. Wait for the command to finish and do not close the window. Start installing AmneziaVPN only after the update.
The update is complete when the command prompt appears in the terminal again. The result should look like this.
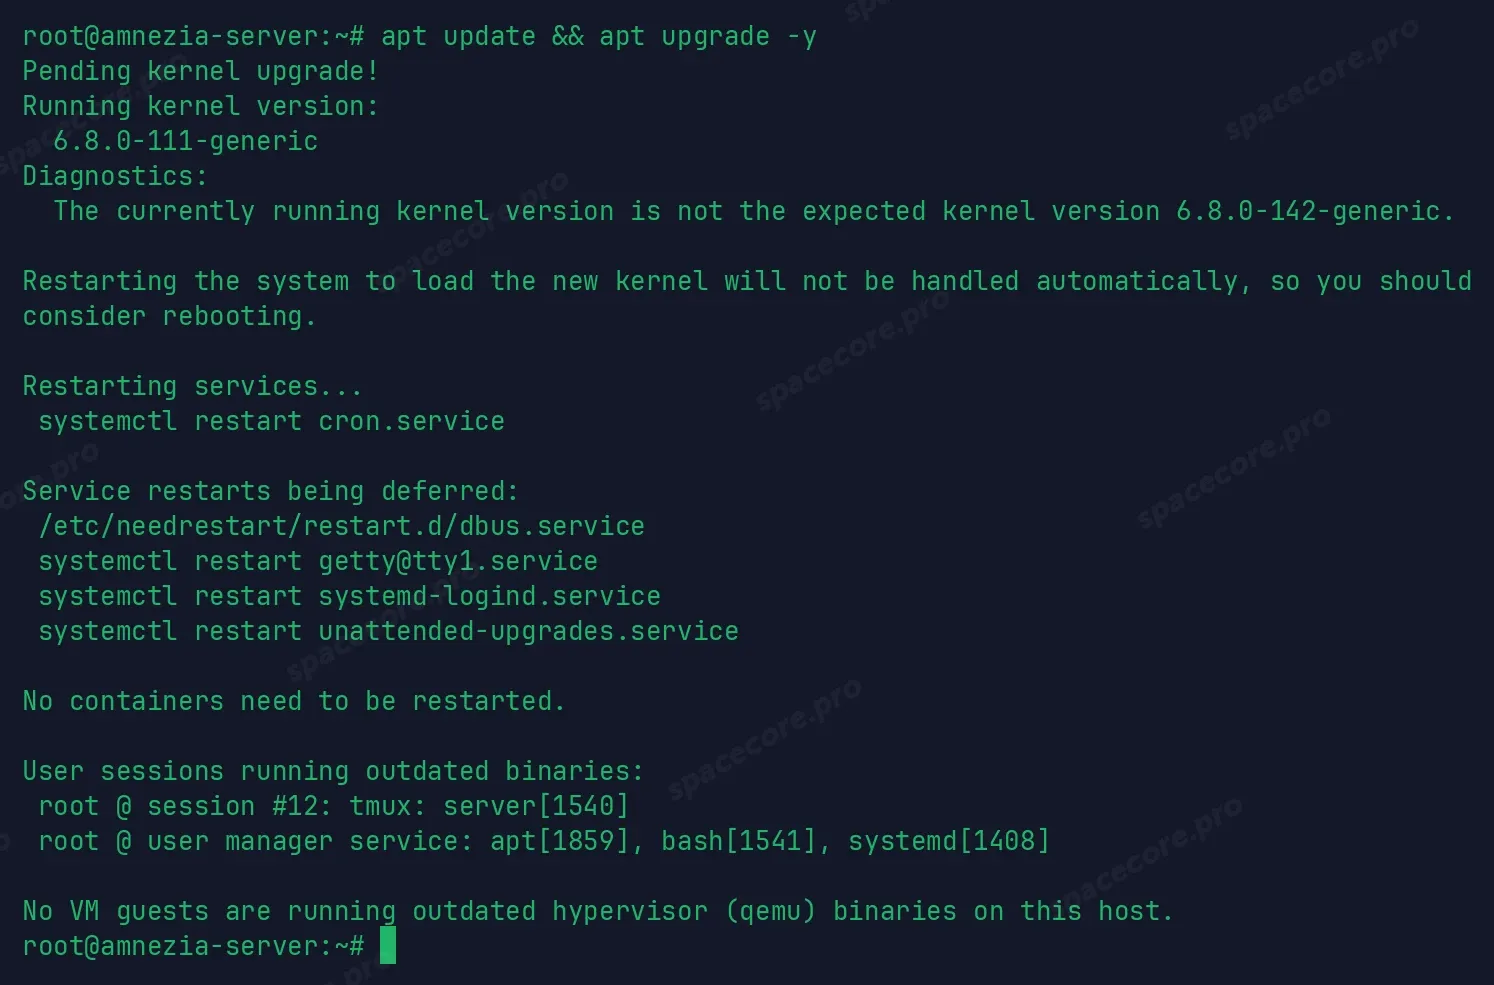
If the output contains Pending kernel upgrade, a new kernel has been installed. Reboot the server.
rebootThe server is usually available again in 1-2 minutes.
It is easiest to work as root. If you connect as another user, that user needs sudo rights without a password prompt, otherwise the installation will fail.
Server protection, SSH key login and changing the SSH port are covered in a separate article, we recommend reading it.
#Installing AmneziaVPN on the server
The AmneziaVPN app on your computer installs the VPN on the server by itself, you do not need to type installation commands. We will show it on Windows.
#Installing the app
Download AmneziaVPN from the official website or from the releases page on GitHub.
Run the downloaded file, click "Next", then "Install" and confirm the Windows prompt.
Download the app only from official sources: amnezia.org, GitHub, Google Play and the App Store. Look-alike websites appear in search results.
#Deploying the server
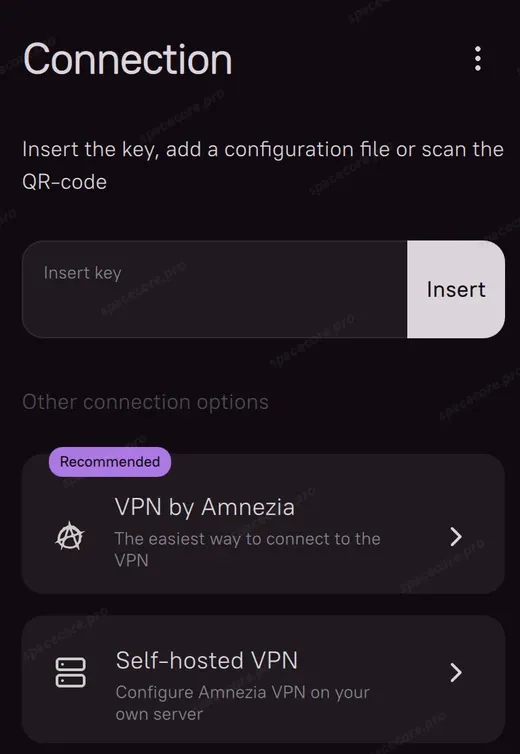
Launch AmneziaVPN, click "Let's get started" and select "Self-hosted VPN".
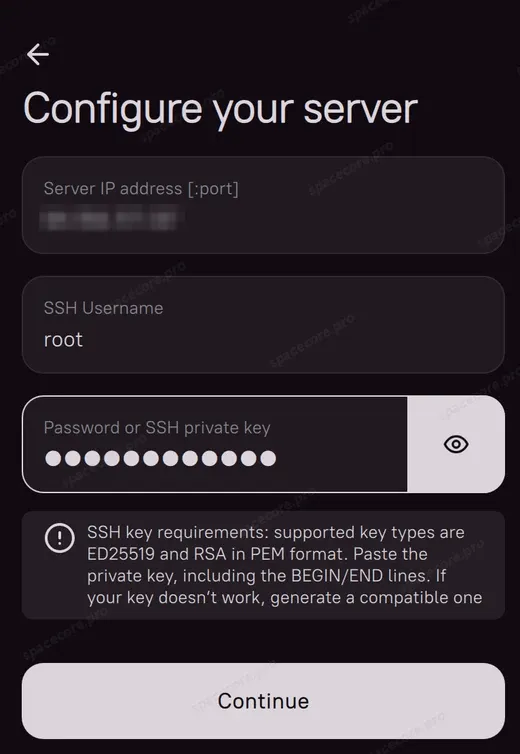
Enter the server IP address, the root login and the password from the email.
Click "Continue".
Select "Automatic" and click "Continue". The app will install the AmneziaWG protocol. The "Manual" option lets you choose another protocol, more on protocols below.
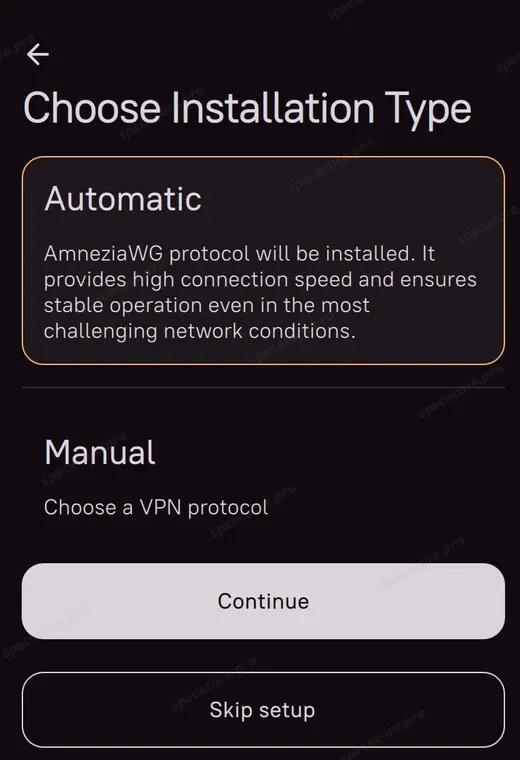
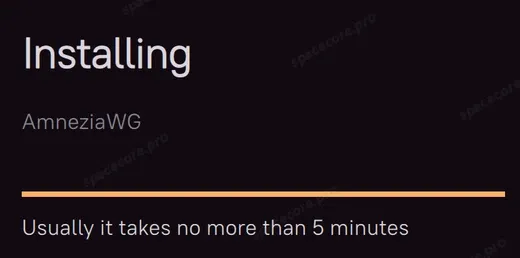
Wait for the installation to finish. The app promises no more than 5 minutes, in our case it took about two.
Done. The app creates the server connection by itself and opens the main screen.
#Changing the port
During installation AmneziaWG gets a random port, in our case it was 46204. The Amnezia developers recommend changing it right away to a free port below 9999. With some internet providers, UDP works worse on high ports.
Do not choose ports that are closed on our VPS: 17, 19, 53, 111, 123, 135, 137-139, 161, 389, 427, 445, 520, 1900 and 3702. Read more in the blocked ports article.
Open "Settings" (the gear icon on the bottom bar) and go to "Servers" → your server → "AmneziaWG" → "AmneziaWG server settings". Enter a new port in the "Port" field, for example 1234.
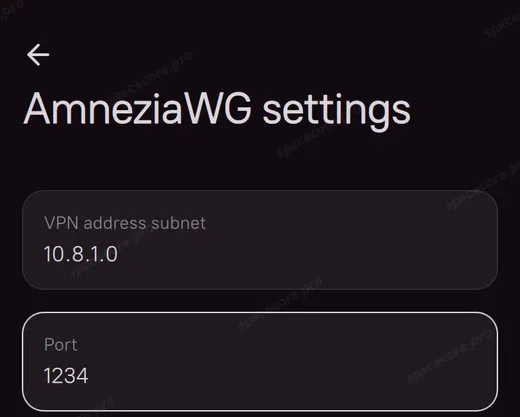
Scroll down the page, click "Save" and confirm the change with "Continue".
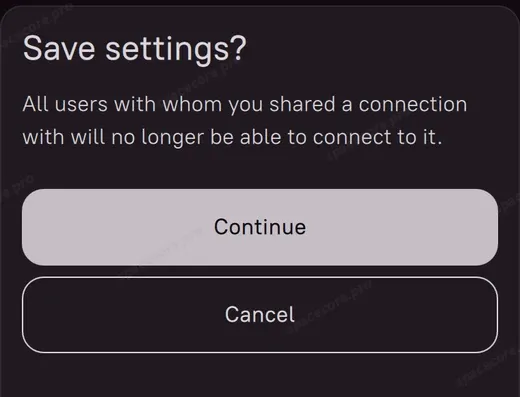
Change the port before you share access with other devices. After saving, all shared keys stop working and you will have to create them again. If the VPN is already on, disconnect it before changing settings.
#Checking the server
You can make sure the VPN server is running with a single command.
docker ps --format "table {{.Names}}\t{{.Status}}\t{{.Ports}}"The output should match the screenshot below. The amnezia-awg2 container has the Up status, and your UDP port is shown next to it.

The container name is left over from earlier versions, AmneziaWG 3.1 runs inside.
#Connecting on Windows
Go back to the main screen and click "Connect".
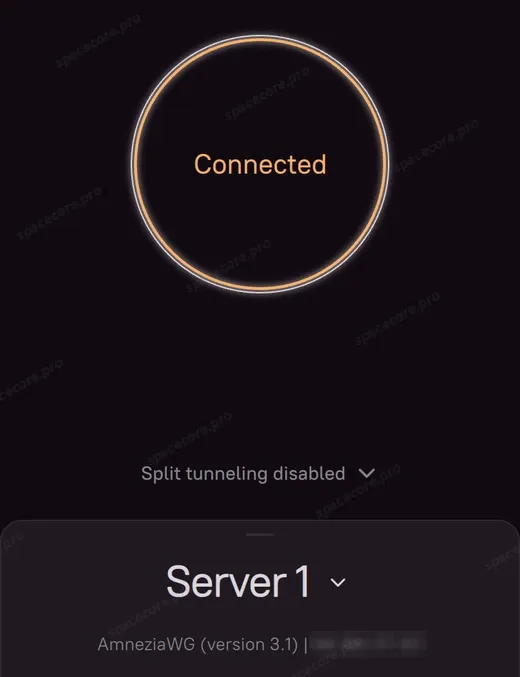
The connection is established! Check that the VPN works. Open any IP checking website, it should show your server address.
#Connecting a phone and other devices
It is better to create a separate key for each device. This way you can revoke access for one device without affecting the others.
#Access key
Click the "Share" icon on the bottom bar, it is the second from the left. The "Share VPN Access" section opens.
Enter a name, for example My phone. Leave For the AmneziaVPN app in the "Connection format" field and click the "Share" button at the bottom.
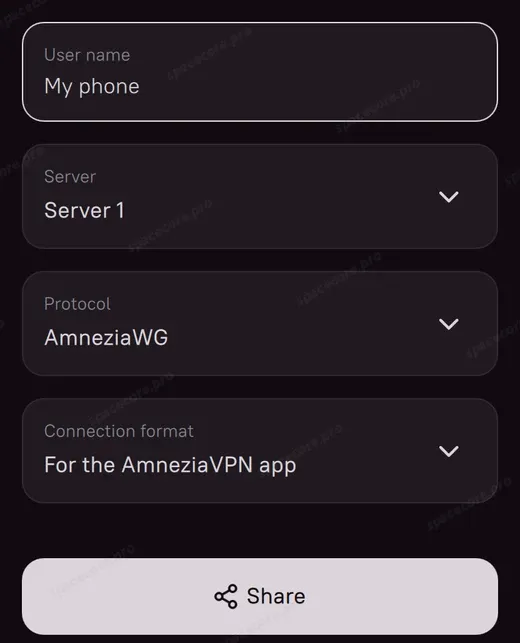
The "Connection format" field has two options:
- For the AmneziaVPN app - a key for the AmneziaVPN app on any device.
- AmneziaWG native format - a .conf file for the AmneziaWG app and routers.
A window with the key opens. The "Copy" button copies the key text, and the "Share" button in this window saves the key to a file.
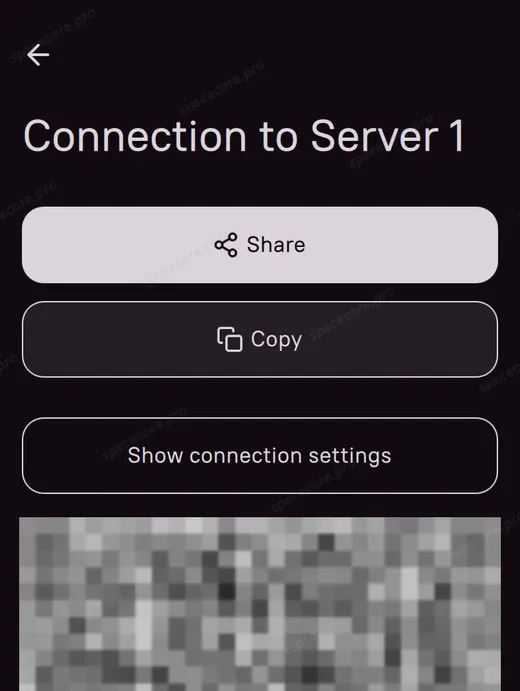
Send the key to your phone in any convenient way, for example to yourself in a messenger. You can also skip that: there is a QR code further down in the window, you can scan it right from the computer screen.
Important: the key gives access to your VPN. Do not publish it or send it to strangers.
#Connecting on Android
Install AmneziaVPN from Google Play. If your device has no Google Play, download the APK file from the releases page on GitHub.
Open the app and tap "Let's get started".
Paste the key into the "Insert key" field and tap "Continue". For a QR code, choose the "QR code" option below.
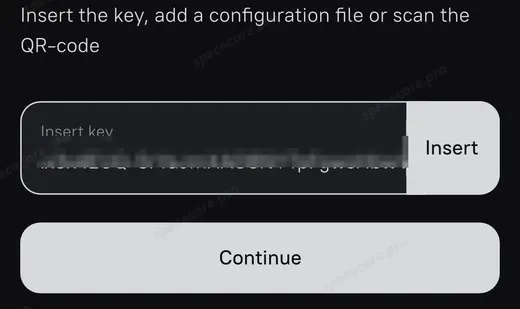
The app shows the new connection. Tap "Connect" under the warning.
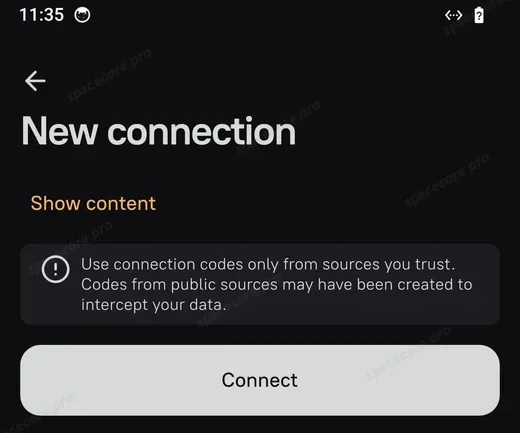
On the main screen, tap the large "Connect" button. On the first connection Android asks for VPN permission, tap "OK".
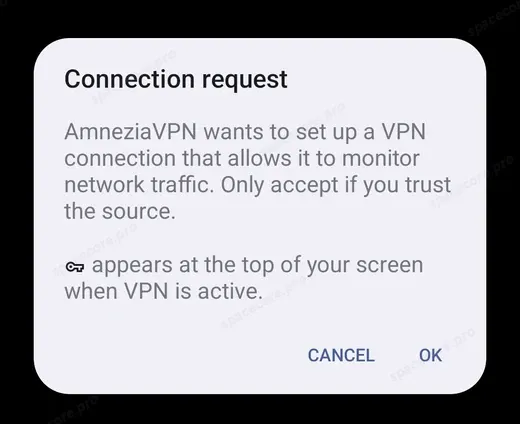
Then allow the app to send notifications. This way the VPN status is visible in the notification shade.
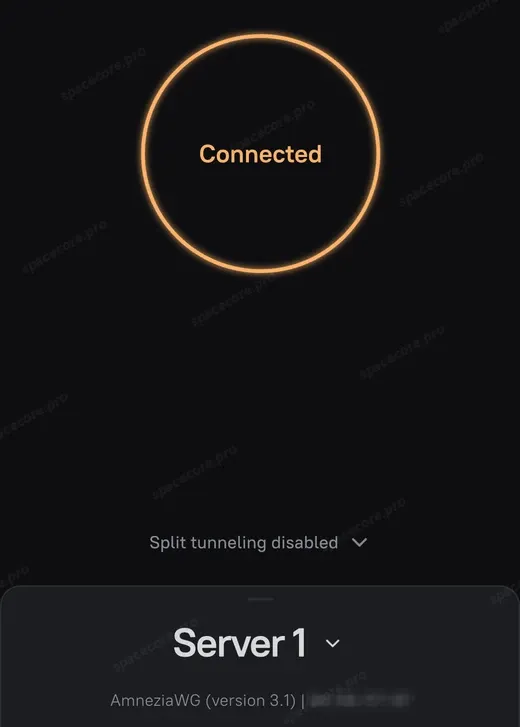
The connection is established successfully! You can use it.
#iPhone, Mac, Linux, TV and router
On iPhone, install AmneziaVPN from the App Store. For Mac and Linux, download the app from the official website. On an Android TV the same AmneziaVPN app works. The app works the same way on all systems, so the key is added just like on Android.
For routers, choose the AmneziaWG native format. The setup depends on the model and firmware, the developers describe it in the documentation.
#Revoking access
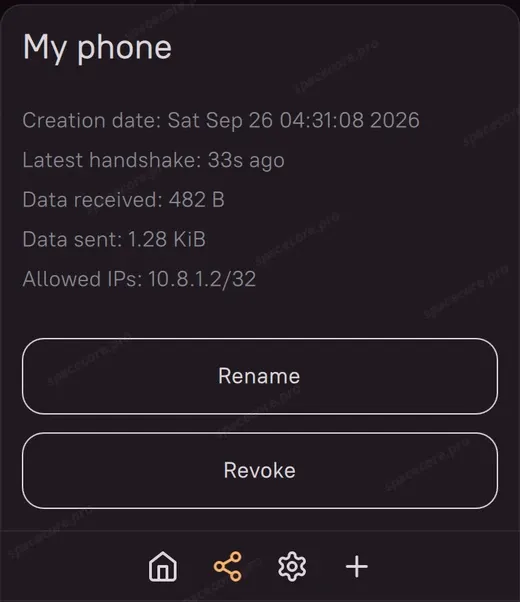
All shared keys are listed on the "Users" tab of the "Share VPN Access" section. Click a name to see the last connection time and traffic.
The "Revoke" button revokes access. After that, the device can no longer connect with this key.
#Which protocol to choose
Besides AmneziaWG, the app can install four more protocols. You can add them to the same server via "Settings" → "Servers" → your server. On the "Protocols" tab, click the download icon next to the protocol you need.
| Protocol | Features | When to choose |
|---|---|---|
| AmneziaWG | Amnezia protocol based on WireGuard, runs over UDP | Default option, installed with the automatic setup |
| WireGuard | Popular protocol with high speed and low battery usage, runs over UDP | If you need a regular WireGuard client or a router without AmneziaWG support |
| XRay (REALITY) | Protocol based on Xray, runs over TCP | If UDP does not pass on your network and AmneziaWG does not connect |
| OpenVPN | Popular protocol with flexible settings | For older devices and routers with OpenVPN support |
| IPsec (IKEv2) | Quickly restores the connection after signal loss, built into Android and iOS | For phones that need stability when switching networks |
App version 5.0.2.1 and newer installs AmneziaWG 3.1, the main screen shows it as AmneziaWG (version 3.1). The developers consider versions 1.5 and 2.0 outdated. If your server was set up a long time ago, remove the protocol and install it again. After that you will have to create users and keys again.
Installing a VPN on the VLESS protocol with a web panel is covered in a separate article, we recommend reading it.
#Common issues
| Symptom | Cause | Solution |
|---|---|---|
| ErrorCode: 300. SSH request was denied | Wrong login or password | Check the data from the email. The login is usually root |
| ErrorCode: 305. Timeout connecting to server | Wrong IP address, a non-standard SSH port or the server is unavailable | Check the IP address and SSH port, make sure the server is running |
| ErrorCode: 900. The config does not contain any containers and credentials for connecting to the server | The key was not copied completely | Copy the key again with the "Copy" button or scan the QR code |
| Installation fails under a regular user | The user has no passwordless sudo | Connect as root |
| Connected status, but websites do not open | UDP traffic on this port does not pass on your network | Change the port to a free one below 9999 or add the XRay protocol |
| The phone stopped connecting after the port change | Saving the settings resets old keys | Create the key again in the "Share VPN Access" section |
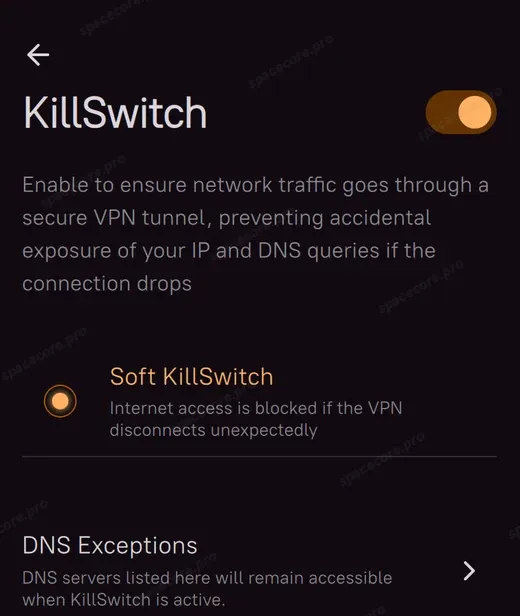
| Internet disappeared on the computer when the VPN dropped | KillSwitch was triggered | Turn the VPN on again or disable KillSwitch |
| The server does not respond to ping after installation | A firewall rule added by the Amnezia installer. It stays until the server reboots | No action needed, the VPN works |
In the desktop app, KillSwitch is enabled by default and blocks internet access if the VPN disconnects on its own. The setting is in "Settings" → "Connection" → "KillSwitch". The mobile app does not have this option.
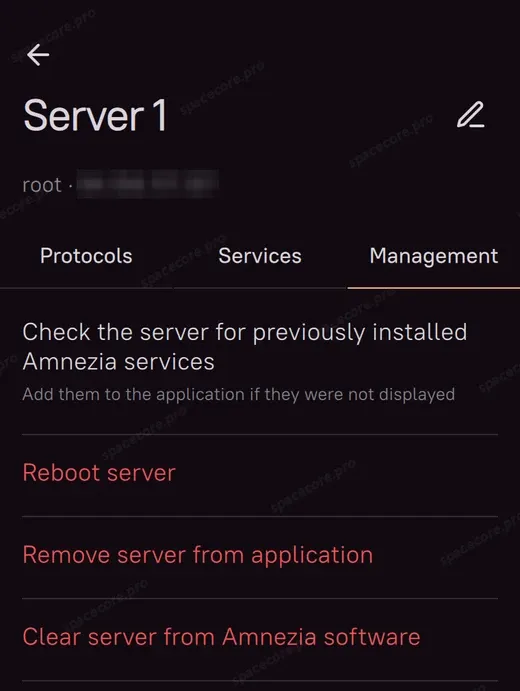
For reinstallation and removal, you will need the "Management" tab in the server settings.
I reinstalled Windows. How do I get the server back into the app?
Add the server again via "Self-hosted VPN" with the same IP address and password, and click "Skip setup" at the installation type step. Then on the "Management" tab click "Check the server for previously installed Amnezia services". The app will find the installed protocols, and user keys will be kept.
How do I move the settings to another computer?
Open "Settings" → "Backup" and click "Make a backup". On the new device, choose "Restore from backup". The backup file contains passwords and keys for all servers, so do not send it to strangers.
How do I remove AmneziaVPN from the server?
On the "Management" tab, click "Clear server from Amnezia software". The "Remove server from application" option removes the server from the app only, the VPN on the server keeps working.
Do I need to keep my computer on for the VPN to work?
No. The VPN runs on the server and starts on its own after a reboot. The app on your computer is needed to share and revoke access.
Did not find the answer? We are online 24/7.Contact support